What do you like best about Synthesia?
How easy it is to use and get started! The platform is user friendly - anyone can do it! It's also very easy to download and upload the videos into an LMS or other video hosting platform.
One of 2,000+ 5-star reviews on
Free PowerPointto video converter
Upload your PowerPoint (.pptx) and automatically turn it into a video for free. Keep your original slide design, layout, and speaker notes.
0
0
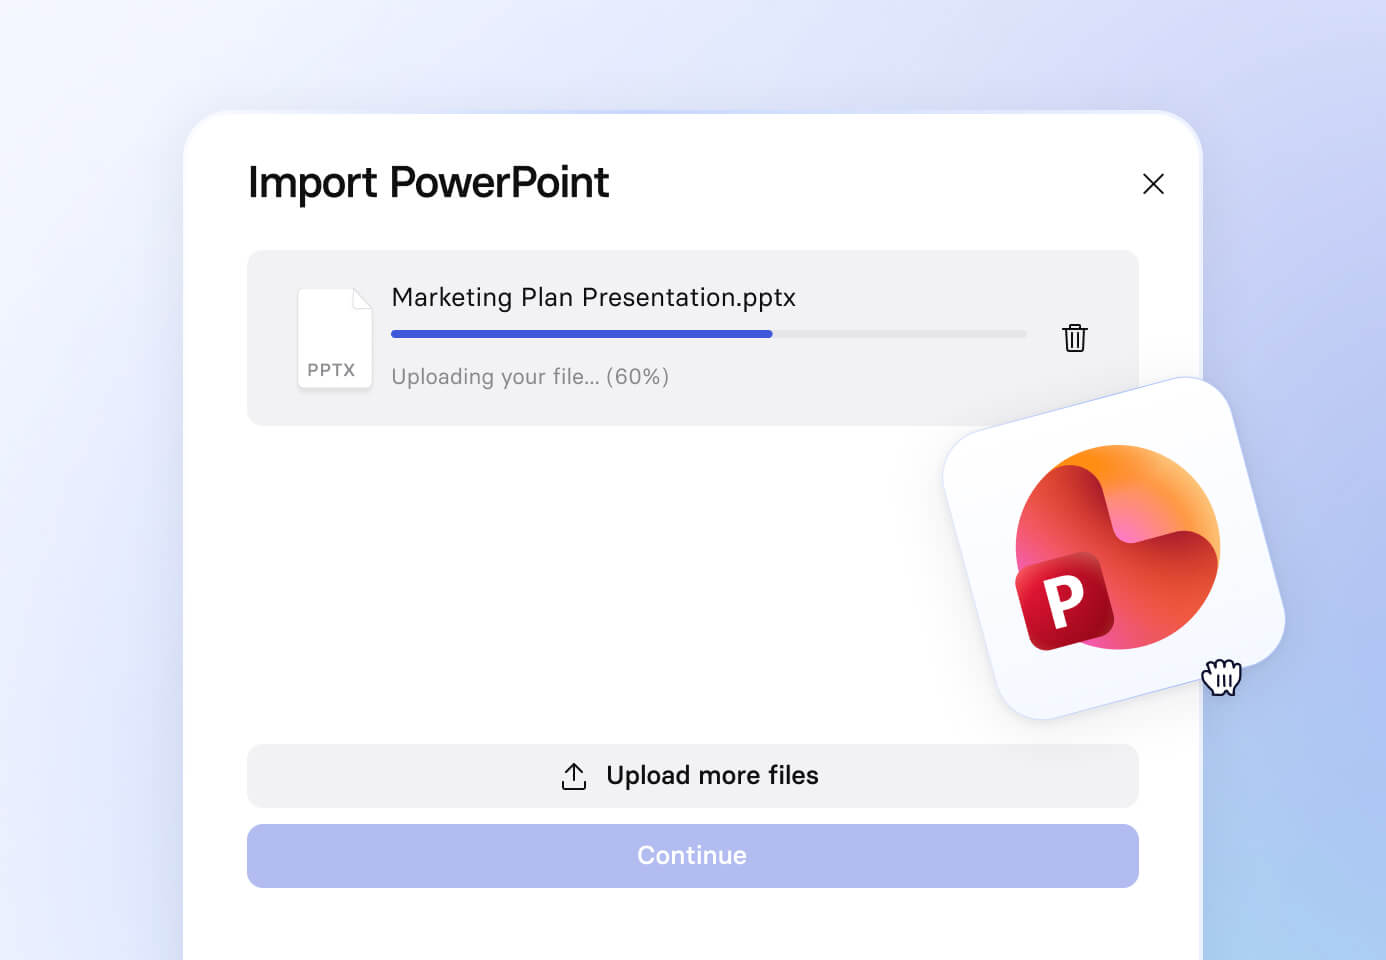
Upload PowerPoint

Click to upload
Max 100MB
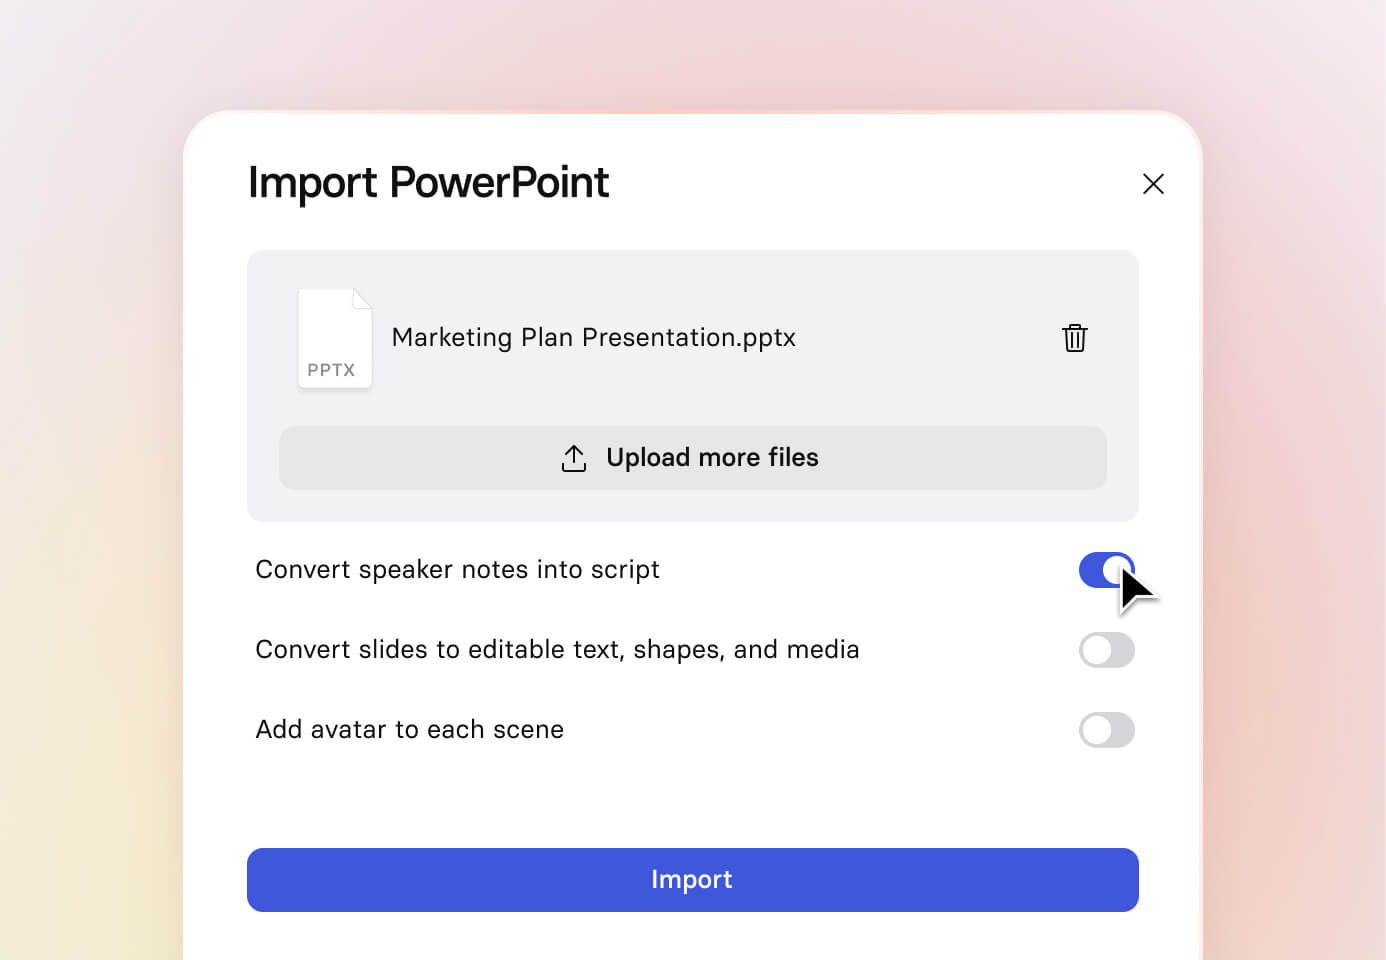
Choose Video Settings
Import text, images, videos and shapes as editable elements.
Import speaker notes and convert into video script
By using this service, you confirm that you have all necessary rights, licenses, and permissions to upload or generate content, and that your use of any generated videos will comply with the Acceptable Use Policy and applicable regulations related to intellectual property and data privacy.

Trusted by over 90% of Fortune 100 companies.

The best PowerPoint to video converter
Turn PPT slides into fully editable, narrated videos, without rebuilding, recording, or starting from scratch.
Import your PowerPoint. No rebuilding required
- Turn slides into editable video scenes instantly
- Keep your layout, fonts, and branding exactly as they are
- Edit directly in your video. No back-and-forth with PowerPoint
Convert speaker notes into ready-to-use narration
- Speaker notes become synced narration automatically
- Stay on-brand with delivery control and over 1000+ natural voices
- Create voiceovers in minutes, without recording, retakes, or re-dos
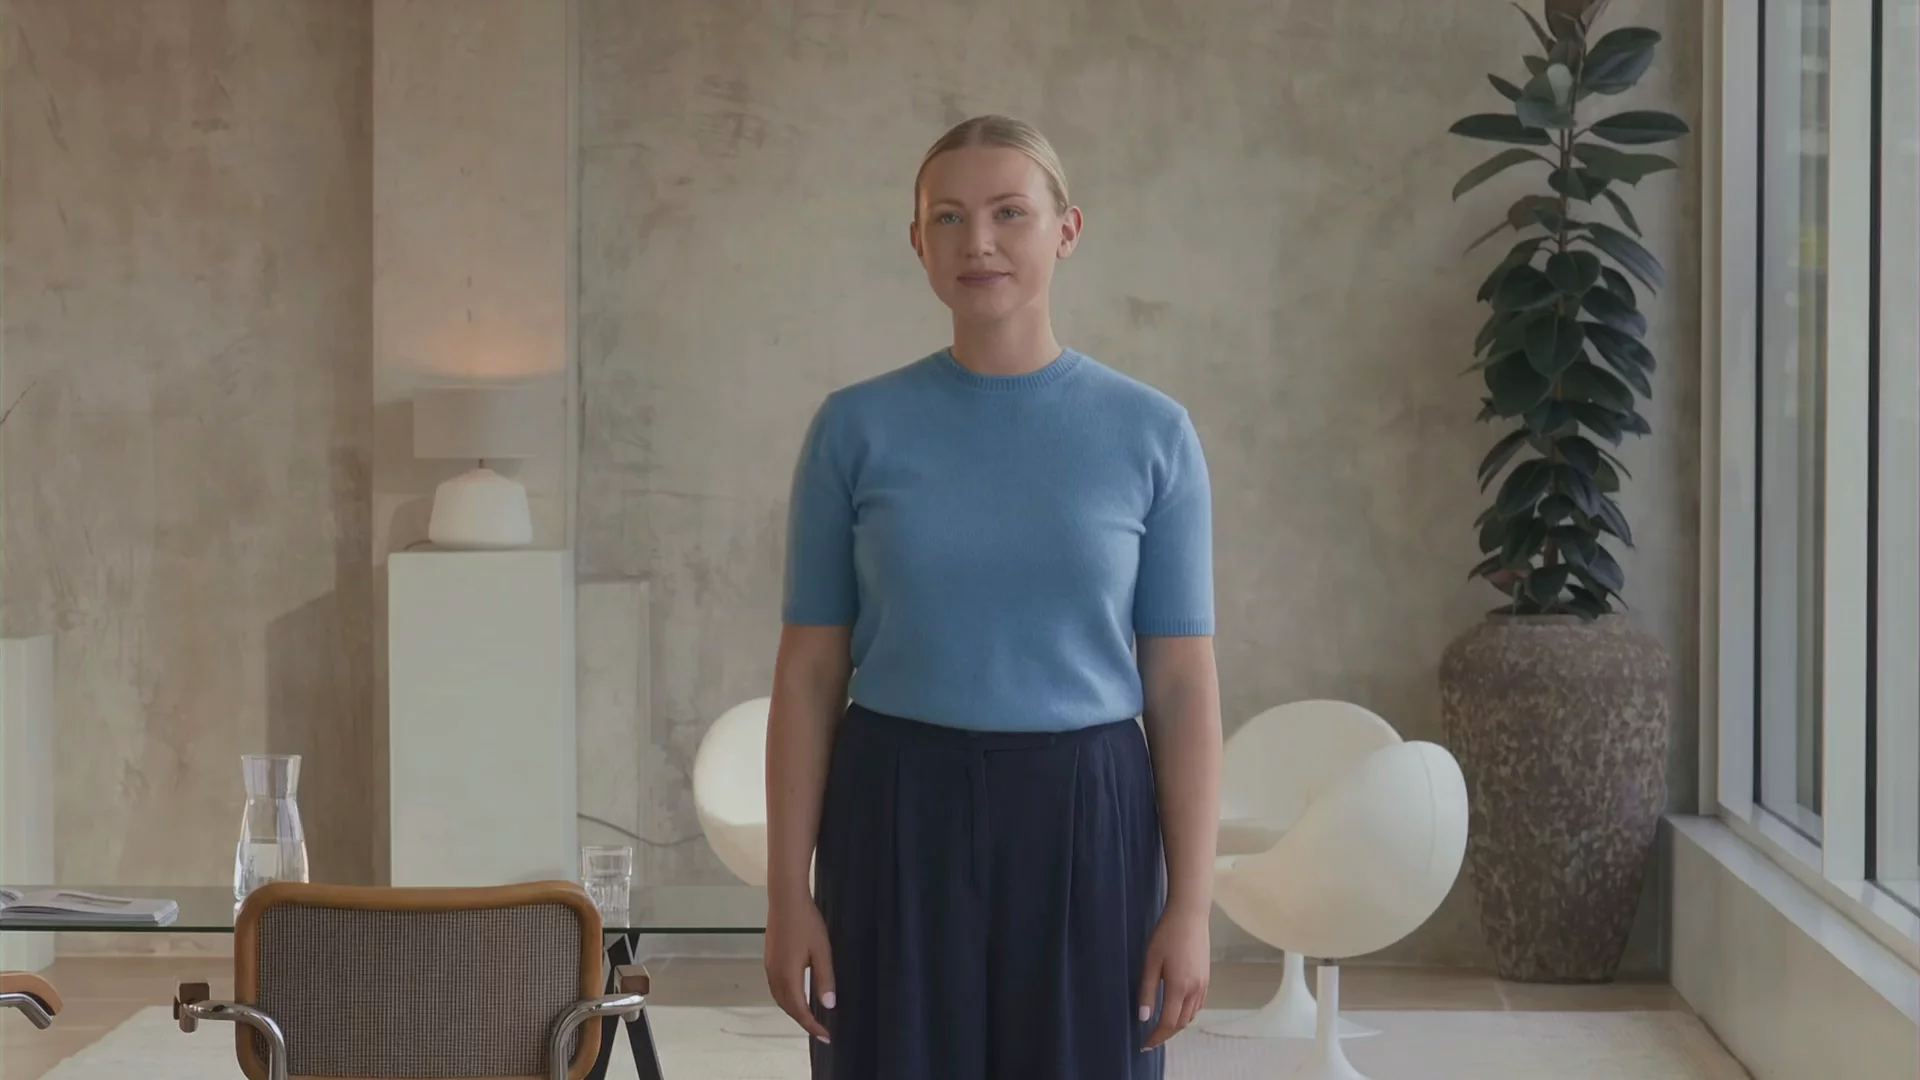
Bring your slides to life with AI presenters
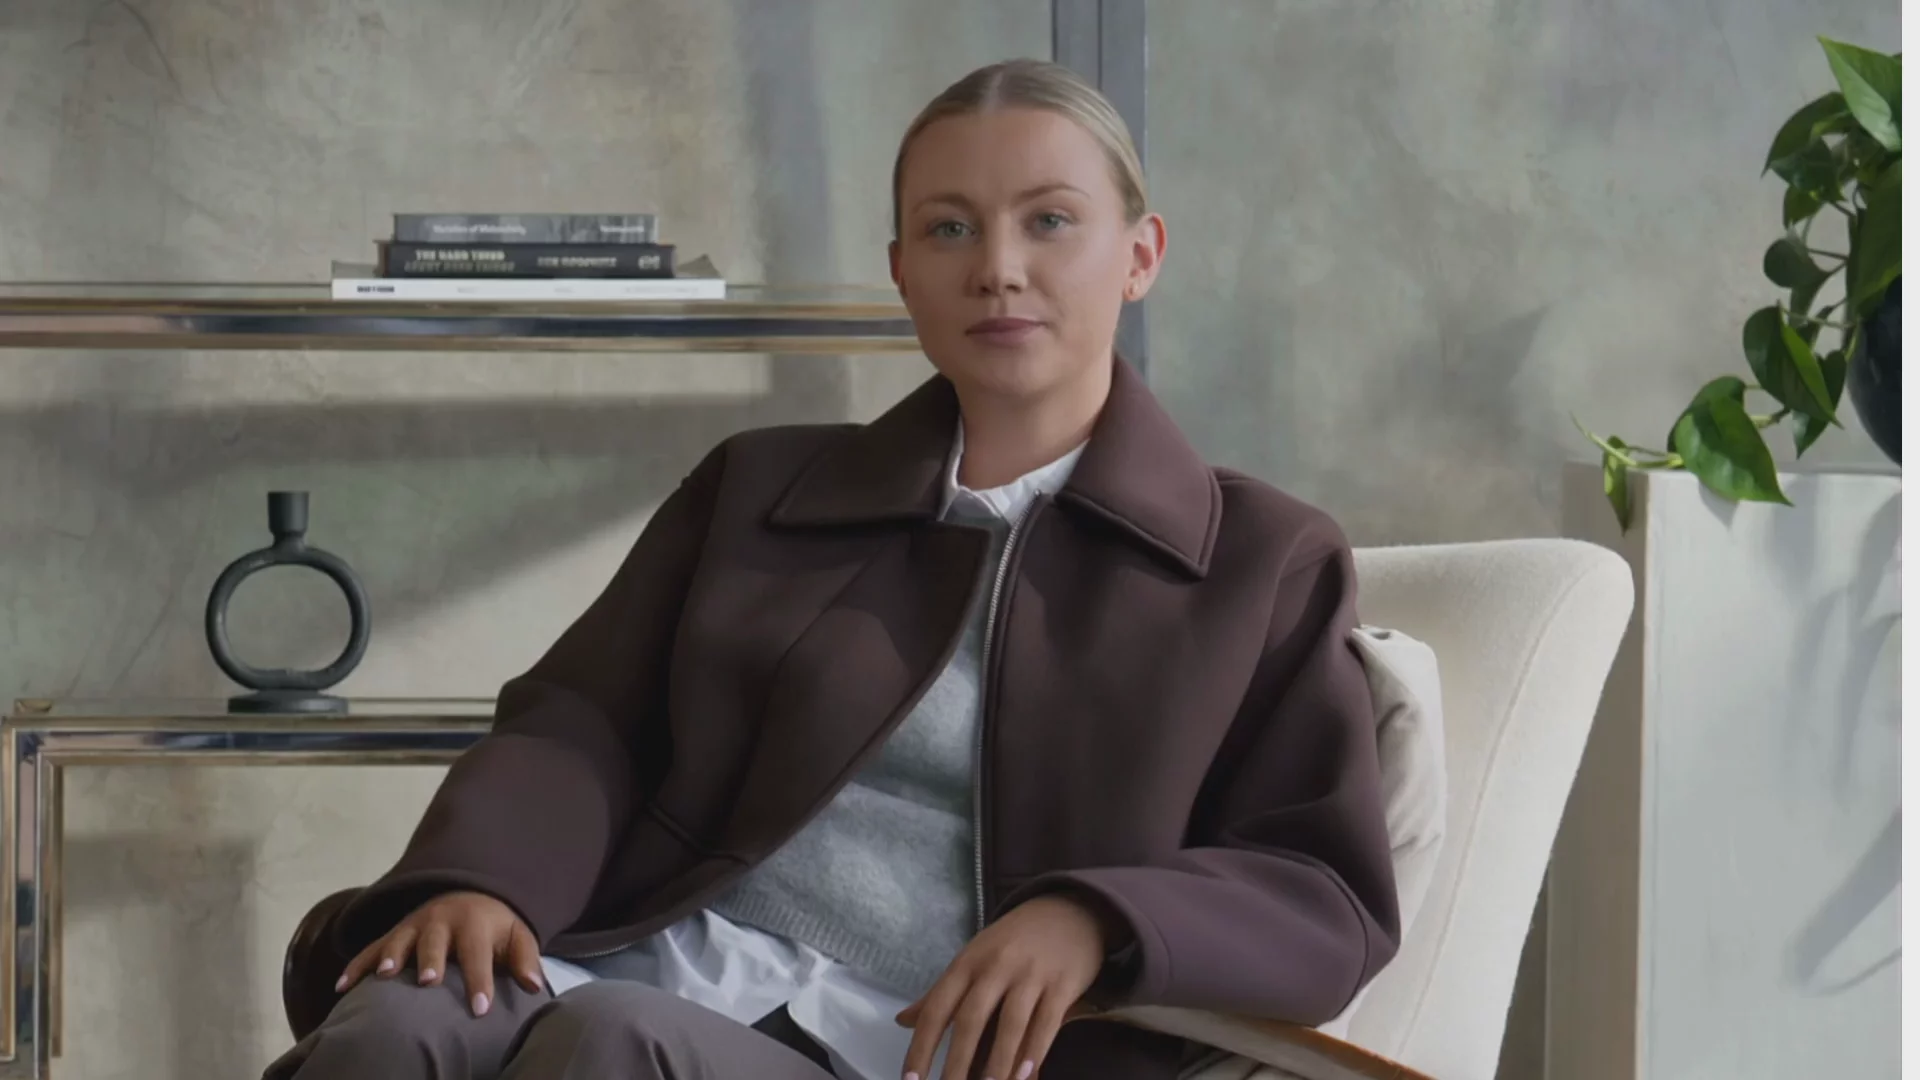

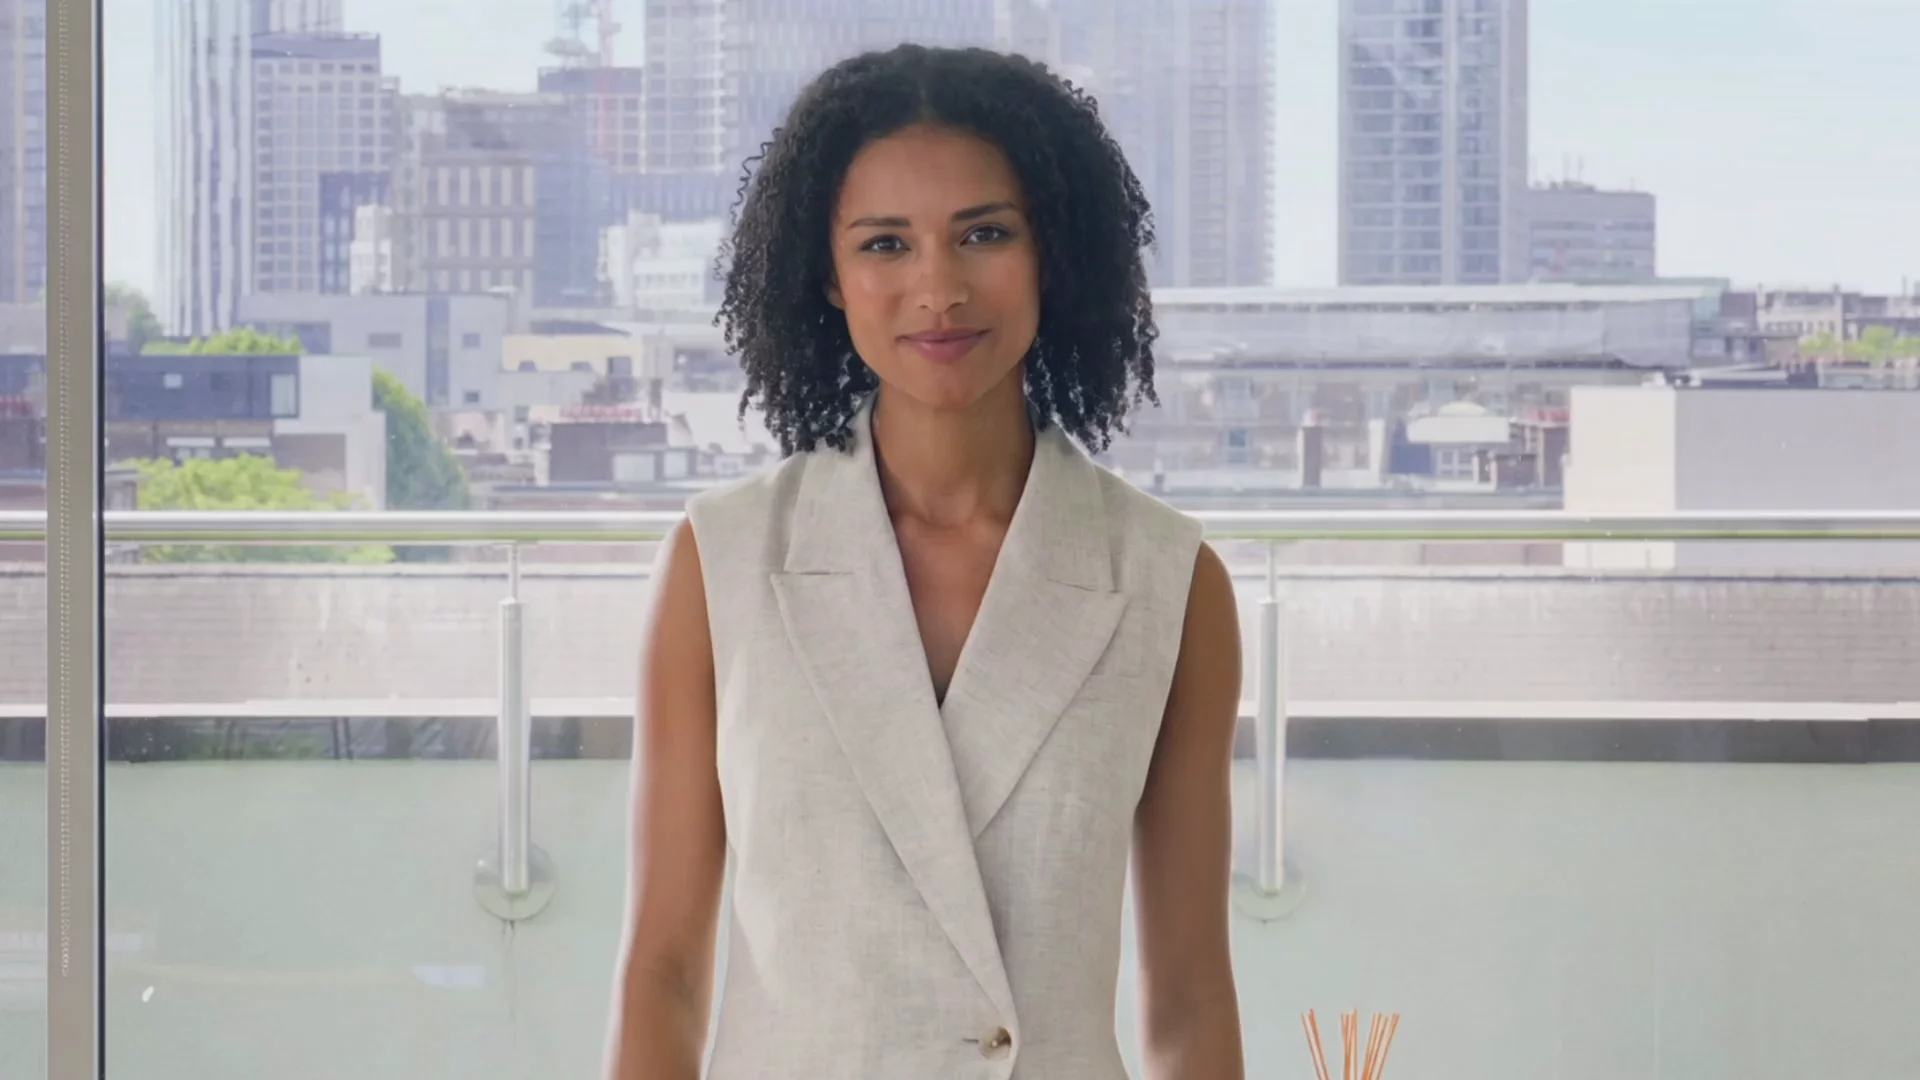

- Choose from 240+ diverse avatars that match your audience
- Add natural delivery, so your videos always feel human, not static
- Change presenters anytime. No need for filming or reshoots
Translate into 160+ languages and accents
- Translate scripts and on‑screen text in one click to reach audiences worldwide
- Localize voices, captions, and formatting while preserving your original slide layout
- Scale rollouts without rework, duplicate projects, or extra localization tools
3 ways to turn PowerPoints into videos
1. PowerPoint’s built-in export
Use File → Export → Create a Video to save your presentation as an MP4. You’ll need to record narration and manage slide timings manually before exporting. Slides export as static frames with limited customization, no automated voiceover from speaker notes, and minimal control over the final video experience.
2. Free online converters
Upload your .pptx to a browser-based converter to quickly turn slides into a video file. Though fast, most tools offer limited customization and basic output quality. Slide formatting can shift, speaker notes aren’t automatically narrated, and features like AI voiceover, presenters, or translations aren’t included.
3. Synthesia’s free PowerPoint to video tool
Upload your .pptx and automatically convert slides and speaker notes into a fully narrated video while keeping your original design intact. Add an optional AI presenter, edit before exporting, translate into 160+ languages, and download in minutes. No recording required. Free to try.
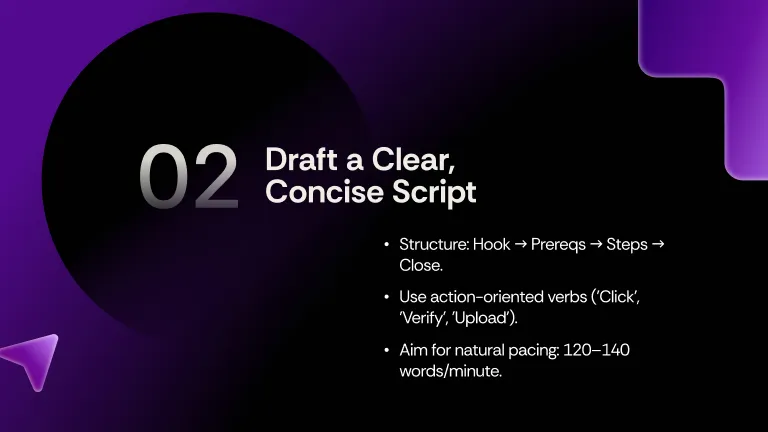
How to convert a PowerPoint to video
Import your PowerPoint
Upload your .pptx file. Text, images, videos, and shapes are imported as editable elements, while speakers notes can be converted into script.
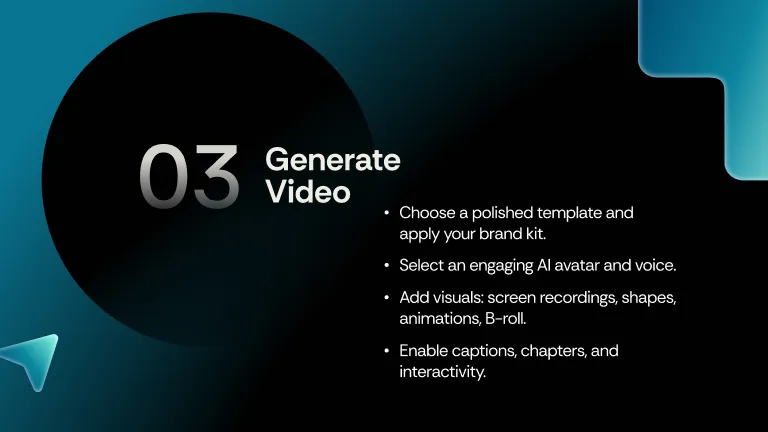
Edit your video
Fully customize your video. Animate imported elements, adjust font styles, edit the script, add AI avatars and voices, and generate custom AI visuals.
Generate your video
When you’re happy with the content and design of your imported slides, generate your video presentation and download it as an MP4.

A better PowerPoint to video converter for modern teams

“It's enterprise-ready and makes video creation easy.”

"What used to take 4 hours now takes 30 minutes."

“We make videos fast and use them every day.”


“Updating 10,000 courses? Totally doable now.”

"I don't need a third party anymore. I do it myself"


"We saved $56K and hit 100+ custom videos."


“Interactive video is redefining training for us”


“We push updates without touching the LMS.”


“50% faster content. Without sacrificing quality”

"With Synthesia, we get lightning-fast results."

"The platform is so easy to use and intuitive."

"100 hours of translation done in 10 minutes!"

"Teams adopt it fast and use it across the company."

"180 videos. 5 languages. 0 hassle."

Rated 4.7/5 from 2,000+ reviews


Why turn slides into video

2x completion rates
Viewers complete video training 2x more often than slide decks, turning passive scrollers into active learners.

3x sales conversion
Sales videos drive 3x more demo bookings than decks. Prospects watch the full story instead of skimming slides.

Onboard employees faster
Strong onboarding with video boosts productivity by 70%. Replace repetitive orientation meetings with videos.
One platform to create and scale AI videos
Interactivity
Add clickable call-to-actions and branching paths to your videos so viewers stay engaged and take the actions you want.
AI Screen Recorder
Make screen recordings to add to your video presentation in seconds.
Brand Kit
Easily apply your company’s style to all videos. Setup your brand kit for consistent text fonts, color palettes, logos and preferred avatars.
Analytics
Track views and watch time to understand what your audience finds captivating.
Templates
Choose from 300+ templates for different use cases and start your video in minutes.

All your PPTX to video questions answered
Why should I convert a PowerPoint to video?
Converting a PowerPoint to video makes your content more engaging, accessible, and shareable. Viewers retain 95% of a video's message compared to just 10% from reading text, and videos are easier to watch across devices. With 78% of people watching videos weekly and 55% daily, turning slides into video helps you reach and hold attention more effectively.
What is the best PowerPoint to video converter?
The best PowerPoint to video converter is Synthesia. Unlike tools that simply export slides as a basic MP4 file, Synthesia transforms static presentations into engaging, AI-narrated videos with real-looking presenters. You upload your .pptx file, keep your original design, and automatically turn speaker notes into voiceovers using natural-sounding AI voices and avatars. Everything works in your browser without recording equipment, and you can edit scenes, apply brand styles, add interactive elements, and translate into 160+ languages, making it ideal for training, marketing, and global teams.
Is the PowerPoint to video converter free?
Yes, you can convert PowerPoint presentations to video for free with Synthesia. Simply upload your .pptx file to turn your slides into an AI video in your browser, with the option to upgrade for longer videos and additional features.
Can I create an MP4 from my PowerPoint?
Yes, PowerPoint lets you export slides as an MP4, but the result is essentially an automated slideshow with limited interactivity and no presenter. With Synthesia, you can upload your PowerPoint and transform it into a professional AI video complete with realistic avatars, natural-sounding voiceovers, and custom branding. Once finished, you can easily export your video as an MP4 or share it via a link.
Can I convert a PowerPoint to video with audio?
Yes, the tool turns speaker notes into audio with AI-generated voiceovers. You maintain full control - edit the script, adjust timing, choose from 1000+ voices or even clone your own voice.
Can I edit the video after I import my PowerPoint?
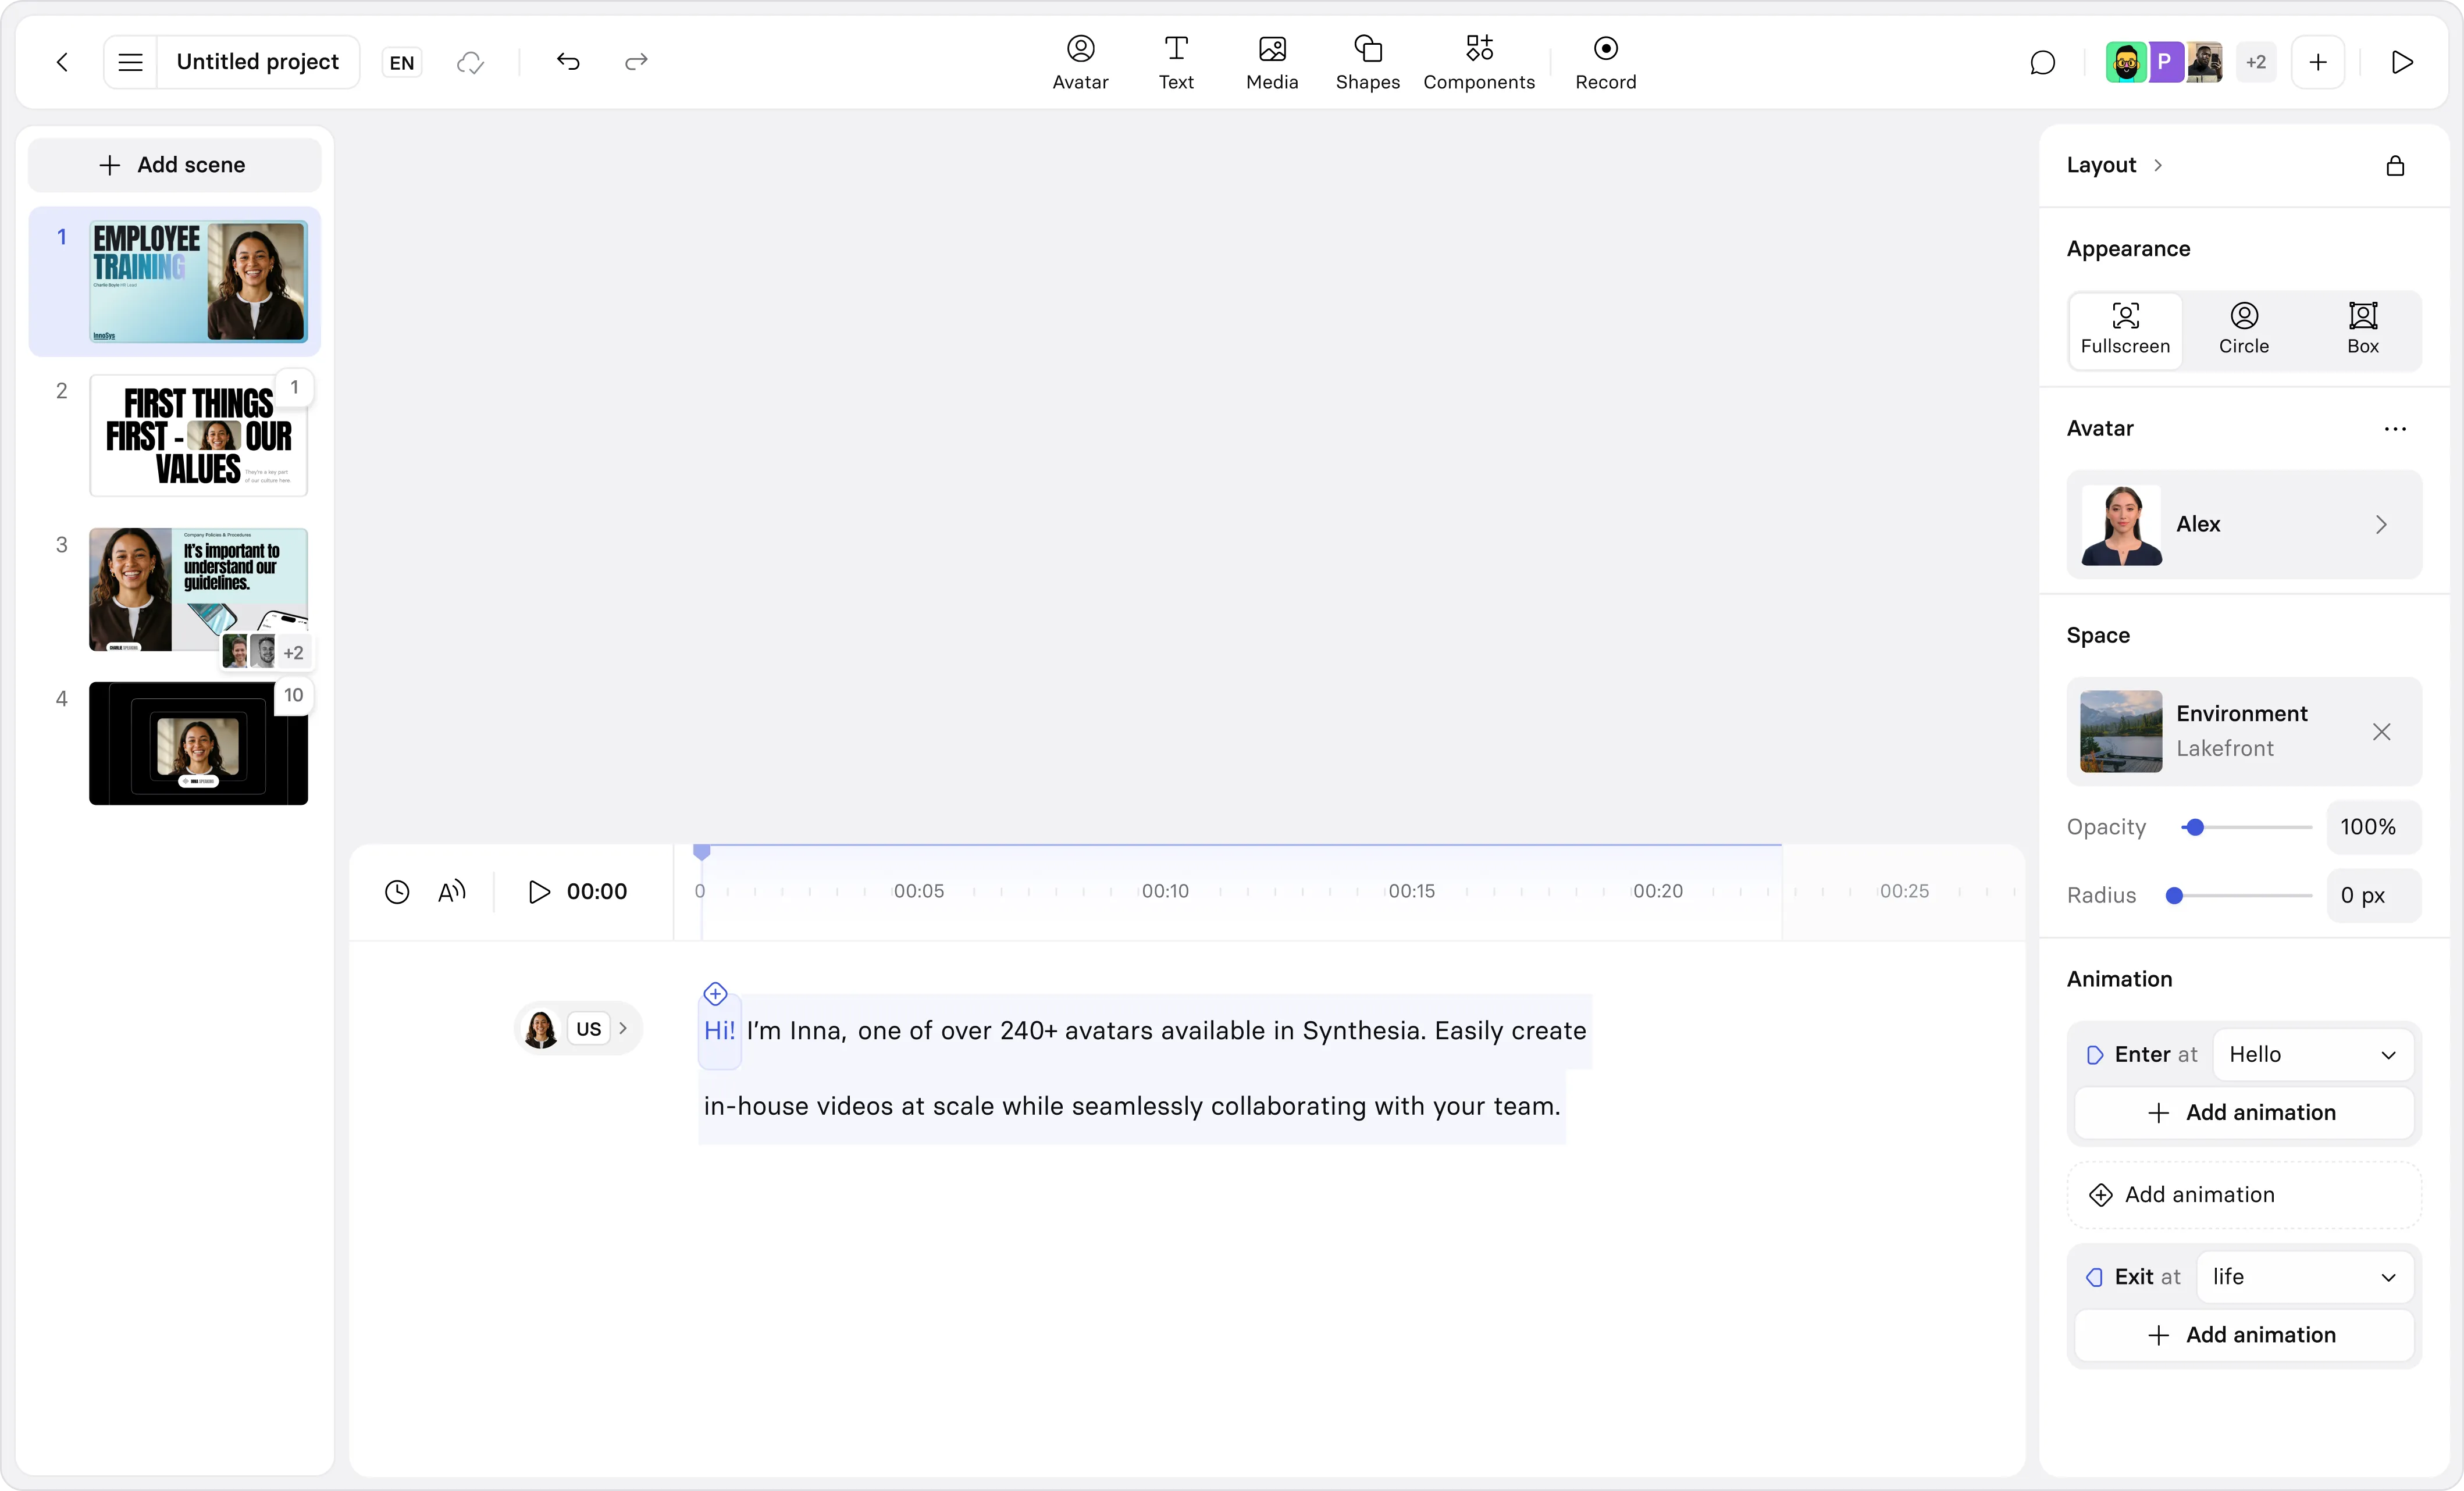
Yes, you can fully edit your video after importing your PowerPoint. Synthesia converts each slide into a scene that you can update with new text, visuals, avatars, voiceovers, screen recordings sand animations. You can adjust layouts, replace media, and fine-tune the script directly in the editor.
What file types and size limits are supported?
Synthesia supports the .pptx PowerPoint file format with a maximum file size of 1GB in the app, and a maximum of 150 slides. You can also convert other document formats into video including PDF, DOC, DOCX, and TXT files.
Will my PowerPoint design, layout, and fonts stay the same?
Synthesia preserves the visual content of each slide during import. Layouts, images, and text are converted into scenes that closely reflect your original design. You can adjust formatting, reposition elements, or update branding inside the video editor if needed.
What happens to animations and slide transitions?
Slide animations and transitions do not transfer exactly as they appear in PowerPoint. Each slide becomes a static scene in your video. You can easily recreate movement using video layouts, timed scenes, and visual elements within Synthesia’s editor.
Not just a PowerPoint to video converter
With Synthesia, you can do more than just convert a PPTX to video. You can convert any text to video with AI, bring your content to life using digital avatars, and translate your existing videos for global audience with AI video translation that matches voice and lip-sync.
Synthesia gives you everything you need to transform plain text into professional videos at scale, all in one place.

.jpg)
