
AI Script to video maker
Create an AI video from a script in minutes with Synthesia’s AI script to video generator.

Choose your input method and let AI create your video.
0/500 characters
Please try a different idea!
Need inspiration? Try one of these ideas
0/1500 characters
Please try a different script!
Need inspiration? Try one of these ideas
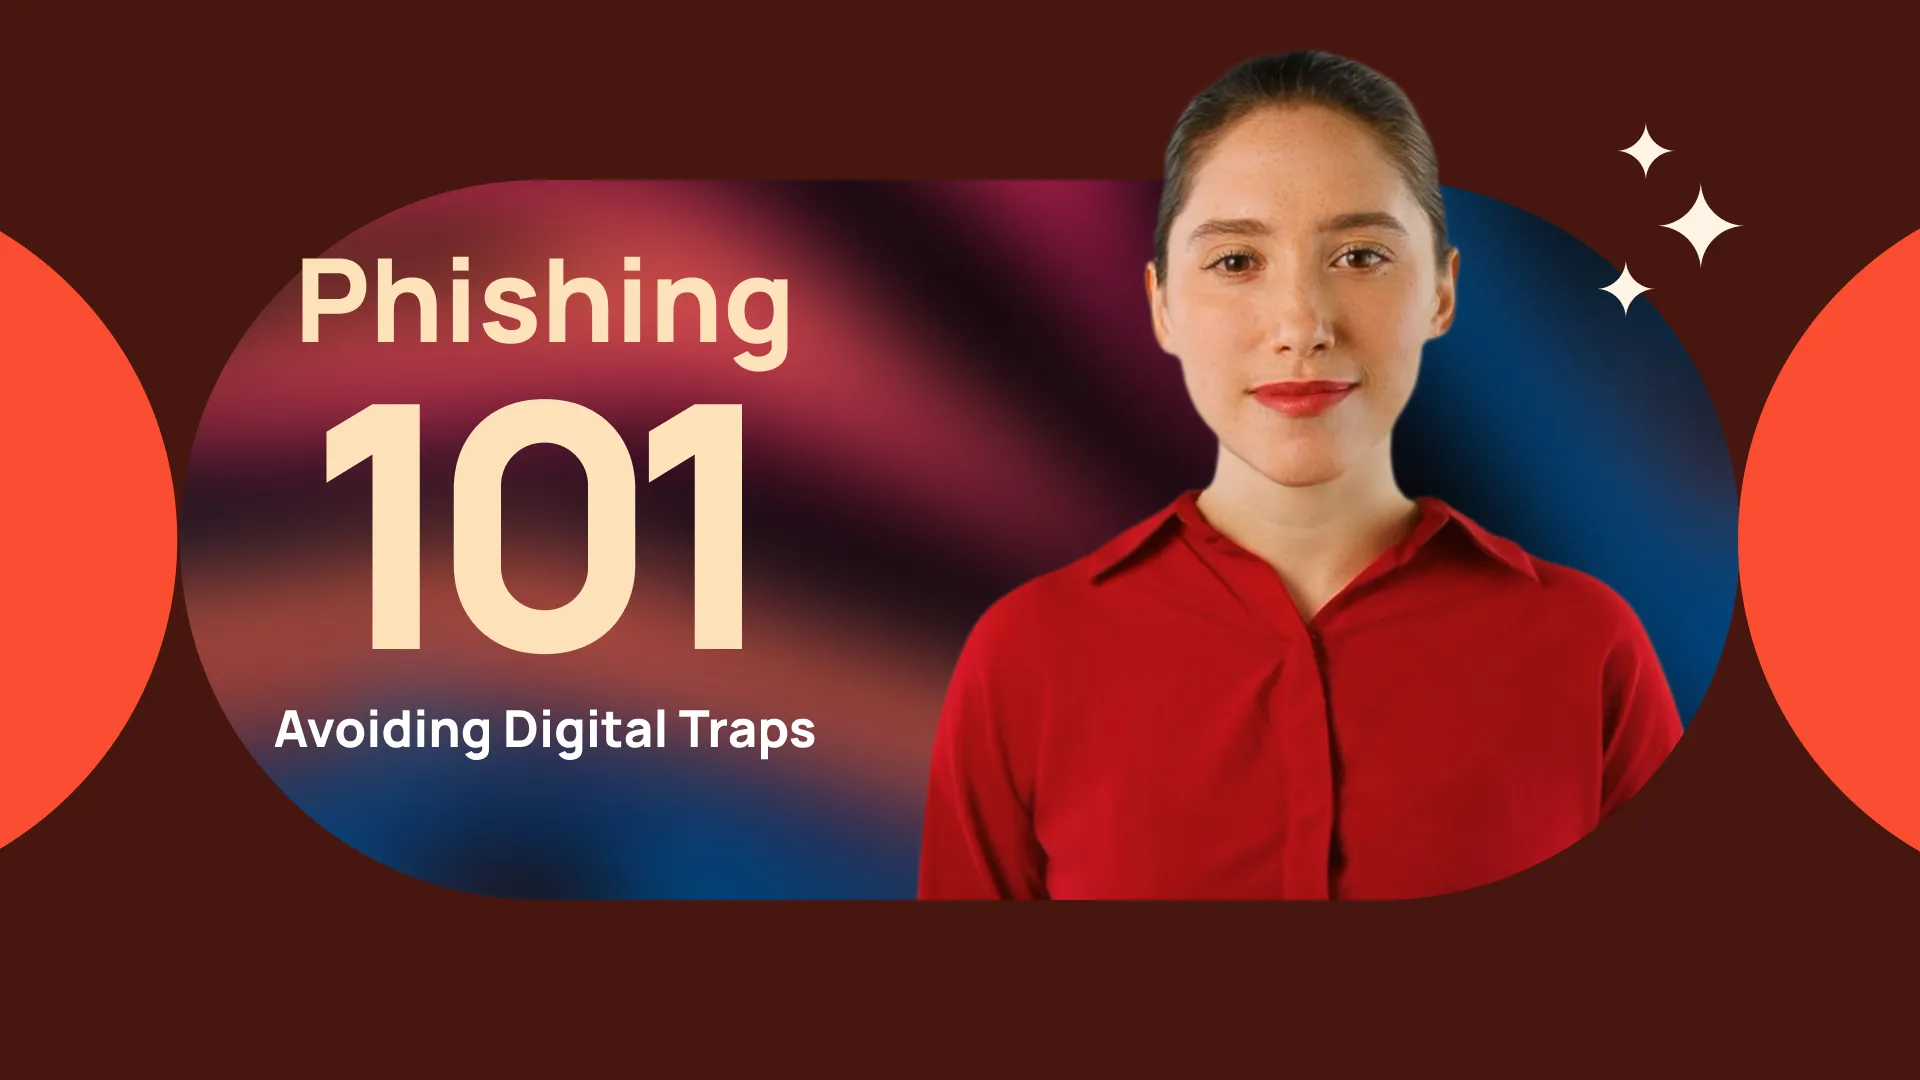
With it, staying connected with your clients becomes effortless and consistent. Let me explain. We automatically schedule and personalize messages whenever you log an interaction.
Calls, meetings… every touchpoint counts! Now no lead goes unnoticed!
Join Connectly today and turn your everyday conversations into lasting relationships.
First, why we're here: we turn big ideas into simple, helpful products always for the customer.
On day one, just focus on three things: Meet your squad. Slack, wave, or say hi in person. Set up your tools. Email, chat, and our project hub.
Pick a tiny task and ship it. Nothing builds confidence like a quick win.
We are so glad you are here. Ping your buddy or me if you have any questions. That's it. Let's make awesome stuff together!
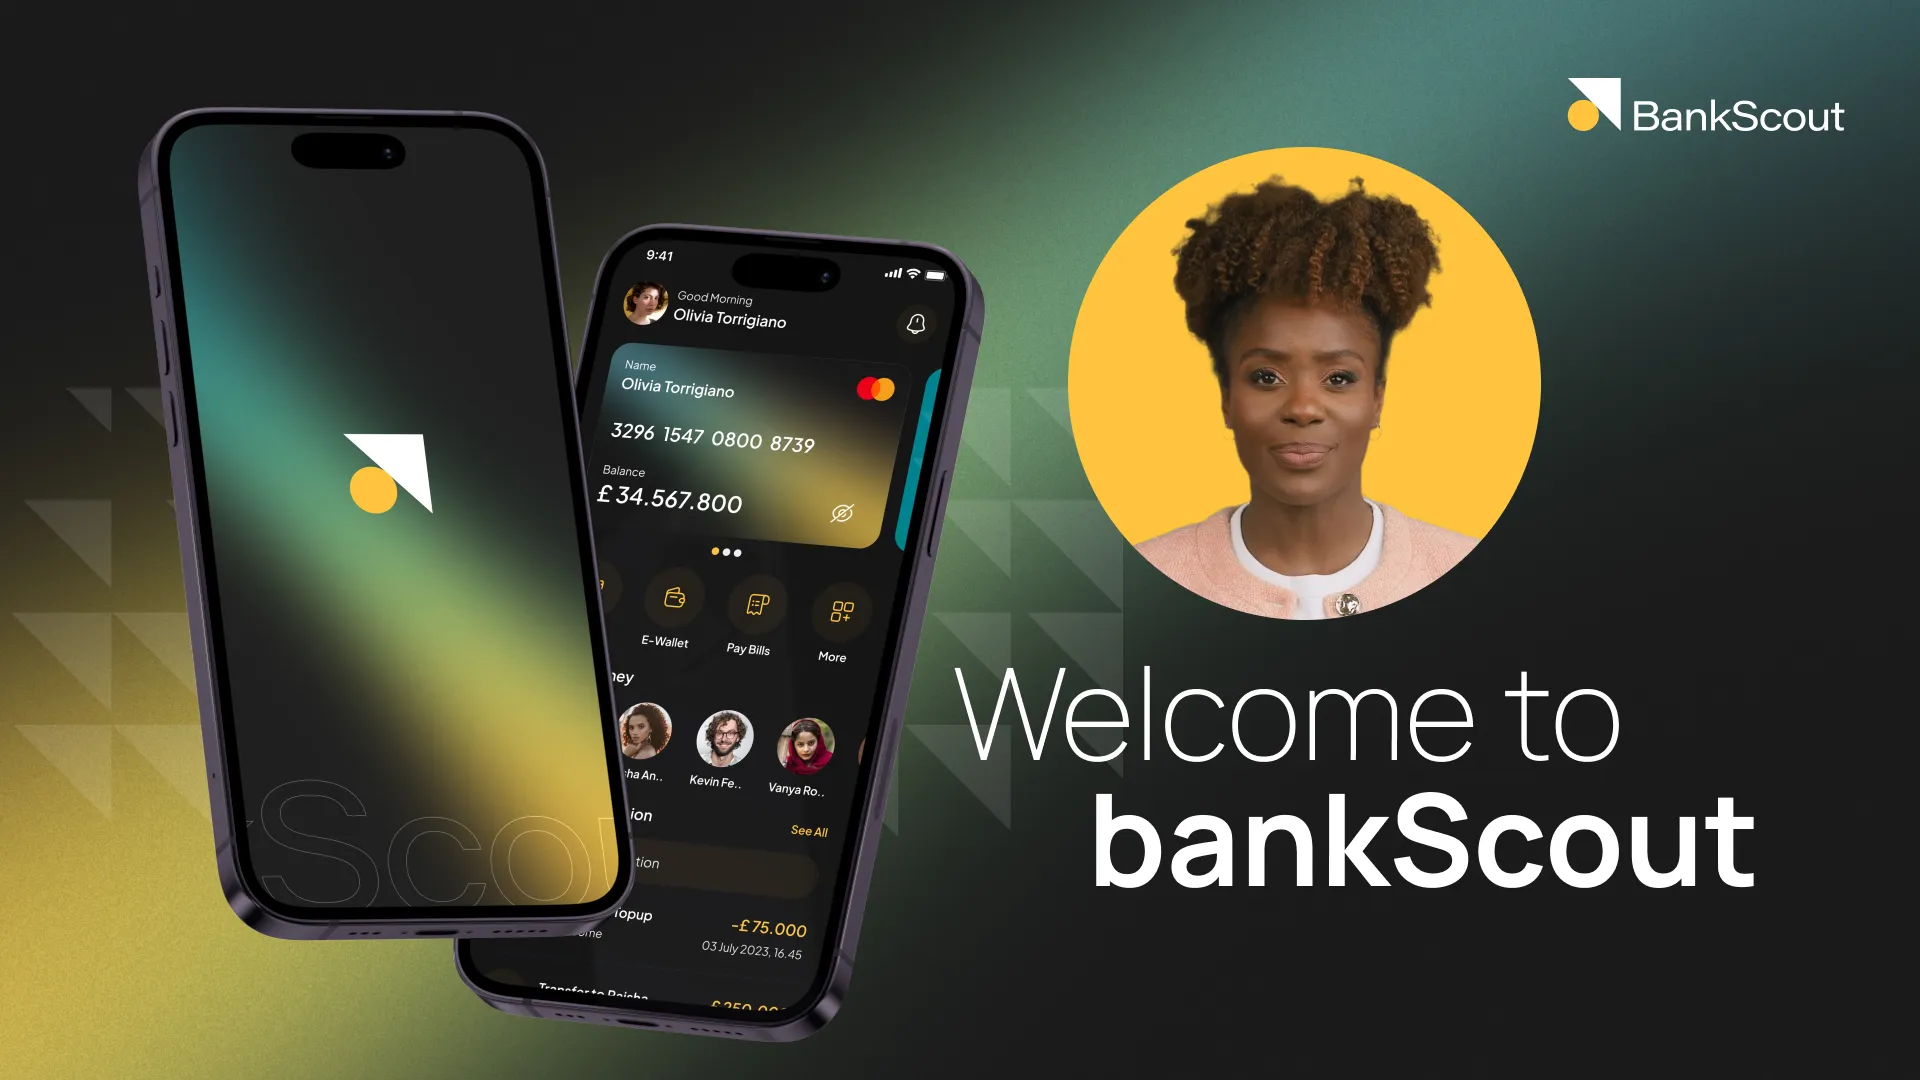
With Synergy Flow you can track tasks, analyze performance, collaborate in real-time.
Let's look at our plans: We have Pro plan for small teams and startups. Also — we have Pro plus plan for growing companies.
And enterprise for those companies that need robust security. If you can't find the right plan, let us know.
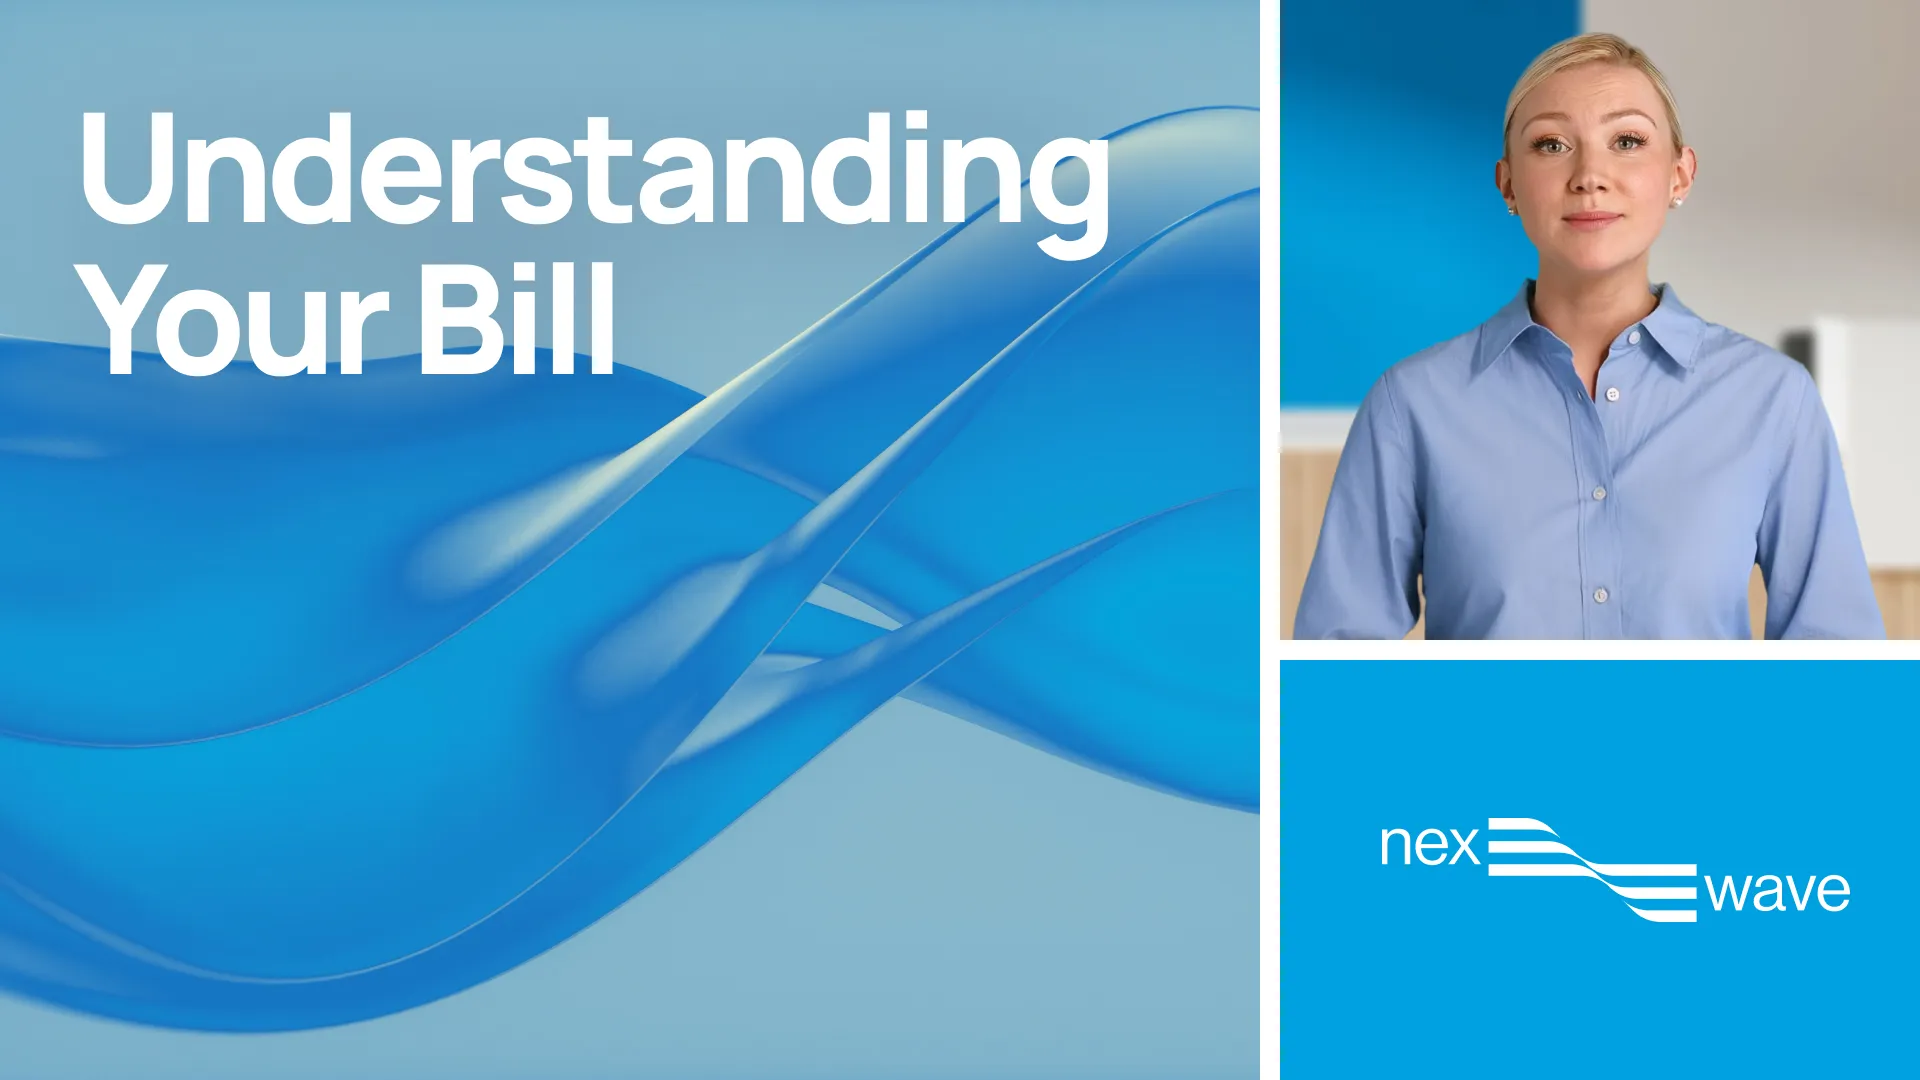
Strong password is key to your security. Make it at least 12 characters, and use a mix of uppercase, lowercase, numbers, and symbols. Avoid common words or names.
We don't recommend you to use same passwords for work and personal accounts. Also always use multi-factor authentication to avoid extra risks.
Stay cautious, never share your password and don't hesitate to ask questions. That's it for today. Thanks for watching.
Paste a link to a public article or blog post you have permission to use and we’ll turn it into a video.
Pages with over 4,500 words will be rejected.
We don’t support this type of link. Try a public article or blog post instead.
Upload a text-based document to create your video.
Choose a file
PPT, PPTX, PDF, DOC, DOCX, TXT (max 50MB)
Thumbnail name
Thumbnail name
Upload error
By using this service, you confirm you have all necessary rights, licenses and permissions to upload and dub this content, and that your use of any dubbed content will be in accordance with the Acceptable Use Policy and in compliance with applicable regulations related to intellectual property and data privacy.
Trusted by over 90% of Fortune 100 companies.
No script? No problem. Our AI does the work
Turn files, URLs, or ideas into studio-quality videos — no script needed.
File to Video
Upload your PowerPoint, PDF, Word, or TXT file, and watch as it’s transformed into a video.
URL to video
Enter any website URL, and our AI will create a video from the content.
Prompt to video
Got an idea? Describe it in a few words, and let our AI bring your vision to life.
From script to engaging video in minutes
Effortlessly turn your scripts into training, marketing, and internal communication videos with realistic AI presenters.
Create videos from any text
Transform scripts, prompts, slides, PDFs, and websites into editable scripts. Convert your script to video in seconds using AI and pre-designed templates.
Add AI voiceovers in any language
Narrate your script with 1000+ natural-sounding AI voices. Pick the accent, tone or even clone your own voice.
Professional script to video templates
Use professionally-designed video templates to simplify the video creation process. Easily customize them to fit your brand.
Bring your script to life with realistic AI avatars
Select from over 240+ diverse and expressive AI avatars to make your AI videos more engaging.
Media Library
Enhance your videos with stock and AI-generated video clips, images, icons, GIFs, and soundtracks.
Live Collaboration
Collaborate with your team in real time and create videos faster.
Beyond scripts. Your full AI video toolkit
Create high-quality videos from a script directly in your browser in just a few clicks. No technical knowledge or separate video editing software required.
Easily create editable screen recordings with accurate voiceover transcription and powerful design tools.
Upload your brand font, logo, colors, graphics, icons, soundtracks, and more.
Get access to millions of royalty-free images, videos, icons, GIFs, and soundtracks, or generate your own assets with AI.
Keep your content up to date and easily revert back to previous versions of your videos.
Add and edit text, images, shapes, transitions, animations, and more.

AI Script to Video used by 50,000+ teams to create videos at scale

Learning & Development videos that engage.
Replace boring text, PowerPoints and PDFs with engaging videos.

Sales Enablement videos that drive results.
Create high-quality sales enablement videos your team won't skip.
Information Security videos that reinforce.
Create engaging information security training videos, without relying on 3rd parties.
Marketing videos that resonate.
Create your professional-looking product explainers in minutes, not months.
Customer Service videos that satisfy.
Transform your help articles into short videos and improve your customer experience.
How to create an AI video from a script


Train, market and sell like a Fortune 100 company
“It's enterprise-ready and makes video creation easy.”

"What used to take 4 hours now takes 30 minutes."

"The platform is so easy to use and intuitive."

“We make videos fast and use them every day.”


“Updating 10,000 courses? Totally doable now.”

"100 hours of translation done in 10 minutes!"

"I don't need a third party anymore. I do it myself"


“50% faster content. Without sacrificing quality”

"Teams adopt it fast and use it across the company."


“Interactive video is redefining training for us”


“We push updates without touching the LMS.”


"We saved $56K and hit 100+ custom videos."

"With Synthesia, we get lightning-fast results."

"180 videos. 5 languages. 0 hassle."

“It’s easy to use and grows across teams fast.”

Frequently asked questions
How can I make a video from a script using AI?
With AI, you can convert a script into a video by uploading a text document, pasting text directly, or even pulling content from a URL. Once your script is in, choose a video template, add AI-generated voice and visuals, and let the tool generate the video.
How do I write a video script with AI?
Our AI script generator can assist in crafting a structured and engaging script by generating text based on a topic or even summarizing content from a URL. Many platforms also offer prompt-based tools to help you create clear, conversational scripts optimized for video.
Is there a free script to video AI generator?
Yes! You can try Synthesia’s free AI video generator tool right on this page. Just enter your script, and see how easy it is to turn text into a professional-looking video using AI avatars, voiceovers, and more — no video editing skills needed.
How long does it take to create a video from a script with AI?
Our AI text-to-video generator can turn a script into a video in just a few minutes. After you input your script, the AI quickly processes the content, delivering a complete, polished video.
How can I personalize my AI video?
Synthesia offers several customization options, such as creating a custom avatar, choosing from a range of voices, adding branded visuals, and even including specific images or logos. Some tools also allow voice cloning, letting your avatar speak in your unique voice, for a personalized result.


