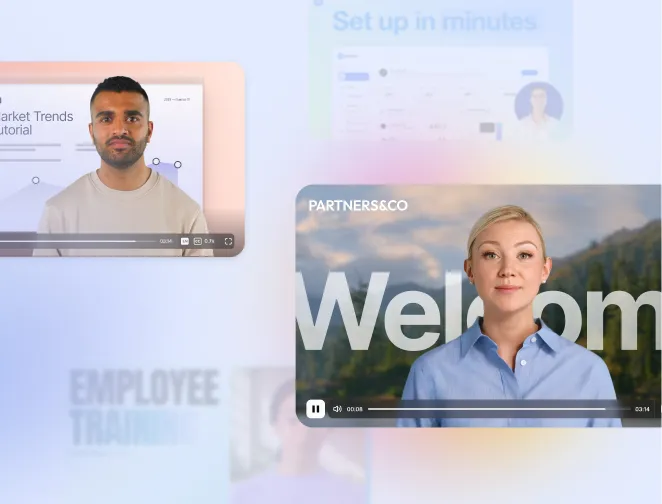


Create AI videos with 240+ avatars in 160+ languages.
Guiding your customers through a problem is an essential part of customer support. One of the first touch-points between your customer and your business is a knowledge base.
On its own, a well-written and comprehensive knowledge base is a great tool for breaking down processes, features, and frequently asked questions.
However, these articles can be quite long, and people just don't like reading. 🙅♂️
That's why adding video is a powerful medium for communicating information through visuals and audio in an easily digestible and engaging way.
If done right, adding short videos to knowledge base articles can transform the platform into a self-service support universe and take the load off of the customer support team.
In this article, we cover:
- 3 reasons why videos are some of the most essential tools in a knowledge base
- 4 ways to use video in a knowledge base
- 4 steps to creating knowledge base videos using cost-effective ways
- 6 tips & tricks to making great knowledge base videos
What is a knowledge base video?
A knowledge base video is an informational video that answers common support questions and helps customers learn about a specific topic in a video format.
It can be an answer to a generic question about the business/product or a demonstration of how to solve a particular problem with a software or tool.
Knowledge base videos usually have a narrator who speaks slowly and clearly, using simple language that is easy to understand. The videos also often include visuals, such as animations or screen recordings, to help illustrate the points being made.
Here’s what a knowledge base video would look like for Intercom, for example:
Why should you create a video knowledge base?
Including relevant videos can enhance the customer experience, decrease strain on customer support teams, and improve customer satisfaction.
Beyond that, there are three more nuanced benefits of embedding videos in knowledge bases/help centers.
Videos easily demonstrate and explain a problem
A knowledge base article serves to explain a solution to a problem and educate the users on the individual features of a product/service.
Text-based knowledge base articles are usually written as how-to guides and FAQs and include step-by-step instructions. Depending on the particular feature that the knowledge base explains, the article can get very long and hard to follow.
That's why a video is a perfect medium for a knowledge base, as it shows context and allows the users to follow along at their own pace.
Besides, at each step of the video, the user can compare what's on their screen with what's in the video.
Here's a great example using HubSpot showing how creating videos to go along with text-based articles can make for a more comprehensive knowledge base.
Videos serve a wider audience
Wouldn't you rather watch a short video than read a long article or blog post?
We sure would, and so would most people.
In fact, people take in 95% of the information presented through video vs. only 10% through text.
If that isn't a good enough reason, consider accessibility. Text can be difficult to read for some customers, while videos designed with accessibility principles in mind can be viewed by users with all kinds of disabilities. Plus, video content includes audio, allowing users to listen to the instructions instead of watching them.
Videos allow you to see engagement data
If you're hosting your video on a site that offers analytics, like YouTube, you can understand exactly how your customers find and interact with a video.
This can help you understand what's working and what isn't and give you an idea of how to improve video content on your knowledge base.
Here are a few things analytics can tell you about your video content performance:
- Are people skipping over a particular part? Maybe that part doesn't offer any value. Consider omitting it or changing it.
- Do people keep rewinding to a specific point in the video? Perhaps the instructions aren't clear. Consider expanding that section with more information or slowing it down to make it easier to follow.
- Do the views drop dramatically towards the end of the video? Perhaps their questions are answered in the first half, and the last bit is redundant, or that answer wasn't what they were looking for.
Whatever the case, knowledge base video analytics can tell you a lot about your customers, which in turn can help the support team tackle issues more efficiently.
Creating videos saves time
Hear us out.
Sure, filming professional videos in a studio, recording voiceovers, or even using an at-home setup to record videos for your knowledge base is a hassle. And refilming videos with updated information simply isn't feasible for most companies.
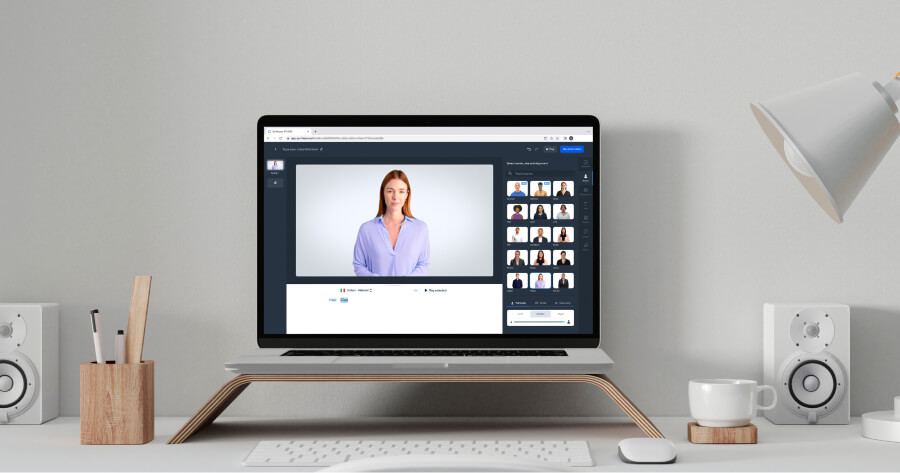
However, using an AI video maker like Synthesia, companies can create narrated instructional videos with realistic presenters by simply typing text. No need for any equipment or editing skills.
And it's incredibly easy to update the videos. Click the 'Edit' button, update the information, and generate again. If the video was embedded on your landing page, you don't even have to copy-paste the new embed code. 🤯
How to use videos in your knowledge base
Show step-by-step processes with how-to videos
Video tutorials are perfect for demonstrating step-by-step instructions for solving a particular issue because they combine an audio explanation with helpful visual clues.
Here's an example of a short how-to video demonstrating how to use the folder system in Synthesia.
The combination of a presenter, screen recordings, and succinct narration make for an engaging yet helpful video.
Onboard new users with video
Onboarding each client in person can be quite time-consuming, to say the least.
Creating customer onboarding videos - is much easier. Add these short video tutorials to the 'Getting Started' section of your knowledge base to set your clients up for success and reduce the workload of your CSMs.
See how Synthesia does it.
Show off product features with explainer videos
Highlight a specific feature by quickly creating an explainer video. Publish across knowledge bases, announcement platforms, and even on your social media channels.
Here's an example of an explainer video by Synthesia announcing the video translation feature.
Answer questions with FAQ videos
Written articles are just not as engaging as videos, so why not support customers with videos answering all the commonly asked questions?
As a bonus, you can add a hyper-realistic AI avatar to make your videos more engaging and approachable.
How to create knowledge base videos
We'll be using a tool called Synthesia to demonstrate, but the steps are universal for most video tools and features.
Step 1: Transform your article into a video script
In a perfect world, you could simply copy and paste all the existing content from your knowledge base article into a video maker and call it a day.
But the reality is slightly different. Most knowledge base content is too long and dry to be turned into videos without alteration.
So before you simply paste your article, take a few minutes to turn it into a video script.
Here are a few tips on transforming existing content into an engaging video script:
- Use a conversational tone
- Keep sentences short and coherent
- Only include essential information
- Write 4-5 sentences per scene
Step 2: Create a voice-over
There are plenty of ways to do that, including using the built-in microphone on your video camera or recording a narration using a professional microphone. You can even hire a voice-over actor to do the job professionally.
However, we recommend a method that is easier, more cost-efficient, and scalable than all of the above - AI text-to-speech.
Using a tool like Synthesia, you can simply paste your video script into the tool, choose a voice and the voiceover will be generated automatically.
Here's why creating text-to-speech voiceovers is a good option for a video knowledge base:
- You can adjust and edit the narration as much as needed without re-recording
- No need for expensive gear
- Choose from 400+ voices
- Create narration in 130+ languages without speaking them
Step 3: Add screen recordings
Now that you have your written and audio content ready, it's time to add visuals.
The easiest way to visualize a step-by-step process is by doing a screen recording, especially if you have a software knowledge base.
Using Synthesia, you can record the screen right inside the video editor - no separate video creation tools needed.
We recommend creating separate screen recordings for each step instead of one long video. That way, the screen recordings are easier to manage and re-record.
Step 4: Give it a visual identity
A video knowledge base is a content library that will be seen by thousands of customers, so all video content should be recognizable and on brand.
One way of doing that is by giving all of your knowledge base video content a visual identity.
Visual identity can be created in different ways. Here are a few tips:
- Use consistent, on-brand colors
- Stick to a clean content structure in your video
- Keep script writing sounding similar to your brand's tone of voice
- Add a human face or an AI avatar that's consistent with your brand persona.
- Create custom video avatars of yourself or your employees for instant recognition and personalization.
6 tips for creating knowledge base videos
Now that you're familiar with the steps to creating a high-quality knowledge base video, let's look at the different ways you can make it even more engaging.
Tip #1: Add closed captions for accessibility
Closed captions also make the video more accessible for people in noisy environments or for those who prefer to watch the video with sound off. By including closed captions, you not only make your video more inclusive but you also increase the chance of it being viewed and shared. It's a small step that can have a big impact on the accessibility of your video content.
To add closed captions in Synthesia, simply turn on the 'Include captions' toggle before generating a video.
Tip #2: Optimize your videos for mobile viewing
Many users access content on their phones or tablets, so creating videos for mobile devices is essential.
Use the aspect ratio presets in Synthesia to create videos in all kinds of mobile-friendly sizes, and don't forget to add subtitles for those who like to watch videos with the sound off.
Tip #3: Break language barriers with multilingual videos
If you have an international target audience, or even if you already have knowledge base content in other languages, consider extending that to video as well.
Using Synthesia's video translation feature, you can translate any existing video into another language at the click of a button. It's that easy.
Tip #4: Match audio to visuals
Add interactive elements, such as written content and highlight boxes to your screen recording to reinforce your audio instructions.
Additionally, make sure the exact steps in your narration match what you're showing on-screen.
Tip #5: Keep your content up to date
If you're filming your videos with traditional methods, it can be hard to keep them updated.
However, using the online video tool Synthesia, you can edit your knowledge base videos in seconds using the handy 'Edit' button. No need to re-film actors, re-record your narration, or re-edit the video.
Tip #6: Optimize for search engines
What is the first thing you do when you have a question about a software/tool? Google. Your clients are probably doing the same, so make sure you content is search engine optimized for easier access.
Adding videos to your YouTube channel is another great way to ensure your videos are search engine optimized since YouTube videos are automatically indexed by Google.
Create knowledge base videos at scale
We hope you have learned that you don't need fancy equipment, thousands of dollars, or a lot of time to create a video knowledge base.
If you want to help your customer support team (and the users) by creating knowledge base videos in a fast and scalable way, check out Synthesia's AI video generator.
About the author

Strategic Advisor
Kevin Alster
Kevin Alster is a Strategic Advisor at Synthesia, where he helps global enterprises apply generative AI to improve learning, communication, and organizational performance. His work focuses on translating emerging technology into practical business solutions that scale.He brings over a decade of experience in education, learning design, and media innovation, having developed enterprise programs for organizations such as General Assembly, The School of The New York Times, and Sotheby’s Institute of Art. Kevin combines creative thinking with structured problem-solving to help companies build the capabilities they need to adapt and grow.


Frequently asked questions
How do you embed video in a knowledge article?
To embed a video in a knowledge article, you can follow these steps:
- First, upload the video to a video hosting platform such as YouTube, or Vimeo. If you're using Synthesia, you can skip this step.
- Once the video is uploaded, you can get the embed code from the hosting platform.
- Finally, you can copy and paste the code into the HTML editor of your CRM tool's knowledge base platform. The video should now appear in the article.
What should be included in a knowledge base?
A knowledge base should include comprehensive and high-quality content relevant to a specific subject or for a particular audience, often addressing frequently asked questions, standard procedures, best practices, and troubleshooting guidelines.
It should be regularly updated to ensure accuracy and should be user-friendly, with a clear structure, search functionality, and categorization. The content should be presented in various formats, such as articles, informational video content, and infographics, to cater to different learning preferences. Additionally, a feedback mechanism should be in place to continually improve the content based on user interactions and needs.
Note: Different CRM tools may have different methods for embedding videos, so you should check the platform's documentation or support resources for specific instructions.