

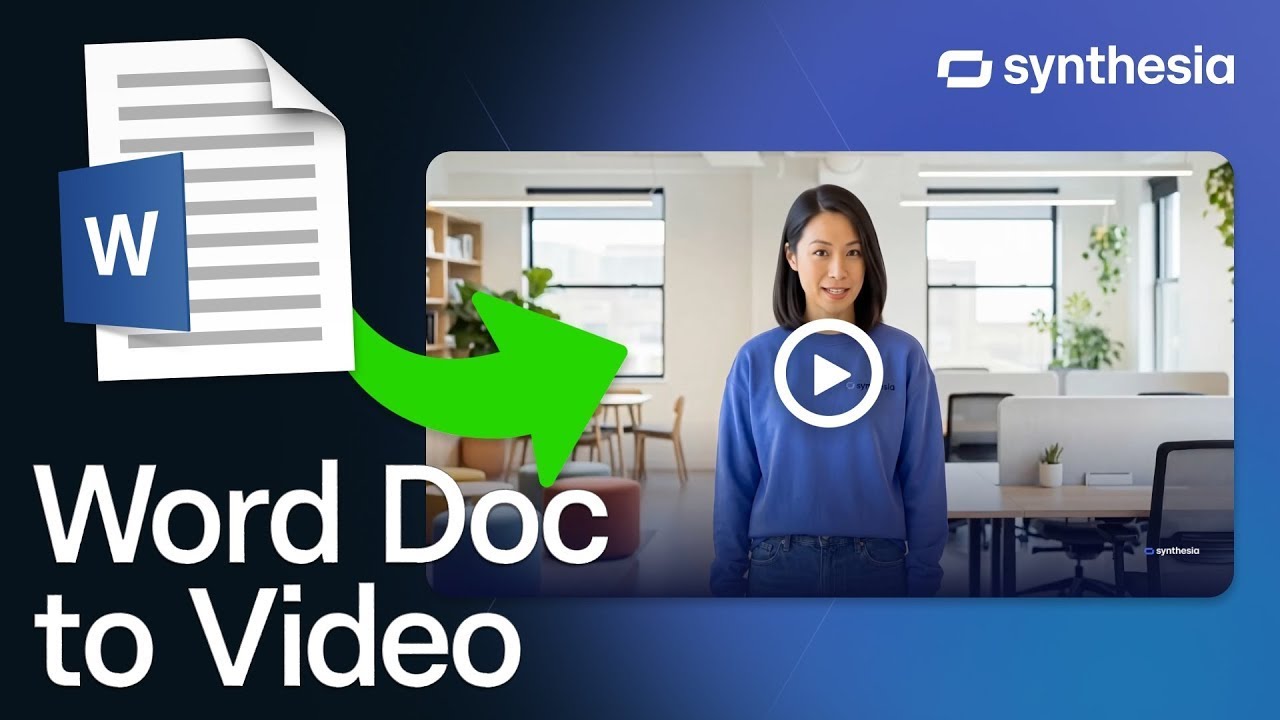
How to Convert Your Word Documents into Engaging AI Videos

Convert Word documents into engaging AI videos in 160+ languages.
Have you ever found yourself at work staring at a document and thinking "do I really have to read all of this?"
If the answer to that is yes, you're definitely not alone.
Turning dense text into content that people actually consume is a common information design problem that many businesses face.
Synthesia can help with this — it lets you convert Word documents (as well as PowerPoint slides, PDFs, webpages, and text files) to video in minutes.
The resulting video is fast to update, easy to localize, and consistent with your brand, and the results look super professional.
Here's how to do it.
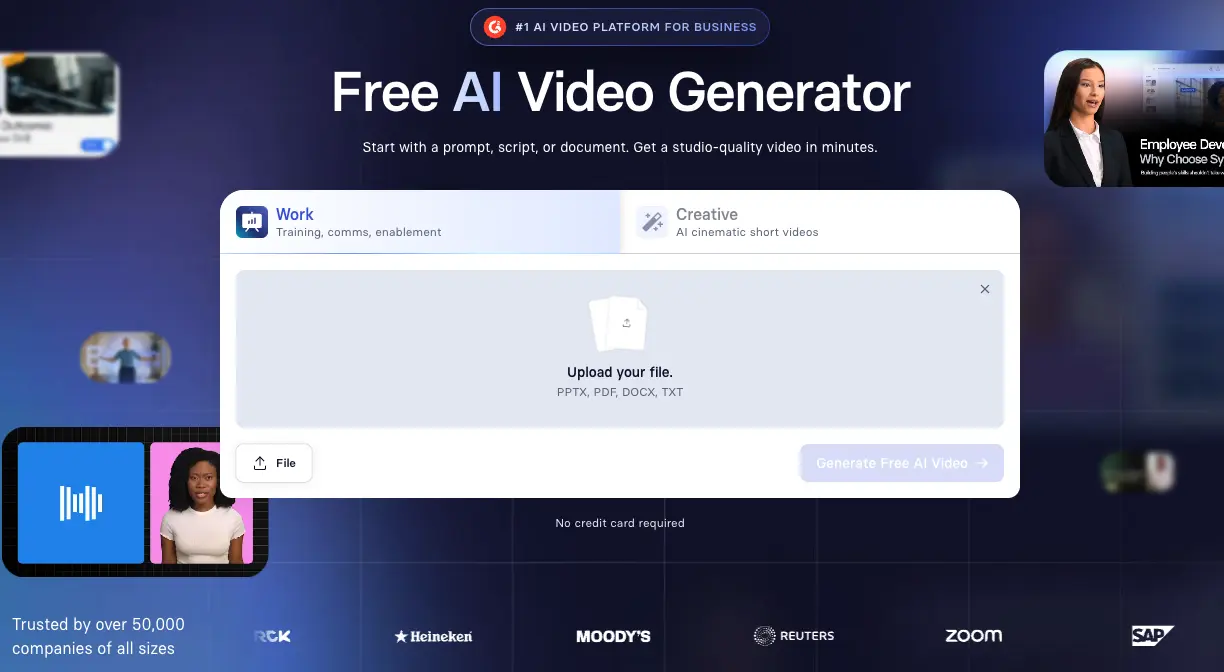
Step 1: Go to Synthesia's AI video generator
Head to Synthesia's AI video generator.
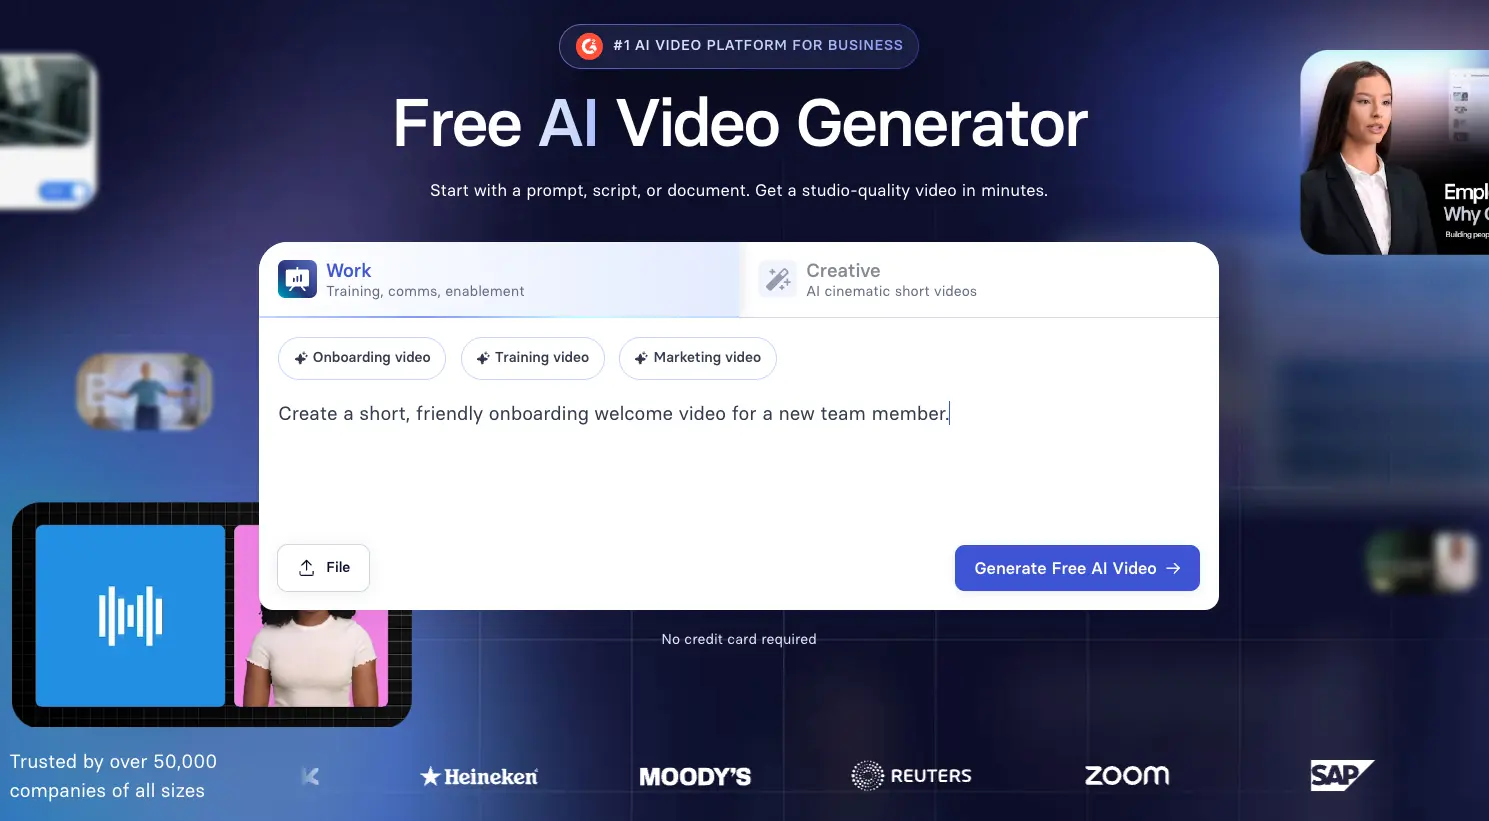
Step 2: Select the Work tab and upload your Word document
Select the Work tab, then click File and upload your Word document. Alternatively you can upload PDFs, PowerPoint slides, or text files.
You can also paste your video script or enter a simple prompt to get started.
When you're ready, hit Generate.
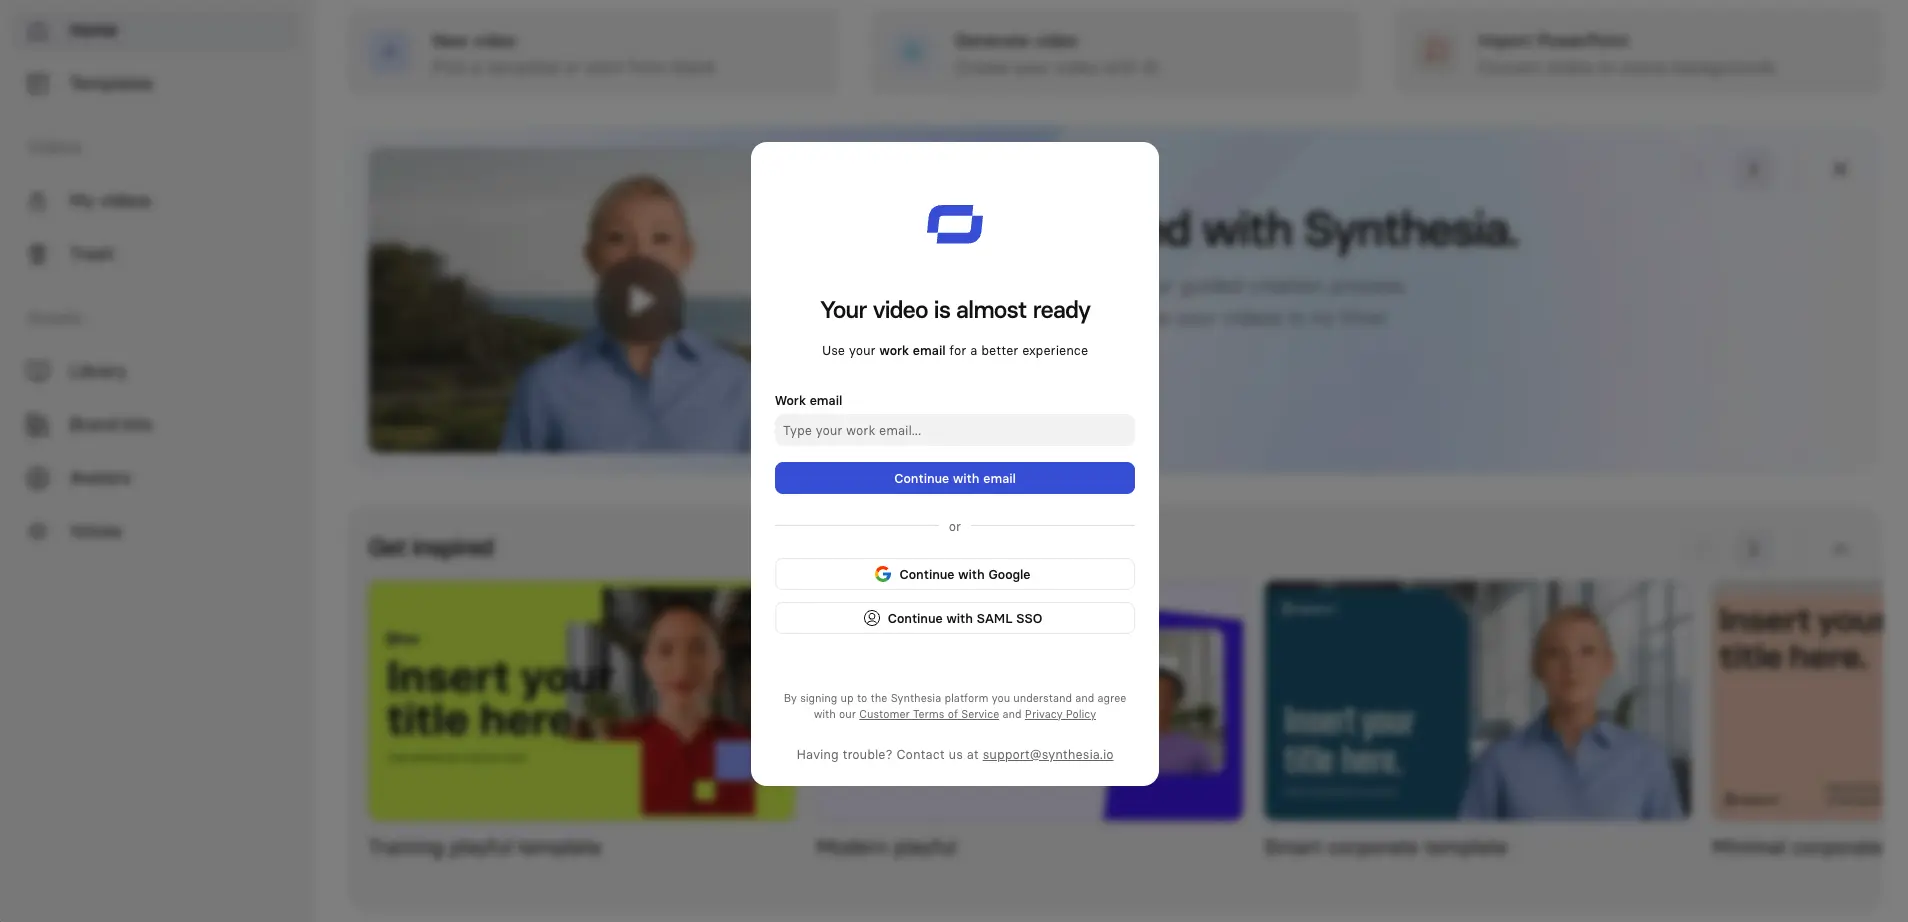
Step 3: Sign up to Synthesia for free
Sign up for a free Synthesia account.
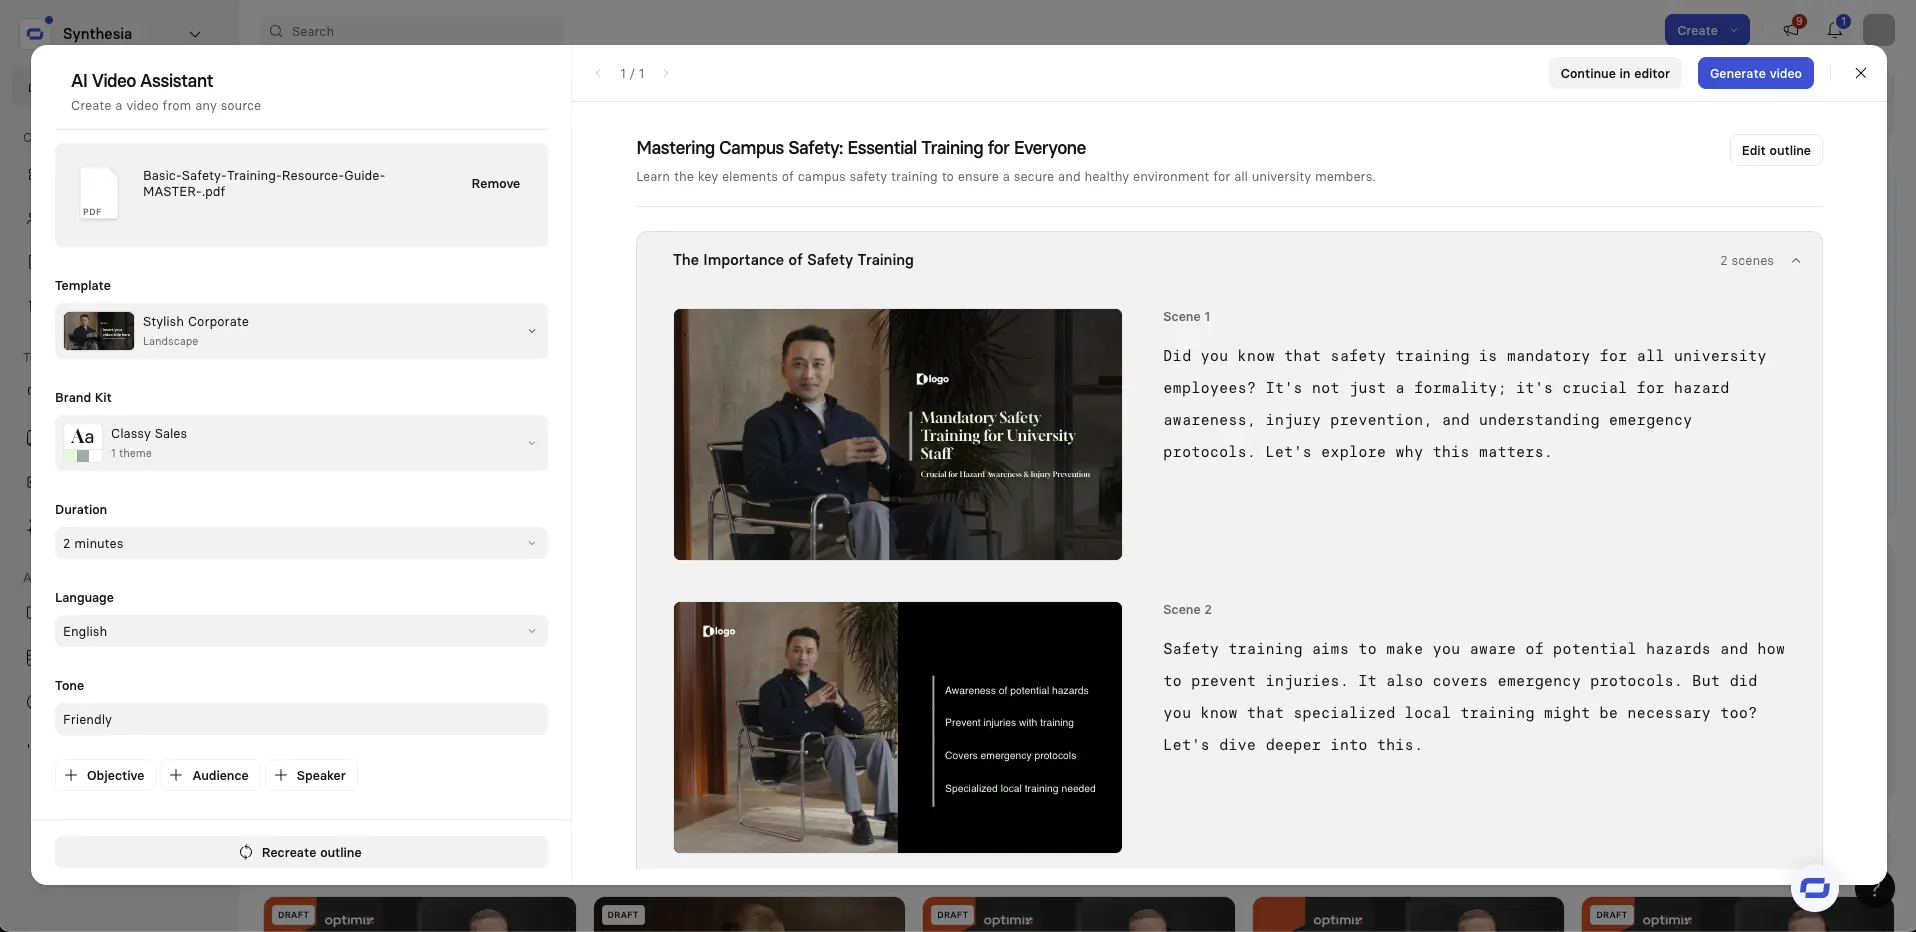
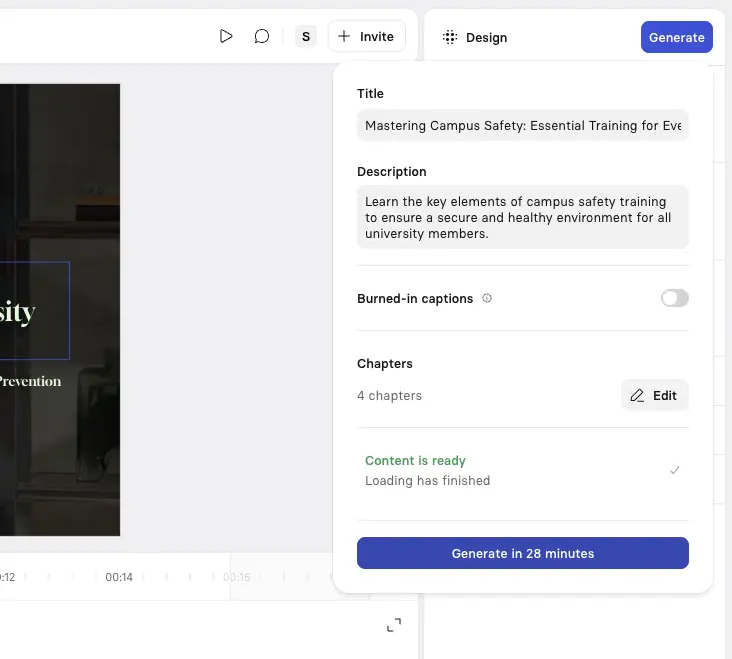
Step 4: Outline your video
After you've uploaded your document, next up is the outlining stage. Synthesia will then analyze the content and break it up into logical scenes that make up your video.
You'll now see an overview of all of your video's scenes that you can review and adjust as you see fit. You can also edit the script of each scene.
In general, you should try to stick to one idea per scene, and I'll also typically merge any scenes that are too short (under 10 seconds) and split up any that are too long (over 30 seconds). I find that this gives me a video with better pacing.
While in the outlining stage, you can change your video template, add, remove, or edit scenes, and adjust settings like video duration, objective, language, and tone.
When you’re ready, click Continue in editor.
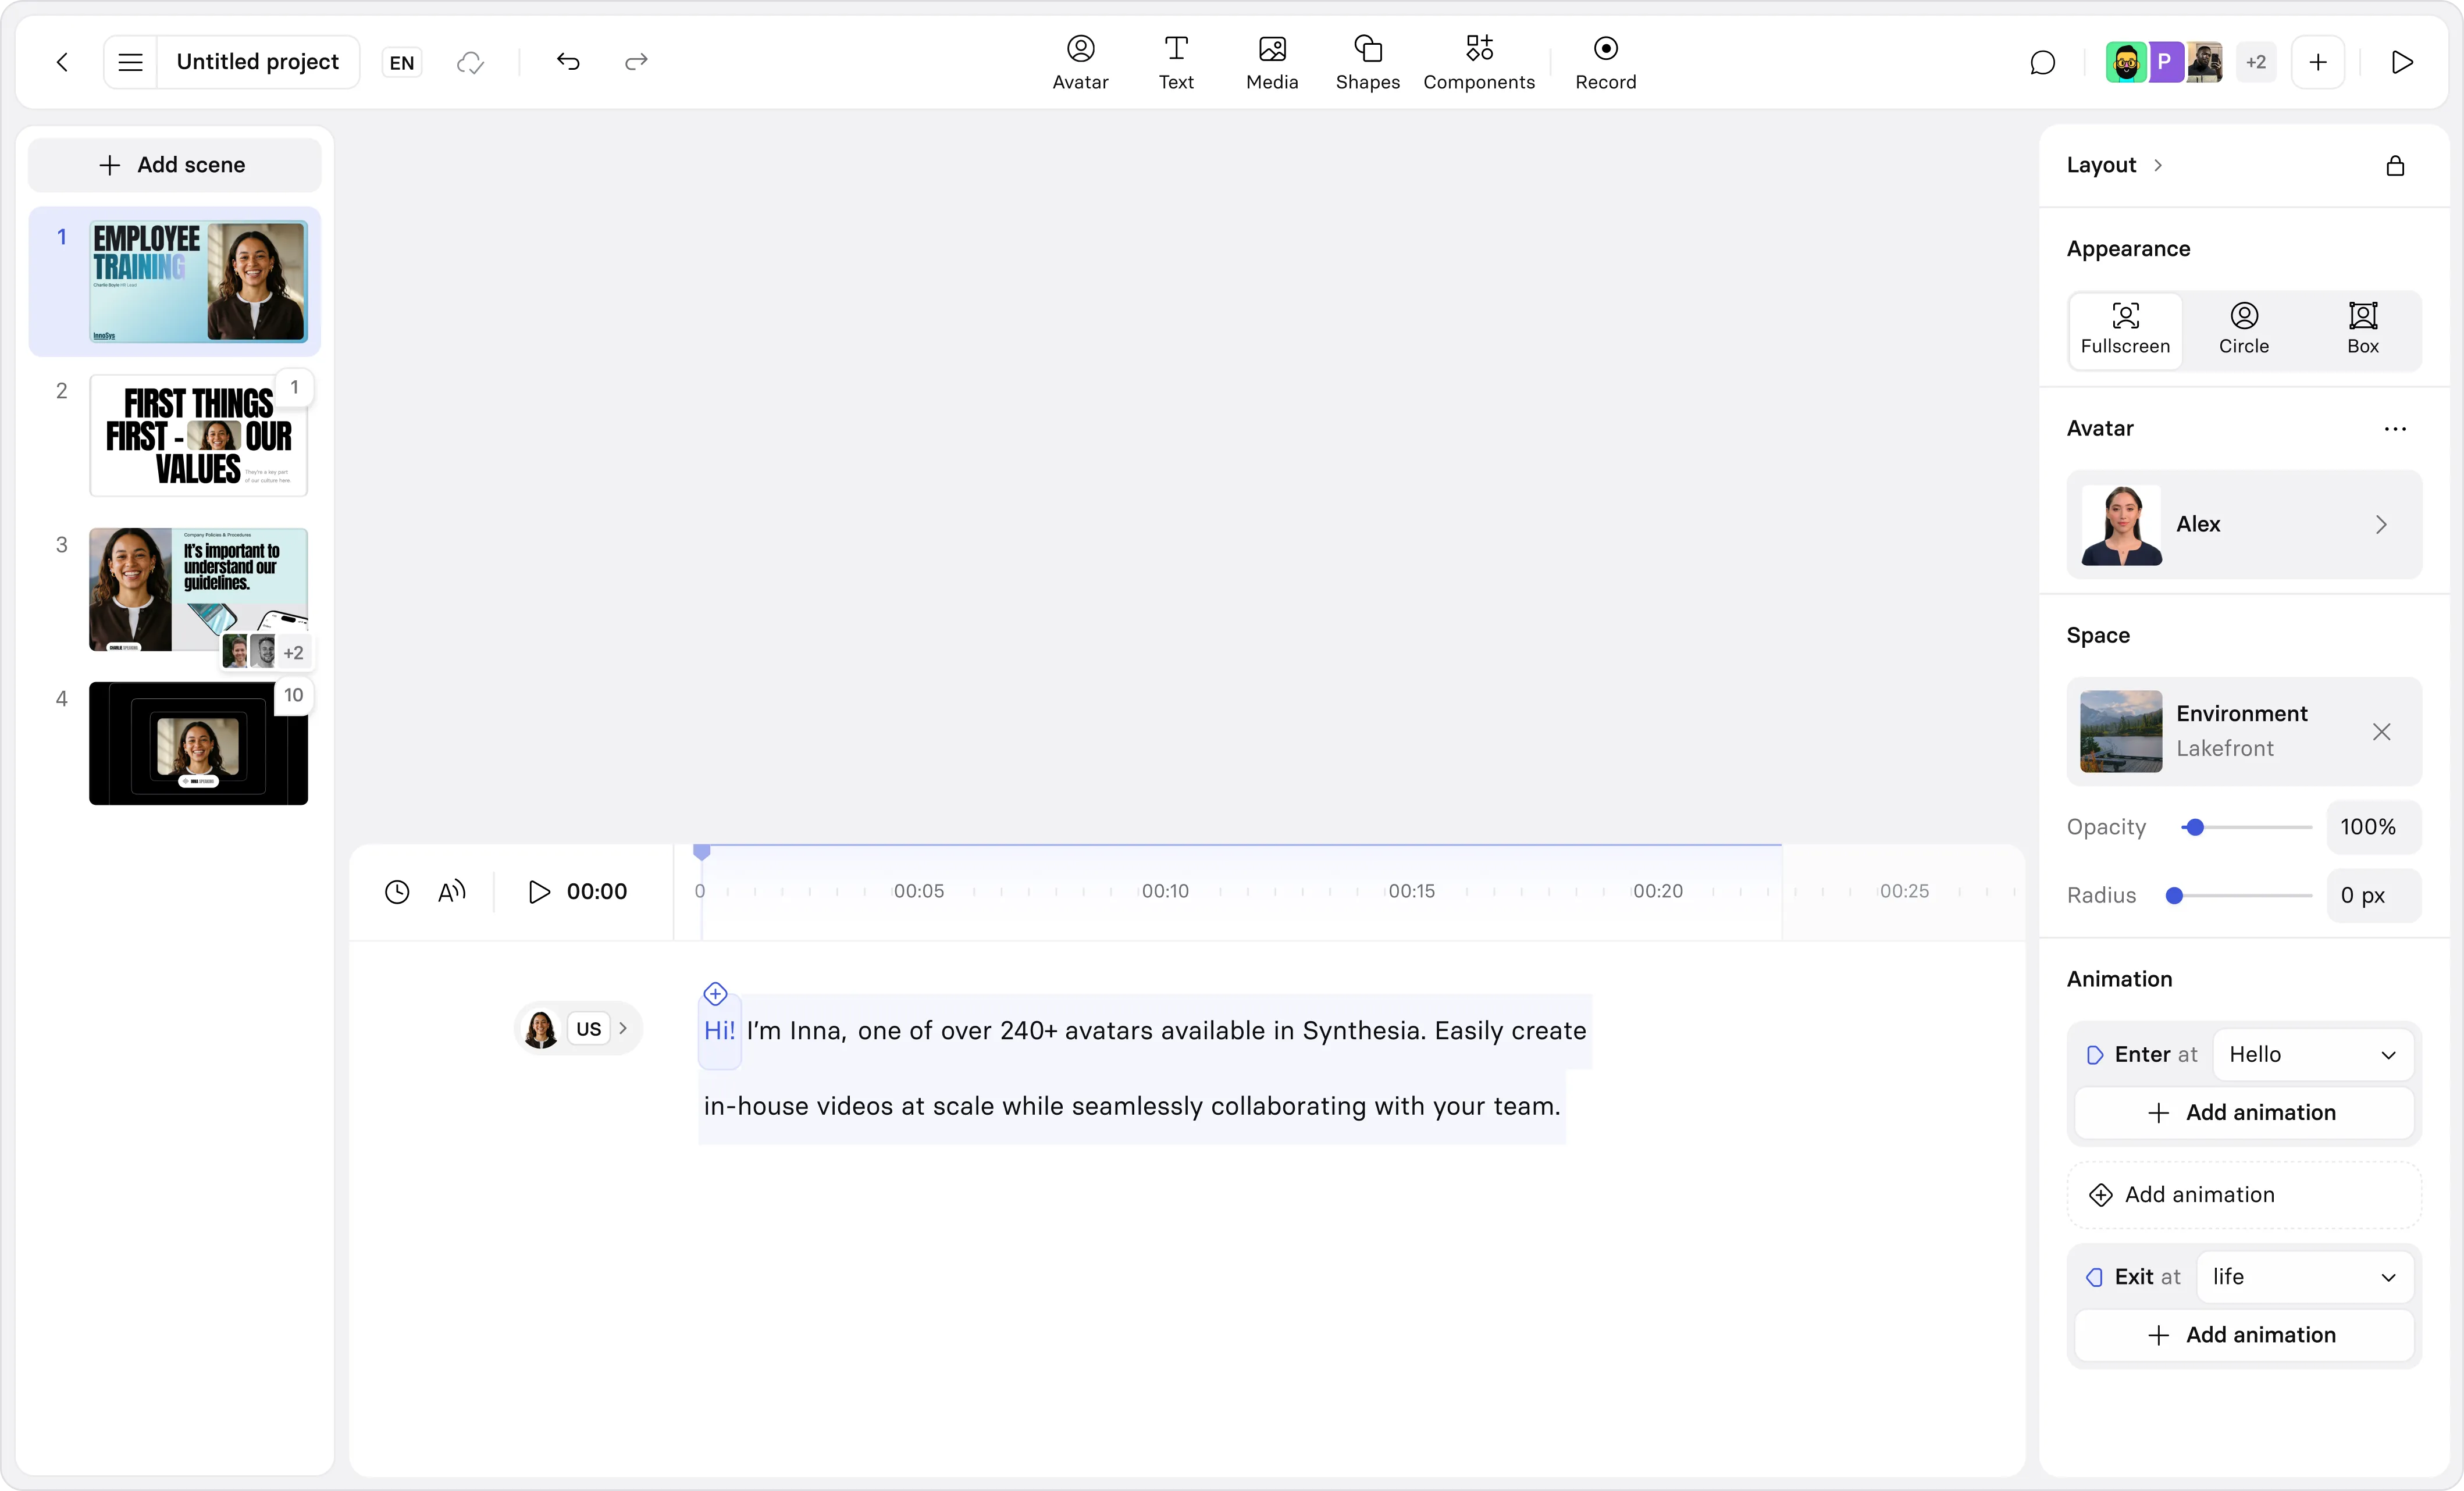
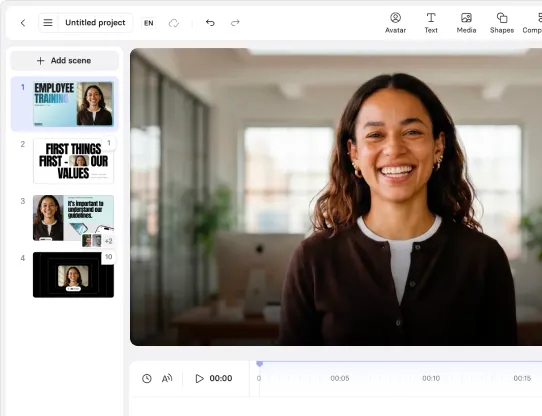
Step 5: Edit your video
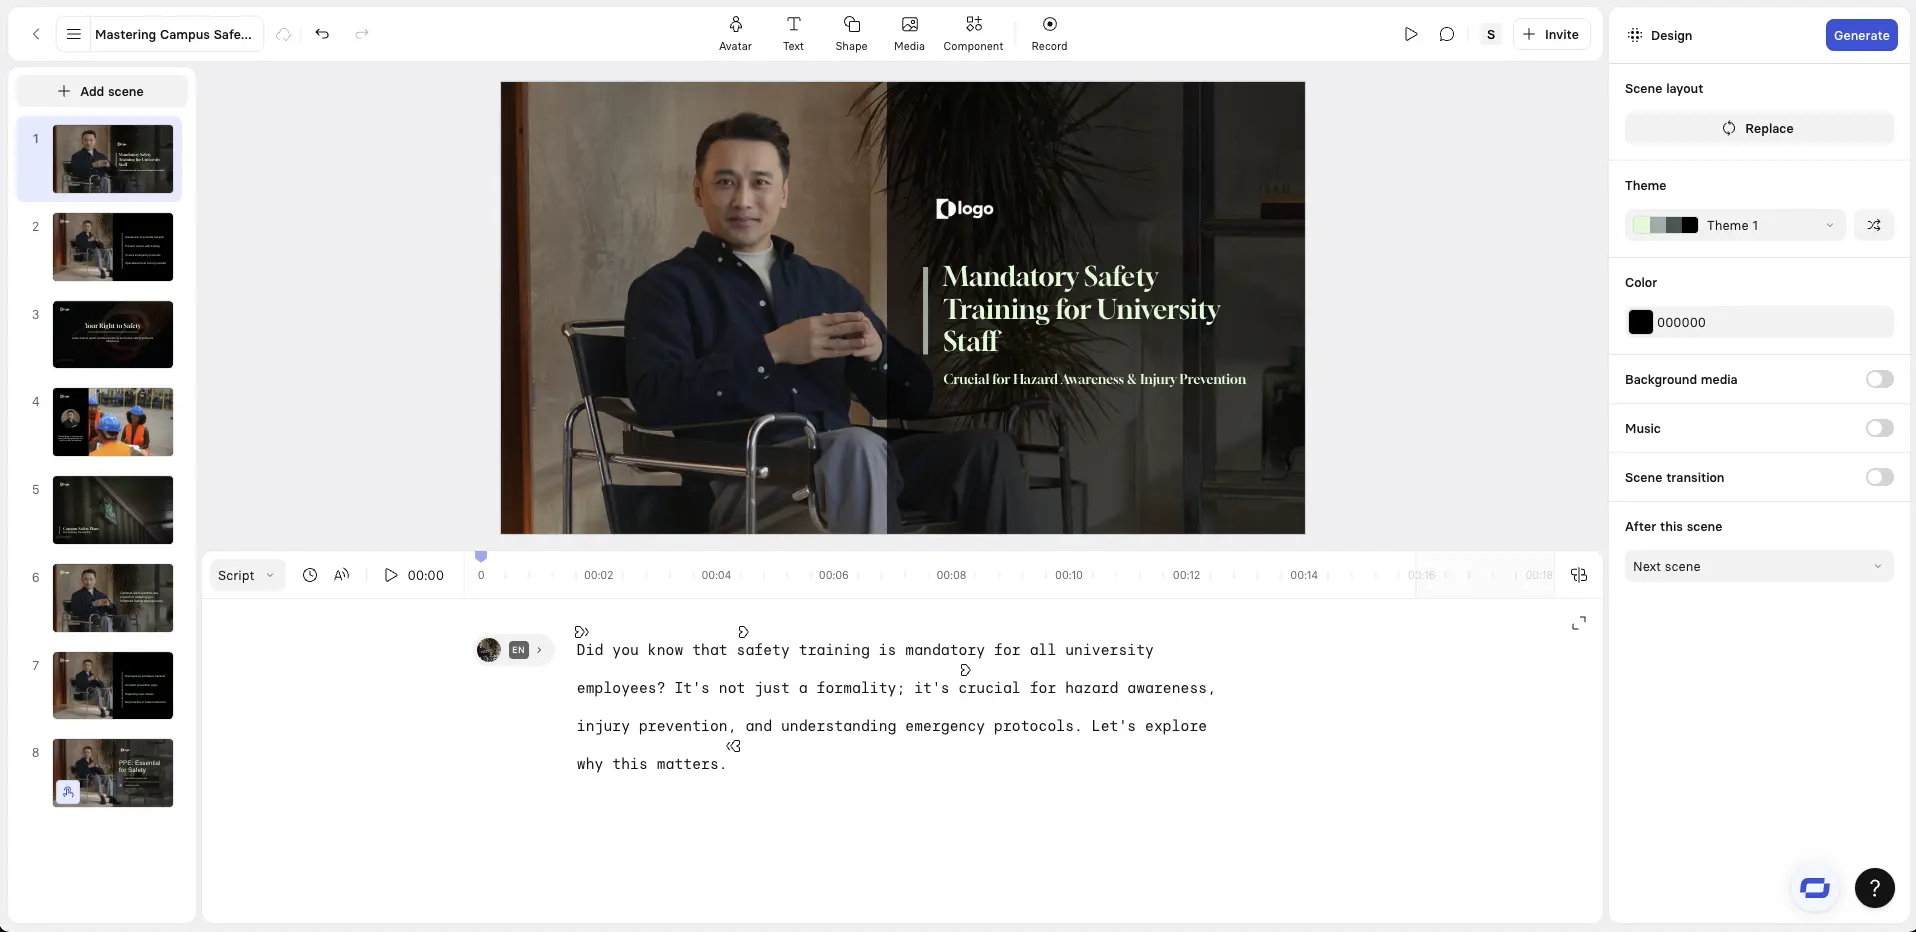
Now it's time to edit your video.
In Synthesia's editor you can review your scenes, refine each scene's script, and add avatars, B-roll, motion graphics, and screen recordings.
But before we get into how to do all of that, here are some quick tips when making your edits:
- Visual hierarchy constraints: You should limit on-screen text in your video to a headline and 1–3 bullets per scene. Any more than that, and you're probably overloading your viewers. Your script and narration should be carrying most of the detail.
- Dynamic captions: In almost all cases you should be enabling dynamic captions. A very large proportion of your viewers will watch your video without the sound turned on.
- Media usage: When adding media like B-roll, motion graphics, and screen recordings, you should try to keep the visuals literal and close to what is being said in your narration.
- Use pauses: I often add short pauses between key points to make the narration sound a bit more natural and to give my viewers a bit more time to absorb the information I'm throwing at them.
Aside from these tips, I've also developed a habit of previewing each scene after editing it, and I suggest you do the same. Doing this helps you to catch any awkward phrasing or pacing issues before you generate your final video, which will save you time and credits.

Pro tips that make the difference
- Focus each scene on one idea to make information easier to retain.
- Mix up your visuals with avatars, slides, images, and charts to keep viewers engaged.
- Consider accessibility by using high-contrast colors and clear fonts.
- Design for mobile first and keep text short so it fits cleanly on small screens.
Choose an AI avatar and voice
Click Avatar at the top of the editor to add an AI avatar to your video. Synthesia offers a wide variety of stock avatars as well as the option to create a custom avatar from a prompt or an image.
I suggest choosing an avatar that fits the context of your video, and I try to vary my avatar's placement and size between each scene in order to reset viewer attention without adding any distracting motion.
It's also important to select the right AI voice to go with your avatar. You should try to match the accent and tone to your primary target audience to increase engagement.
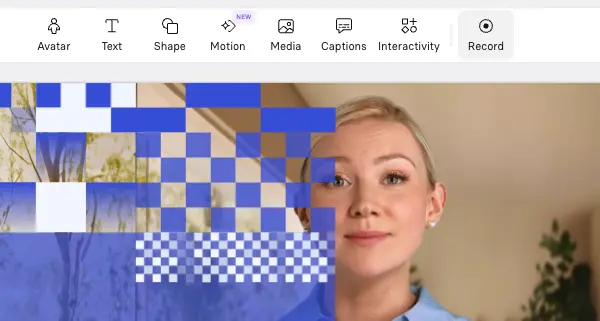
Add screen recordings
Click Record to use Synthesia's AI screen recorder. I mostly use these for product tutorials and software training videos, and I'll typically pair my screen recording with an AI avatar.
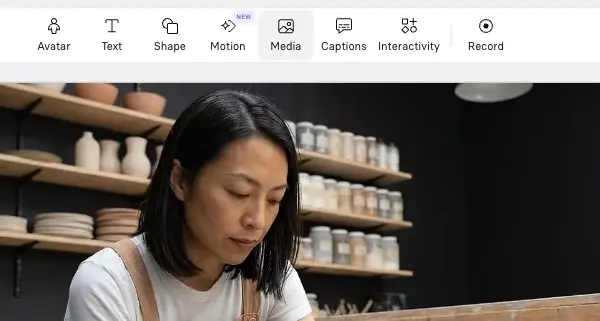
Add B-roll
Click Media to add B-roll to your video. You can generate these video clips using an AI video model like Veo 3, upload your own videos, or use Synthesia's stock media library.
B-roll is great for breaking up long narrative-driven sections of your video and helps to keep your video visually engaging. I'll usually use it to show real-world examples, people performing a task, or any other visual that supports the narration.
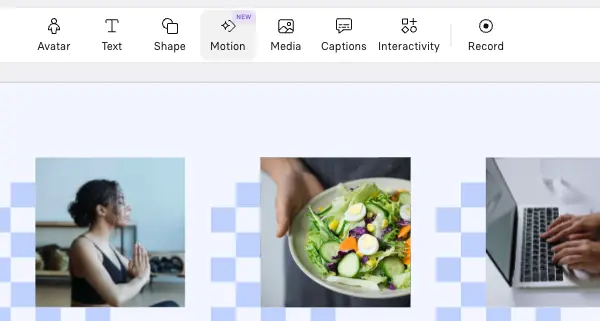
Add motion graphics
Click Motion at the top of your editor to start adding a motion graphic to your video. You can either use one of Synthesia's motion graphics templates or prompt one from scratch.
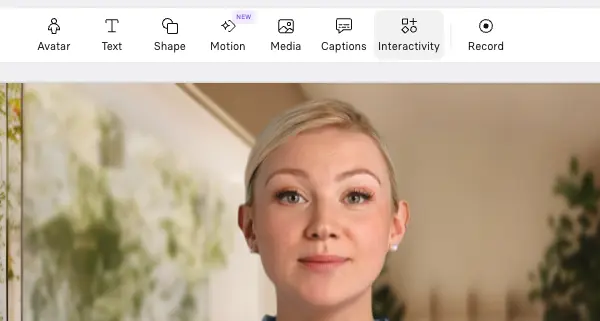
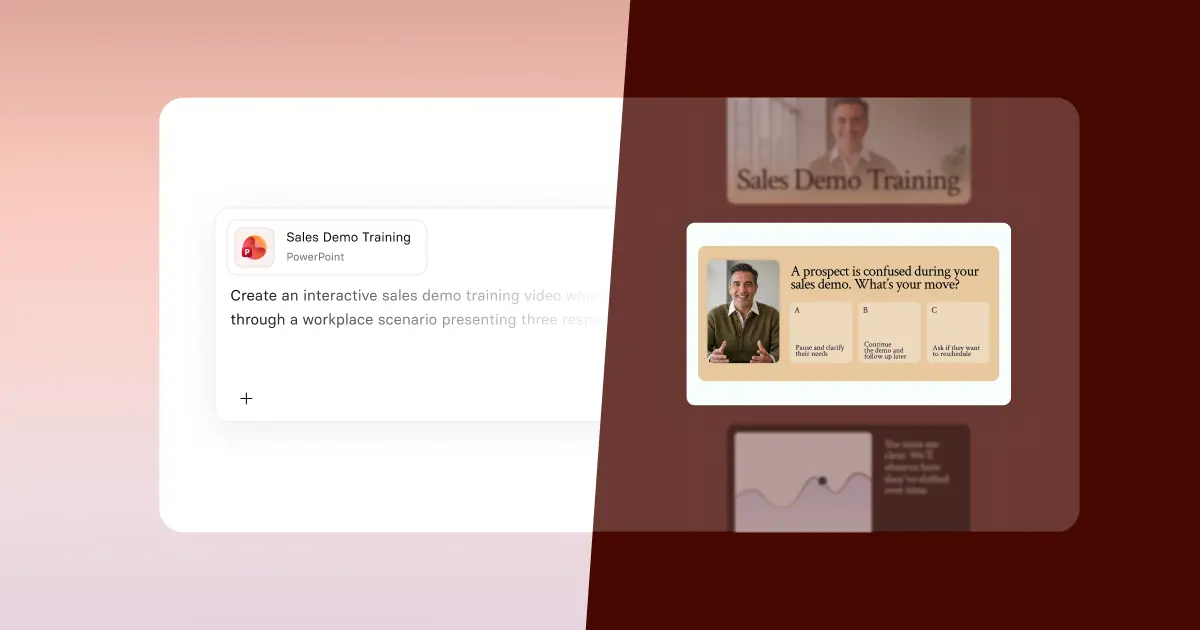
Add interactivity
Synthesia allows you to add clickable buttons and hotspots, branching scenarios, and interactive quizzes to your videos. Click Interactivity at the top of your screen to add these components.
Step 6: Generate your video
Click Generate in the top-right corner to create your video. You can then download your video as an MP4, get a shareable link, embed your video on a webpage, or download a SCORM version of your video and upload it to your LMS.
Step 7: Publish and share your video

The final step is to publish and share your video.
Synthesia lets you export your video as an MP4 file, or publish it within the platform, allowing you to embed the video wherever it’s needed.
Ready to transform your documents?
If you're struggling with getting your team to read Word documents, then it's definitely worth trying to convert them to video.
I suggest that you try starting with your most important but least-read document. This will probably be a training manual, process guide, or an FAQ.
Kyle Odefey is a London-based filmmaker and Video Producer at Synthesia. His content has reached millions across TikTok, LinkedIn, and YouTube, even inspiring an SNL sketch, and has been featured by CNBC, BBC, Forbes, and MIT Technology Review.
Frequently asked questions
How long does it take to convert a Word document to a video with Synthesia?
The whole process from uploading your Word document to sharing your finished video should take less than 20 minutes including video generation time. If you want to add interactivity to your video it might take a bit longer.
What file formats and document types can I convert to video?
Aside from Word documents, Synthesia can also help you convert PDFs, PowerPoint slides, webpages, and text files into engaging videos.
Can I create videos in languages other than English?
Yes! Synthesia supports video creation in 160+ languages.

.webp)

.webp)