

How to Create Training Videos: A Step-by-Step Guide

Create engaging training videos in 160+ languages.
Anyone can make a training video in minutes, thanks to AI.
That's a pretty bold statement. But it's true. I, someone with absolutely zero video production experience, can sit on my couch and make a video in the same time it takes to make a morning cup of coffee.
Last year, we surveyed hundreds of L&D practitioners, and over half of them are using AI to make training videos.
But are these videos any good? Are they teaching someone to follow a process? Are they enabling skills?
AI has made it so easy to make training videos. But whether or not the training video drives measurable impact, that comes down to learning design.
What is a training video?
A training video is a short, role-specific video. Training videos typically serve one of three purposes: to inform, to demonstrate, and to enable skills. They can teach someone how to complete a task, follow a process, or change their behavior.
Training videos ensure that guidance is delivered consistently across teams and regions. That makes them a natural fit for programs that require consistency at scale, like onboarding or compliance.
What makes an effective training video?
An effective training video has a clear audience, a single outcome, and a way to measure whether it worked.
It starts with figuring out what someone needs to know, do, or change about their behavior, and how you'll measure that change. That's why I've created this version of L&D mad libs. Complete these two sentences before you do anything else:
This video is for [specific role] who currently [context or gap].
After watching this video, [specific role] should be able to [observable action] so that [business outcome].
This is your benchmark for success. It defines what good looks like and how it will be measured.
With this information, you can determine what kind of video you need to make and how to make it.
Types of training videos
Most guides that cover training video "types" conflate two separate decisions:
- How will the video be produced?
The production method: screen recording, AI-generated presenter, live-action, animation, or interactive video. - How will it teach?
The instructional approach: direct instruction, scenario-based, explainer, behavioral modeling, or reinforcement.
These aren't the same thing. A screen recording can be a step-by-step walkthrough or an explainer. An AI-generated presenter can deliver direct instruction or walk someone through a scenario. Both of these can be microlearning.
So instead of thinking about "types," think about two decisions: what production method fits your content, and what instructional approach fits your learning need. This table maps these together across five common use cases.
💡For a fuller breakdown of training video formats and use cases, see our guide to video-based training.
How to create an employee training video
Once you have your learning objective and measurement goal articulated, and have aligned on your instructional and production approach, you're ready to start designing your training video.
Step 1: Write a script
Writing a script used to be the hardest part of creating a training video. Scripts are a specific medium, and getting the tone and word choice right takes practice. Depending on your audience, you might want a more formal or more conversational register. If you're planning to localize your video, you'll want to avoid idioms or any jargon that might lose its meaning in translation.
If you have a clear learning objective, an AI script generator can help you move past the blank page quickly.
A good training video script is written for the ear, not the eye. That means you need to say it out loud to hear how it lands. Keep your sentences concise, avoid complex syntax, and build in pauses. It may look like you're writing a LinkedIn post with all those line breaks, but I promise that's what you need.
💡If you need more inspiration, we've got you covered with these script templates.
Step 2: Prepare for production
Once you have your script, you're ready to start creating the video. Before you do, I recommend writing out a punch list of assets you need. That can be guidance for a production crew or an SME, or a list that you follow to bring everything together.
A typical punch list might include:
- Your finalized script
- Screen recordings or process walkthroughs from an SME
- Brand assets (logos, colors, or fonts to use)
- Supporting documentation or reference materials
- Instructions for any external contributors
For example, let's say your sales team is rolling out new software. You need a technical SME to do a screen recording of a specific workflow, but you're going to embed that in a video with framing about why this workflow matters and how people can practice it before their first live call. The punch list tells everyone what they need to deliver and when.
With your assets ready to go, it's time to set up your production environment. A few things worth getting right before you hit record:
- If you're recording yourself on camera, invest in audio and video quality. You don't need fancy equipment, but a decent microphone, soundproofing, and good lighting make a real difference. If you're recording audio in a pinch, a coat closet can work surprisingly well for sound quality. (Google Ari Shapiro under coats if you don't believe me.)
- If you're using a screen recording tool, make sure your recording software is set up, your screen is clean (minimize all those tabs and other background noise), and your wifi is stable before you start.
- If you're using an AI video platform, make sure your script is finalized and your assets are uploaded before you begin.
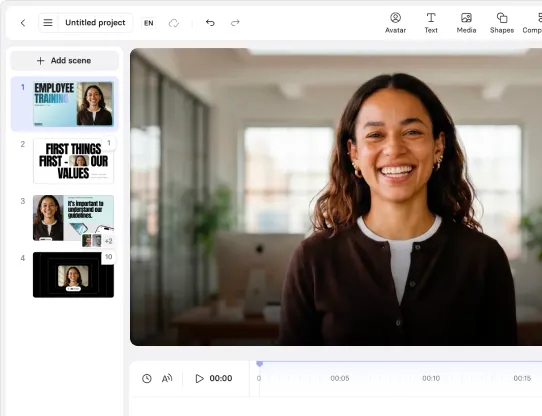
Step 3: Edit and finalize
Now, it's time to edit. This is where you create a polished product, and where learning design matters most.
If you're editing yourself, focus on minimizing anything that distracts from your learning outcome. You might find that you have too much footage (like 20 minutes of tangential screen recording from a SME) and need to cut it down. Or you realize that some narrative transitions aren't logical, so you go back and re-record the voiceover. This is normal. Editing is where the video becomes a learning experience, not just a recording.
Once the structure is tight, think carefully about how you're asking learners to engage with the content. If you add interactivity, make sure it's tied to a clear goal. Knowledge checks and branching scenarios work when they prompt learners to retrieve and apply what they've just watched.
Finally, polish for publication. Add captions for accessibility, background music or b-roll, if appropriate, and do a final review to make sure the video does what your learning objective says it should.
Step 4: Publish and share the video
You need a plan for where you'll publish the video. This decision is tied to how you'll measure impact and maintain versioning as you make updates. Our team calls this the surface, security, and stability plan:
- Surface: Where does this live, and how do people find it?
- Security: Who has access, and what happens when it's shared?
- Stability: How do you update content without creating confusion or outdated versions?
Let's say you need to track completion rates for compliance reporting. Then you should publish your video in an LMS or comparable system that can be reported and audited. If your measurement goal is tied to daily work, consider distributing as an xAPI or mp4 in the flow of work: an intranet, a Slack channel, or wherever your team actually operates.
Step 5: Iterate on your content
A common mistake I see with video training production is spending too much time trying to get the video "just right" before getting any feedback. That's why I recommend treating training videos like a product you're shipping. Aim for an MVP and get it in front of your target audience early.
🚨 Buzzword alert. In this context, MVP stands for Minimum Viable Product (not Most Valuable Player, as I had to learn when I first worked in tech). It's a first version that's good enough to test with a pilot group. It lets you see what's working, what isn't, and improve it based on real behavior.
You might be surprised at the feedback you receive, and grateful that you didn't spend more time refining b-roll footage that everyone said was distracting.
If you find something isn't landing, go back to the outcome you originally defined. Then verify the video's structure aligns with driving that outcome. Our FOCA checklist can help you think through this.
💡If you don't have an in-house video production team, I recommend reviewing our vetted lists of training video production companies and AI video generators to decide on the support that works best for you.
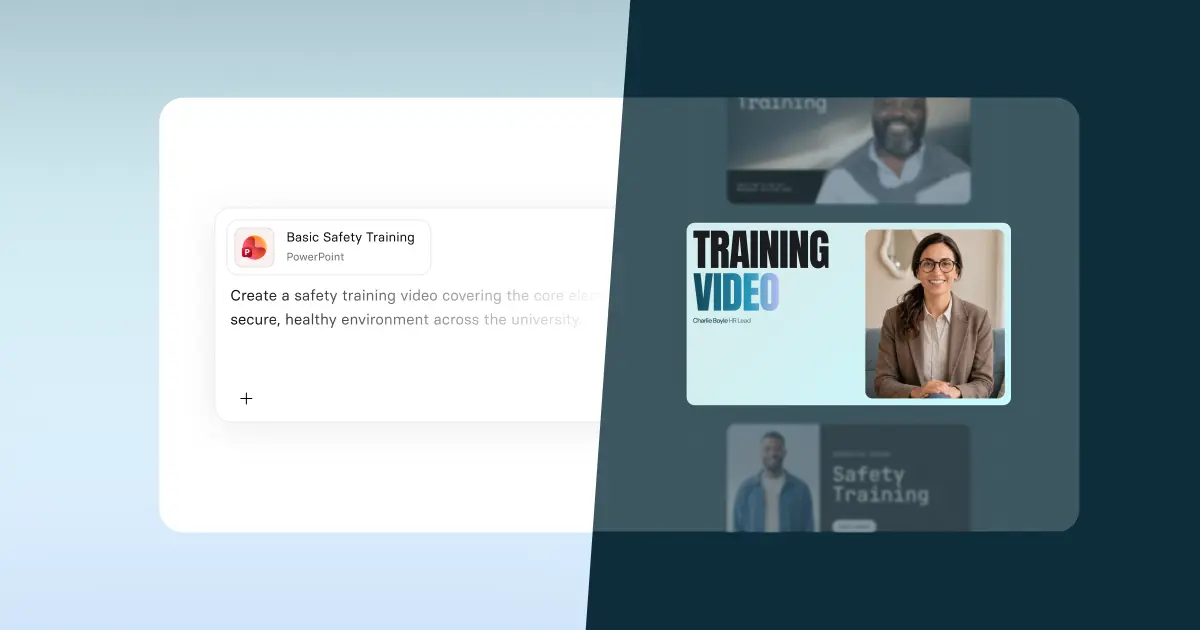
How to create an employee training video with AI
I started this guide telling you that you could make a training video in the same time it takes me to make my coffee. (I pour cold brew straight into a cup and add ice if I'm feeling fancy. That's the kind of timeline I had in mind.)
But I made no promises about the quality of that training. Now that you've seen the learning design behind effective training videos, let's talk about how an AI platform like Synthesia can help you cut down on production time and the skills needed to get there.
You can direct the AI to design your video, provided you have the right inputs. And if you've been following along, you know what those are: your audience, your outcome, and how you'll measure impact.
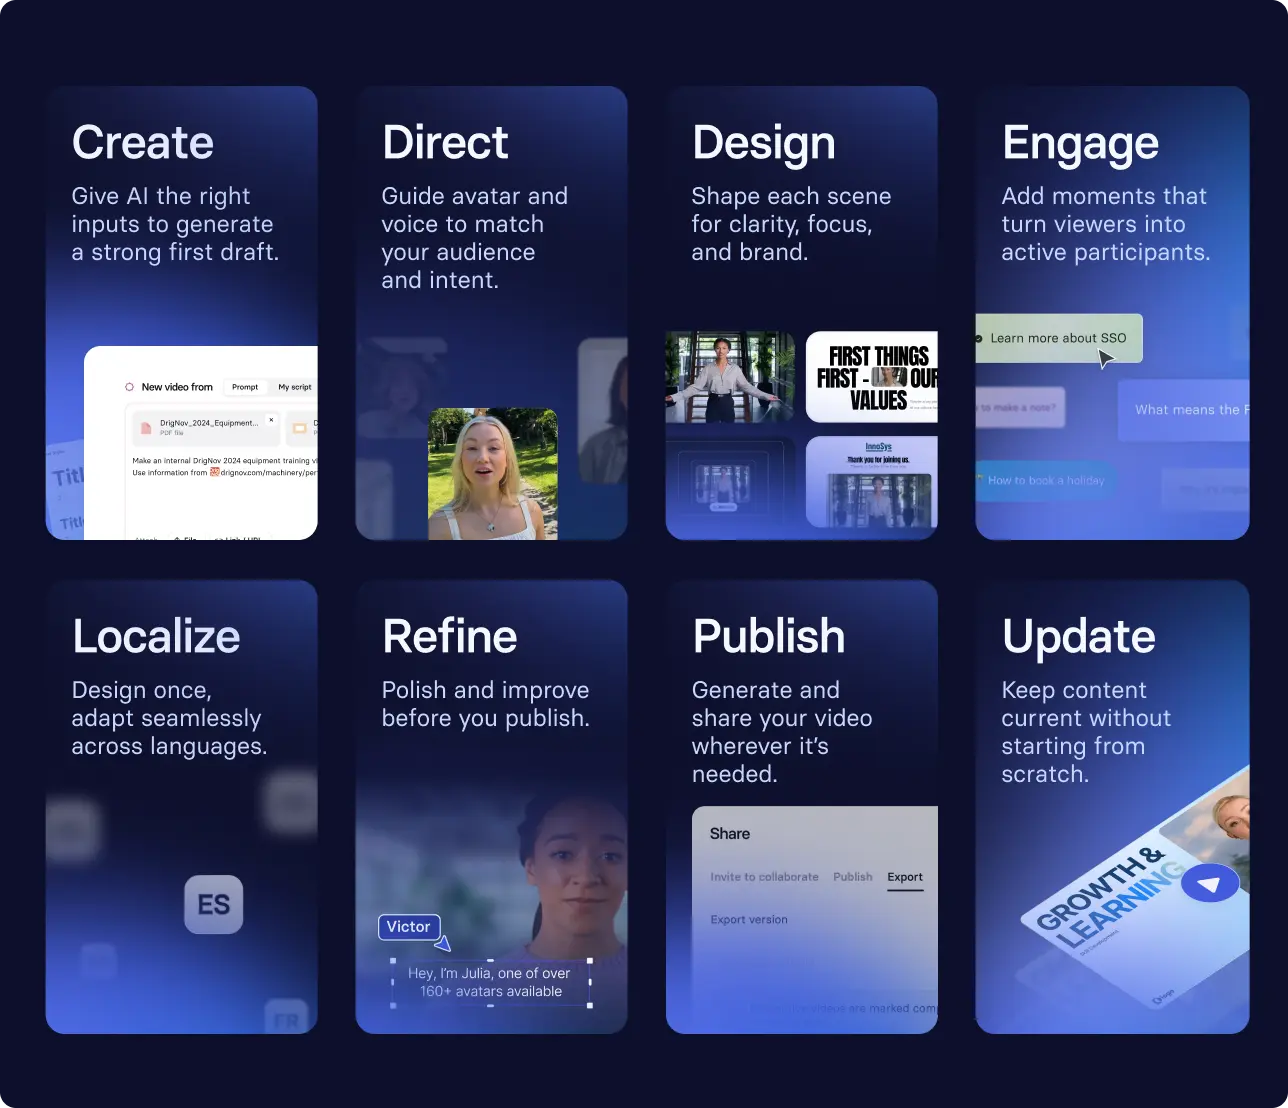
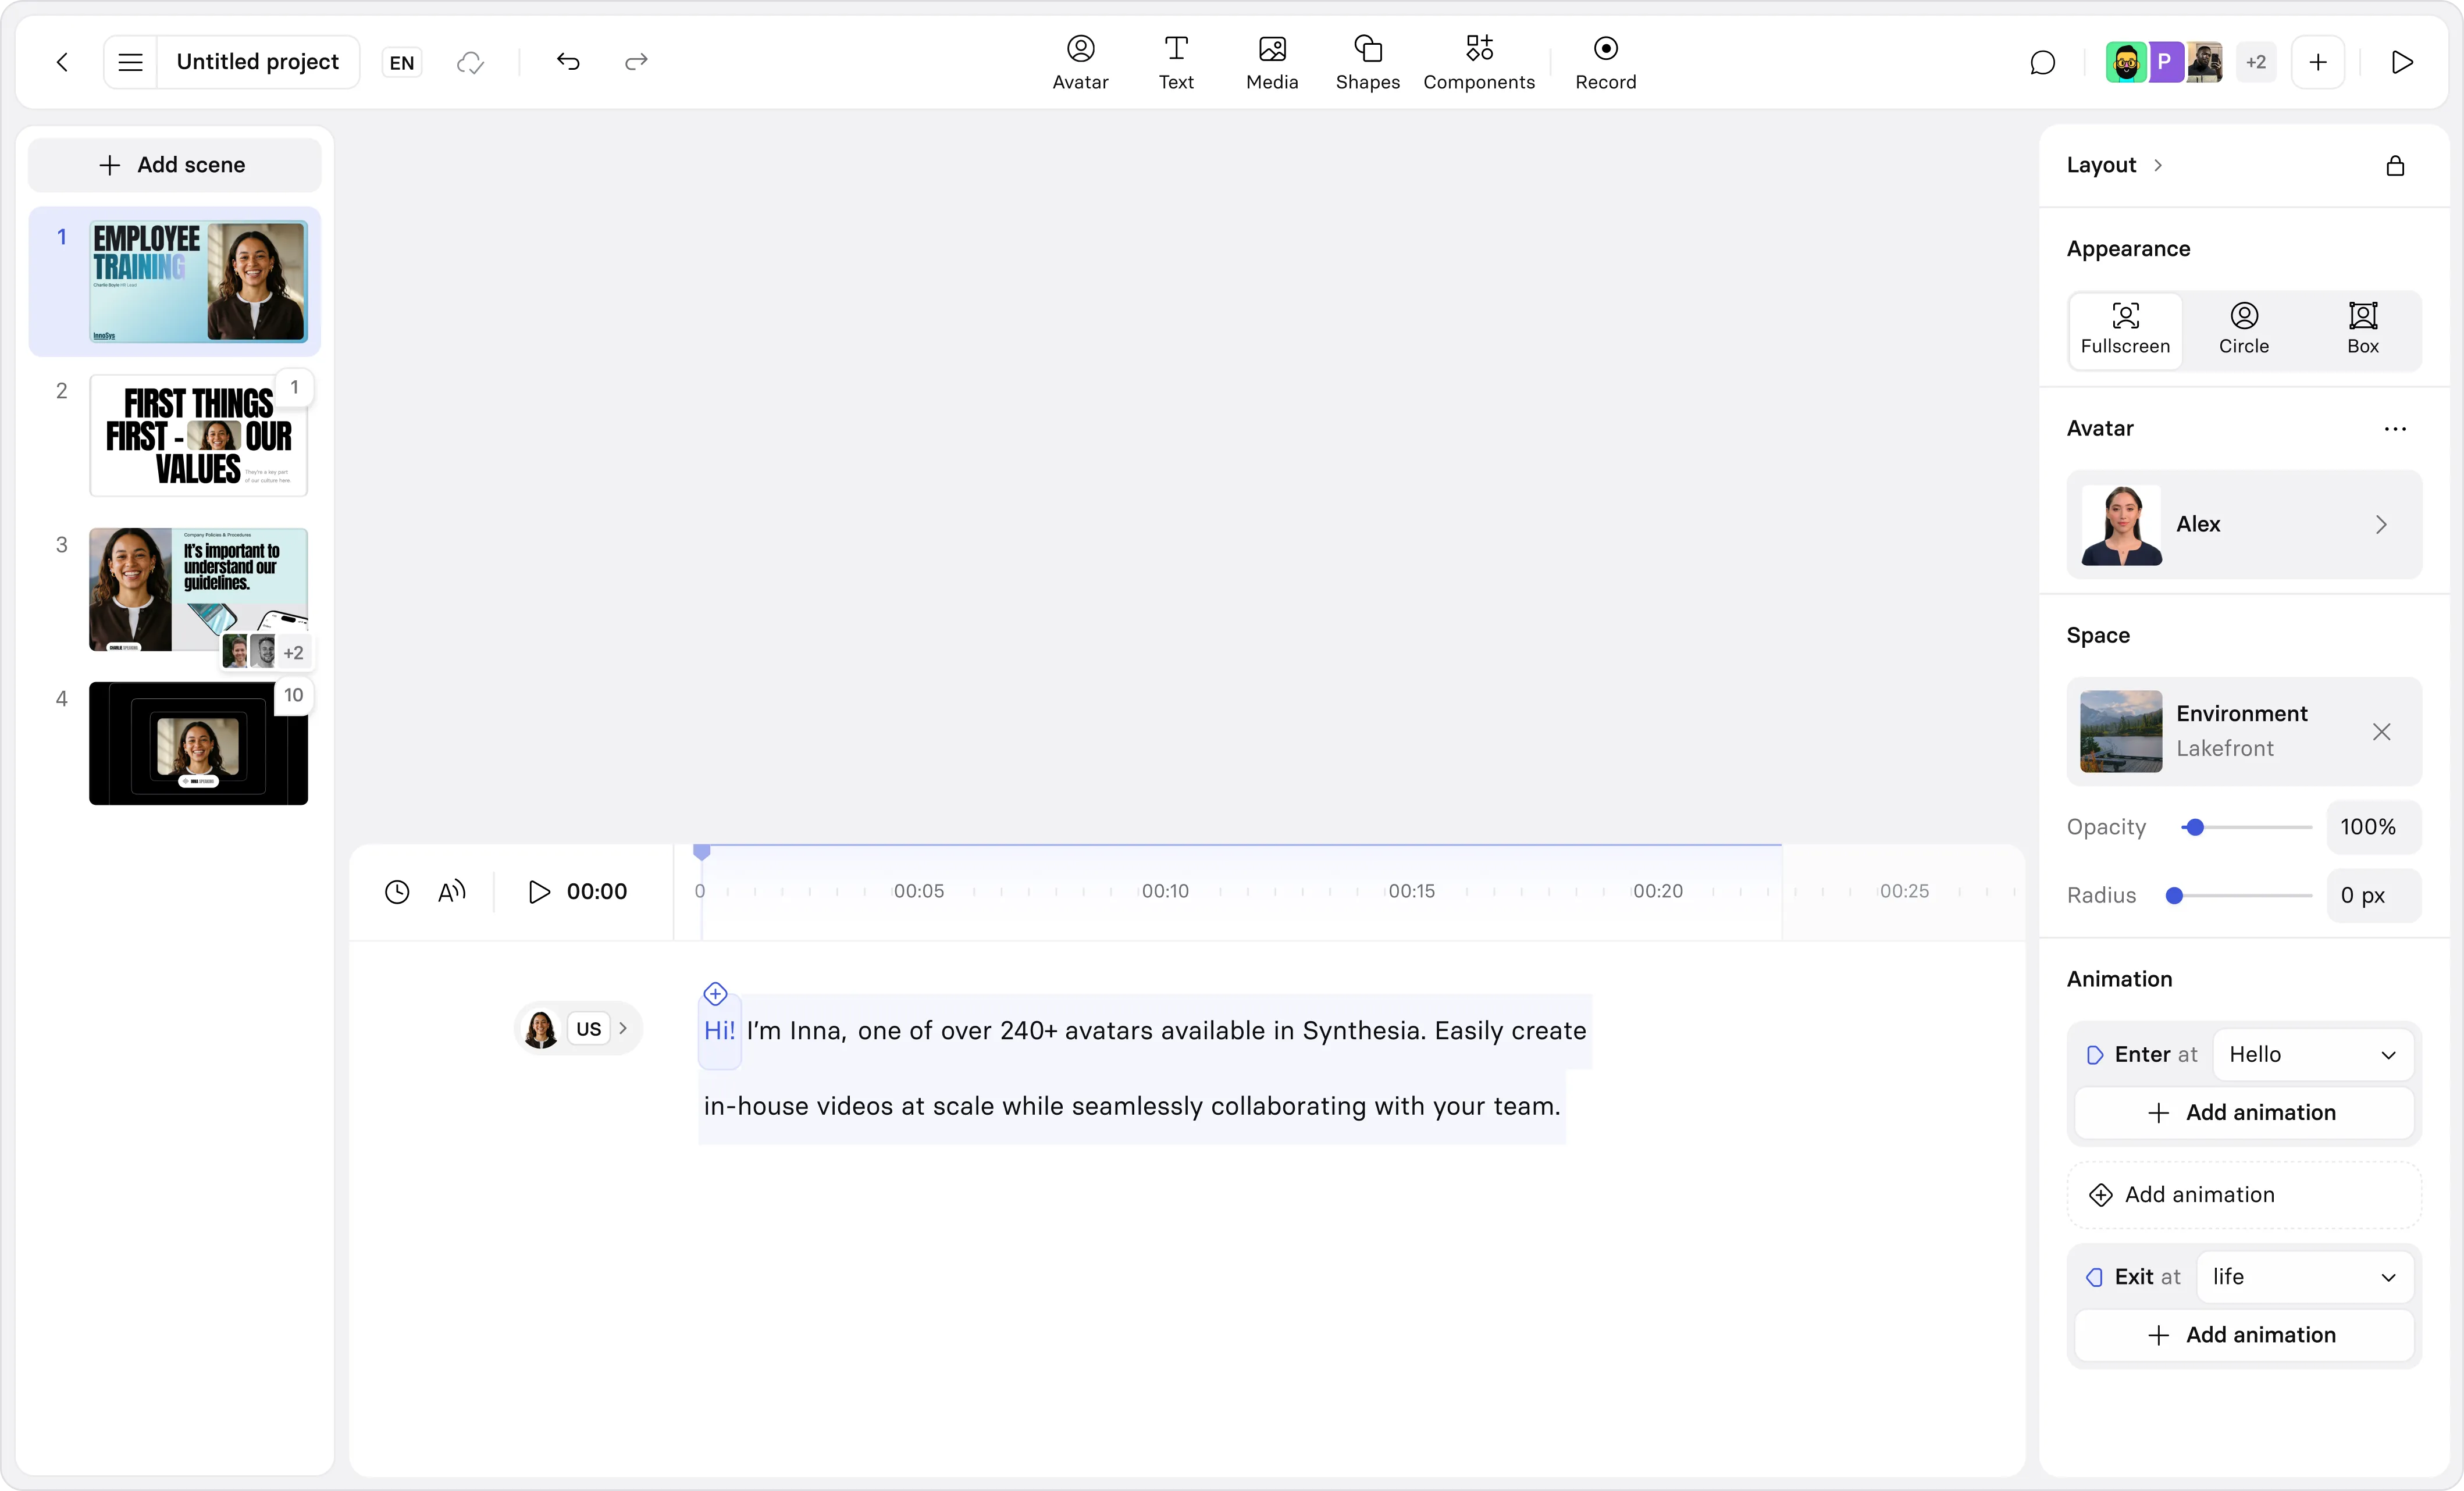
From there, you're not following a linear process. You're moving between different parts of the design depending on what the video needs. For example, that might look like:
- Uploading your outcome statement and supporting documentation into our AI video generator, then refining the draft to match your audience's language and role
- Reviewing a scene, then reshaping the structure or visuals to make it clearer
- Adding a step, then introducing a prompt or checkpoint to encourage application
Then, when you're ready, you can localize and publish the video, making sure employees can access the training in their working language, wherever they go to learn. With version control, you can always come back and refine as things change.
💡Watch a brief overview of what this process looks like end-to-end.
How to measure training video effectiveness
At some point, someone is going to ask whether the investment in video training was worth it. That means building a business case grounded in evidence.
Start with the basics: completion and drop-off rates. Even if they aren't the best signal for learning, you may still need to report on them. Then go deeper. Look at performance data or proxy metrics to assess whether behavior is actually changing.
If the video training is effective, it shows up in how work gets done:
- Do people refer back to the video during work?
- Do the same questions come up again after watching the training?
- Do decisions become more consistent over time?
Across all formats, the question is the same: is the video training changing how people think and act in their day-to-day work?
💡For a deeper look at how to build the business case, see our guide to training ROI.
Amy Vidor, PhD is a Learning & Development Evangelist at Synthesia, where she researches learning trends and helps organizations apply AI at scale. With 15 years of experience, she has advised companies, governments, and universities on skills.
Frequently asked questions
What is a training video?
A training video is a short, role-specific video that teaches someone how to complete a task, follow a process, or meet a standard at work.
Teams use them for onboarding, compliance, SOPs, product training, and ongoing enablement because they keep guidance consistent across locations, time zones, and managers.
How long should a training video be?
The right length for a training video is whatever it takes to achieve one clear objective and no more. For most workplace topics, 2 to 6 minutes is a strong target, and software walkthroughs often work best as 30 to 90 seconds per step.
If the topic is larger, split it into a short series and use clear titles or chapters so learners can find the exact moment they need.
What should be included in a training video?
A training video should include a clear objective, a specific audience, and a defined outcome. It should show or explain exactly what someone needs to know, do, or change about their behavior, and end with a clear next step.
Avoid covering multiple topics in a single video. If you find yourself adding 'and also,' that's a signal to split it into a series.
How do you create a training video in minutes?
With an AI video platform, you can create a training video in minutes by providing a clear learning objective, an audience, and a script or source material. The AI generates a draft you can refine through conversation rather than a linear production process.
The quality of the output depends on the quality of the inputs: a clear outcome and the right source material will always produce a better result than starting from scratch
What are the best training video formats for employees?
The best format depends on what the video needs to teach.
Screen recordings work well for software walkthroughs and step-by-step processes. AI-generated presenter videos work well for onboarding, compliance, and policy updates that need to reach large, distributed teams. Animation works well for health and safety training or any environment where filming isn't permitted, like a manufacturing floor or controlled lab. Scenario-based videos work well for behavior change, like customer service or sales training.
If you're planning to localize across regions, AI-generated formats are easier to update and translate than live-action recordings
How do you measure whether training videos are working?
Training videos are working when they improve a specific outcome, not just when people press play.
Start by defining one measure of success per video, then track a mix of learning signals (completion rates, rewatch rates, quiz results) and performance signals (time to proficiency, error rates, support tickets, manager-reported readiness).
The most useful measurement is the one that connects viewing to fewer mistakes, faster ramp time, or more consistent execution.
How do I make training videos without a camera?
AI video platforms let you create professional videos from a script using avatars. No camera need.
For software training, a screen recording tool captures everything you need.

.webp)