

How to Make Synthesia Videos: A Step-by-Step Guide

Create AI videos with 240+ avatars in 160+ languages.
Synthesia is an AI video platform that makes it easy to create professional, on-brand videos without a camera.
Users can make a wide variety of videos with Synthesia by generating avatars, motion graphics, and custom B-roll. You can also make your video interactive with clickable hotspots, quizzes, and branching scenarios.
Videos created in Synthesia are easy to update and can be localized into more than 160 languages with a few clicks.
Synthesia is trusted by over 90% of Fortune 100 companies to help their teams communicate faster and at scale.
The most common use cases are across training, sales, and marketing, and the most commonly created video types are training videos, product demos, SOP videos, internal updates, marketing explainers, sales enablement, and onboarding videos.
Interested in giving Synthesia a try? There are 2 main ways to get started with your video:
Option 1: Start from a prompt, file, or script
This is the quickest way to create a Synthesia video.
Step 1: Go to Synthesia's AI video generator
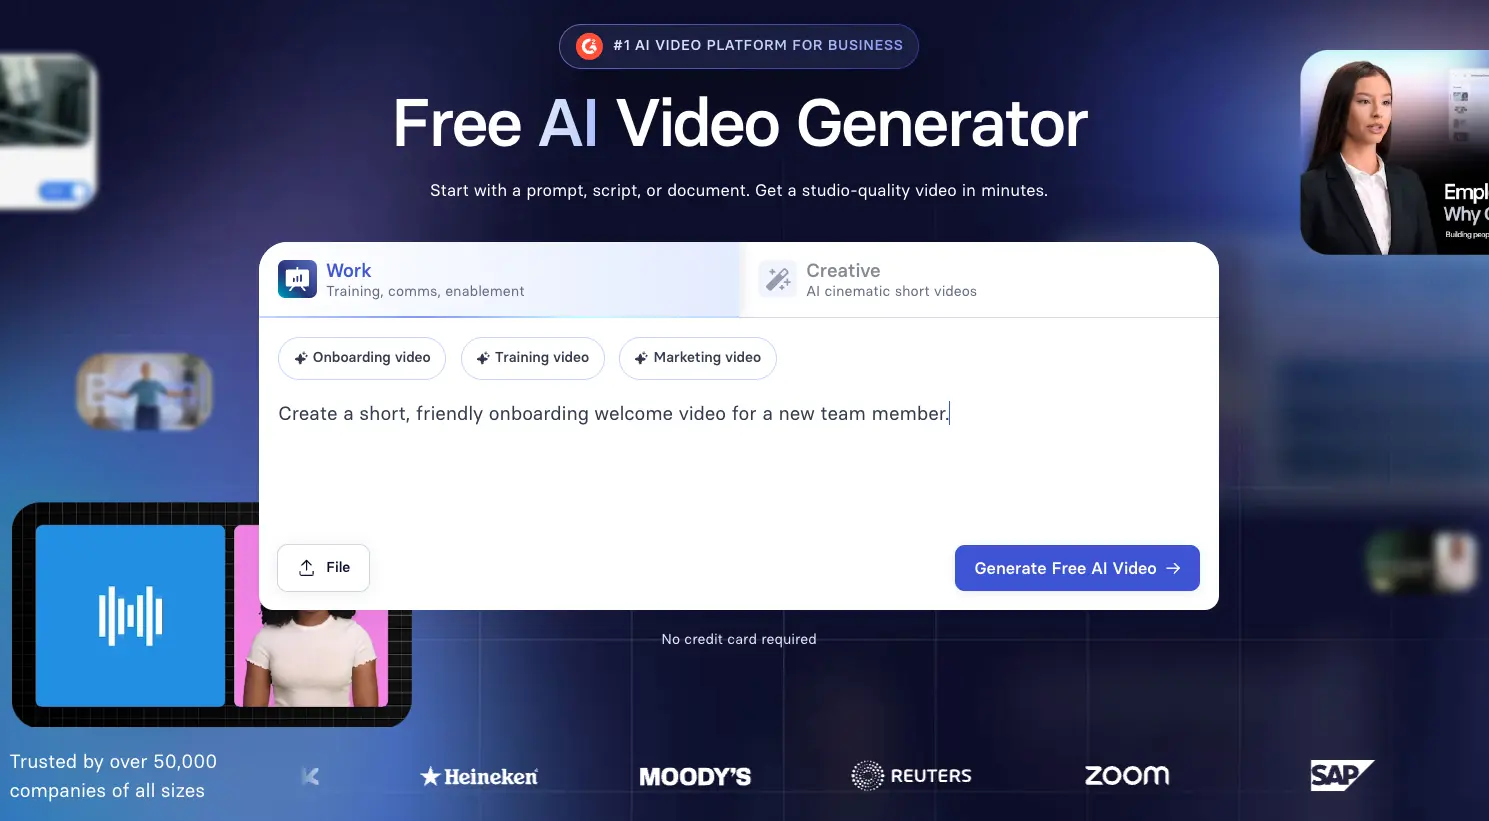
Head to Synthesia's AI video generator.
Step 2: Choose what type of video you want to create
Select the Work tab if you want to create a longer video for a practical use case (e.g. for training, onboarding, or a product demo) from a prompt, file, or script.
Select the Creative tab if you want to create a short, cinematic AI video from a prompt using a model like Google's Veo 3. After your video is generated you'll be able to import it into the Synthesia editor.
Step 3: Input your prompt, upload a file, or paste your script
For the best results, try to make your prompt as detailed and descriptive as possible. If you need some inspiration you can click one of the ideas above the prompt box.
You can also upload PDFs, PowerPoint slides, Word documents, or text files.
Or you can paste a video script.
When you're ready, hit Generate.
Step 4: Sign up to Synthesia for free
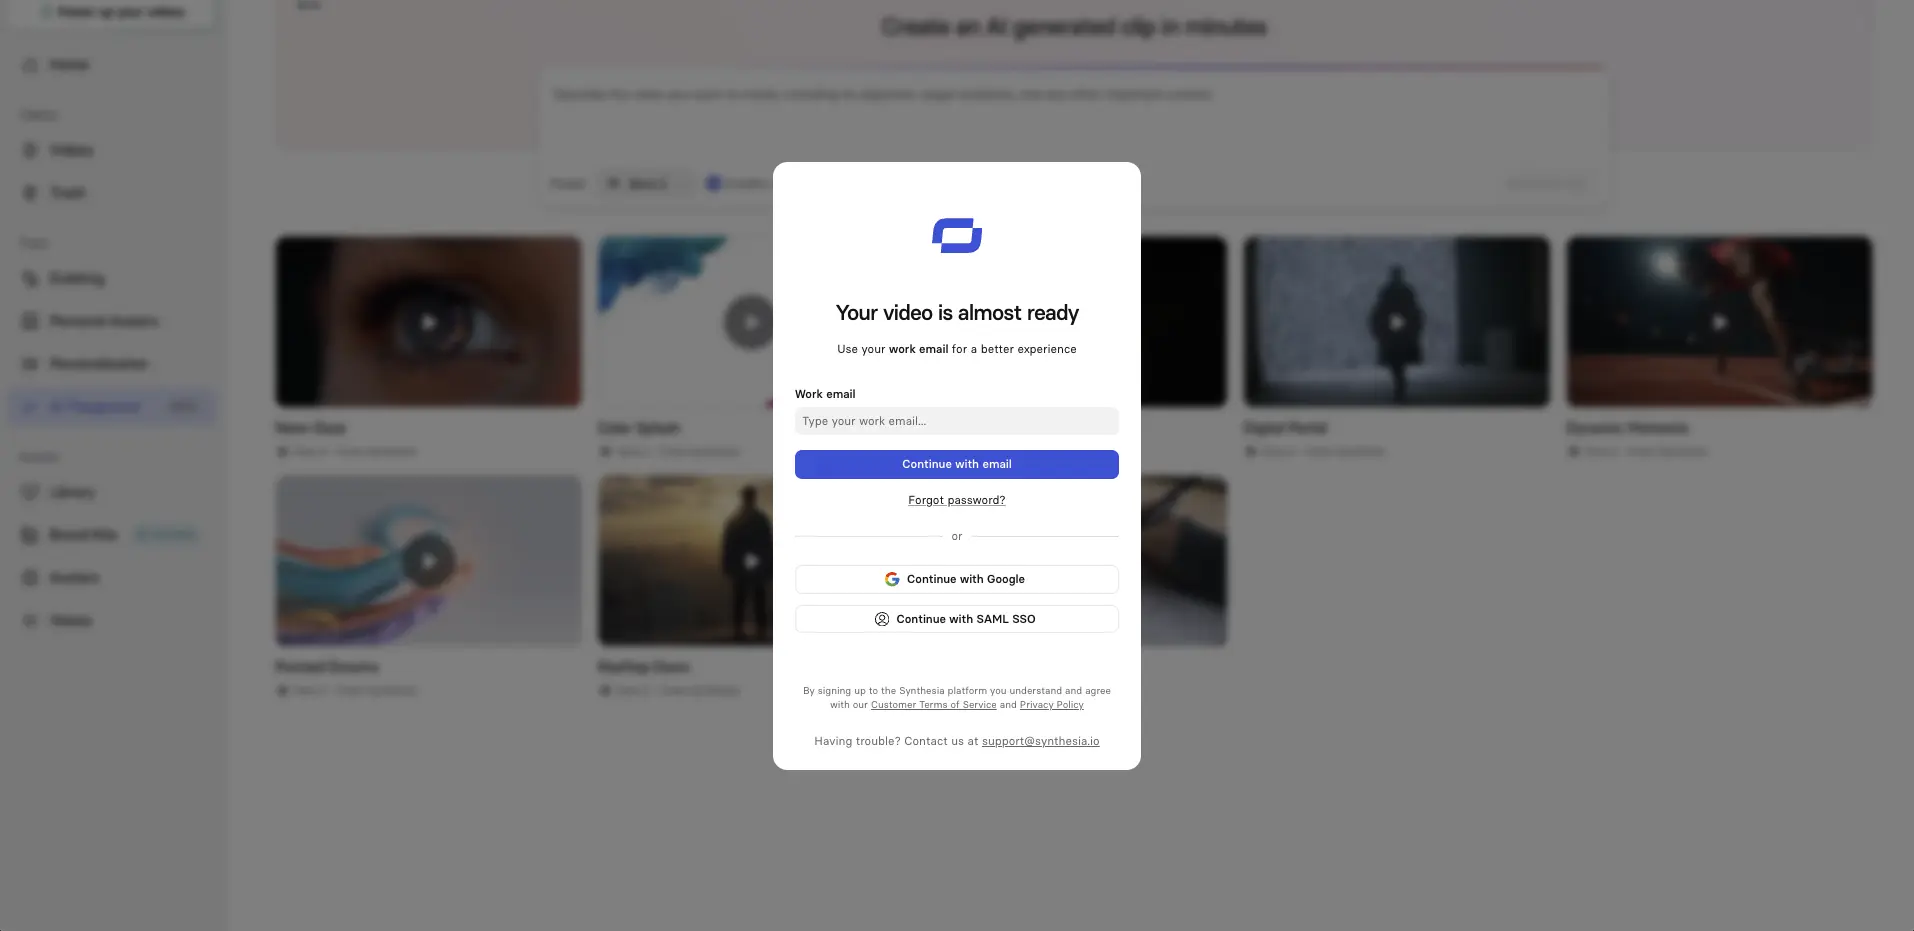
Sign up for a free Synthesia account.
Step 5: Outline your Synthesia video
If you started in the Work tab
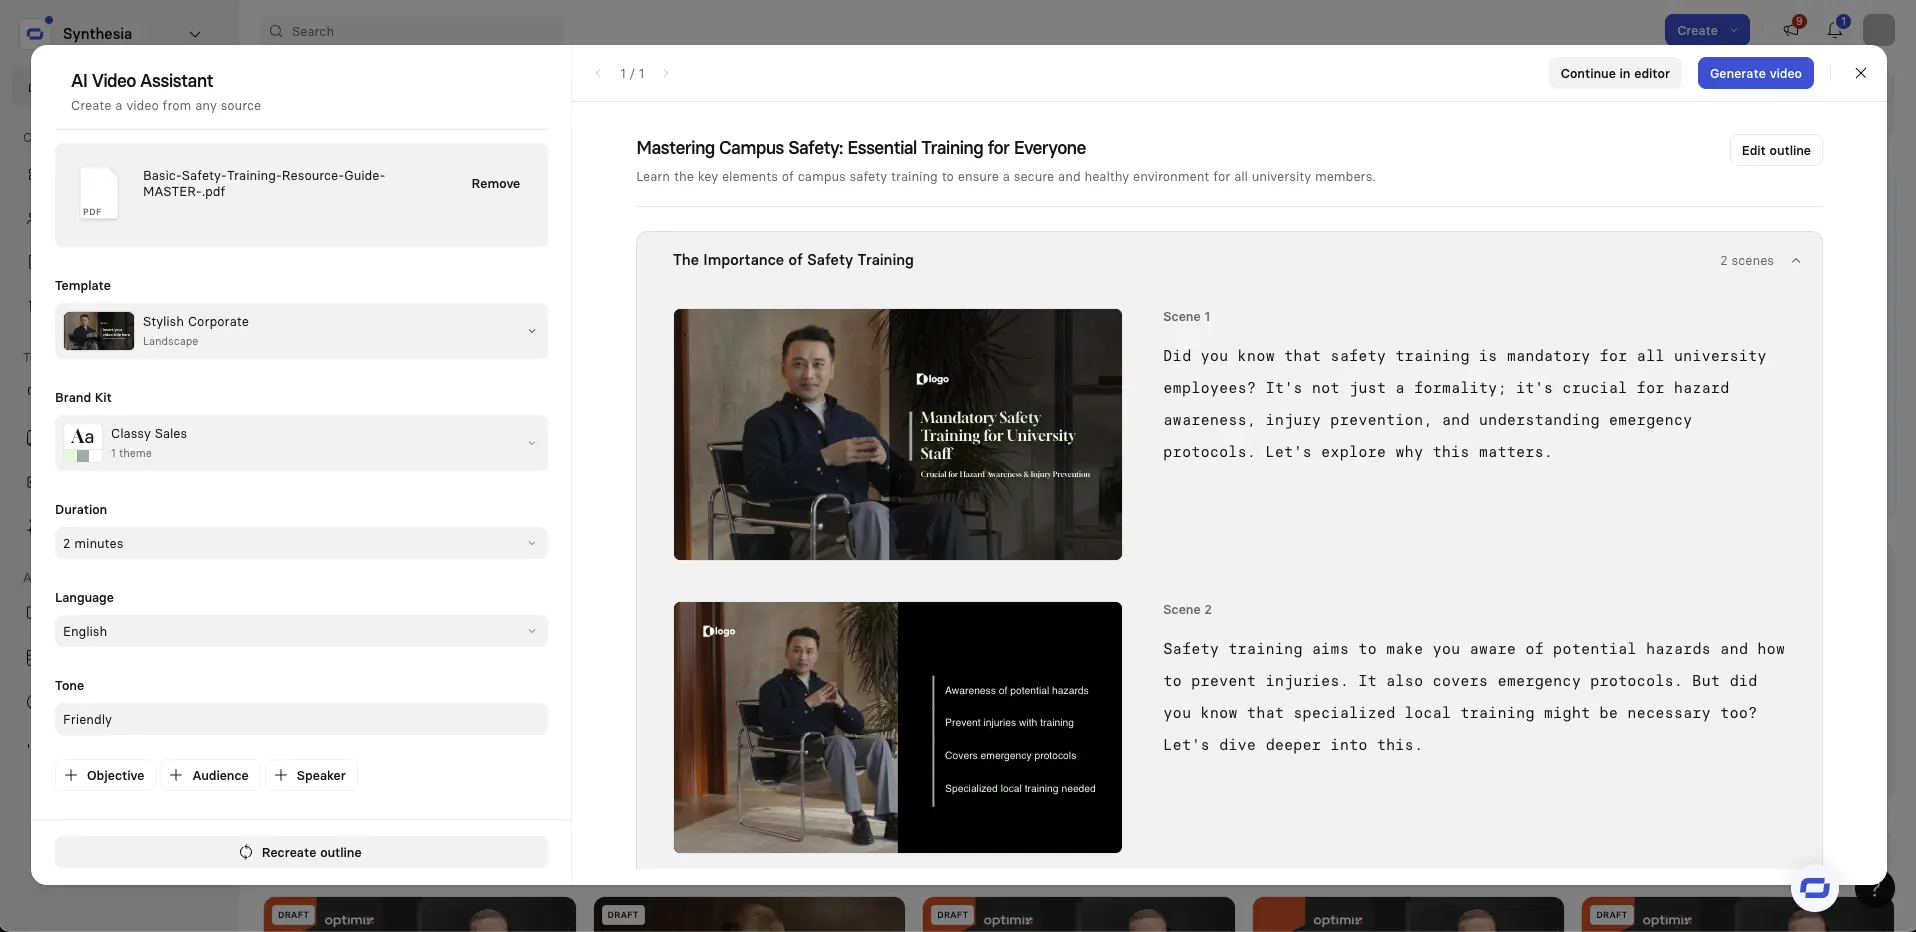
You’ll now see an overview of your video’s scenes along with a draft script for each one.
From here, you can upload a new file, change templates, adjust settings such as video duration, video objective, and language, and add, remove, or edit scenes, or recreate the outline entirely.
When you’re ready, click Continue in editor.
If you started in the Creative tab
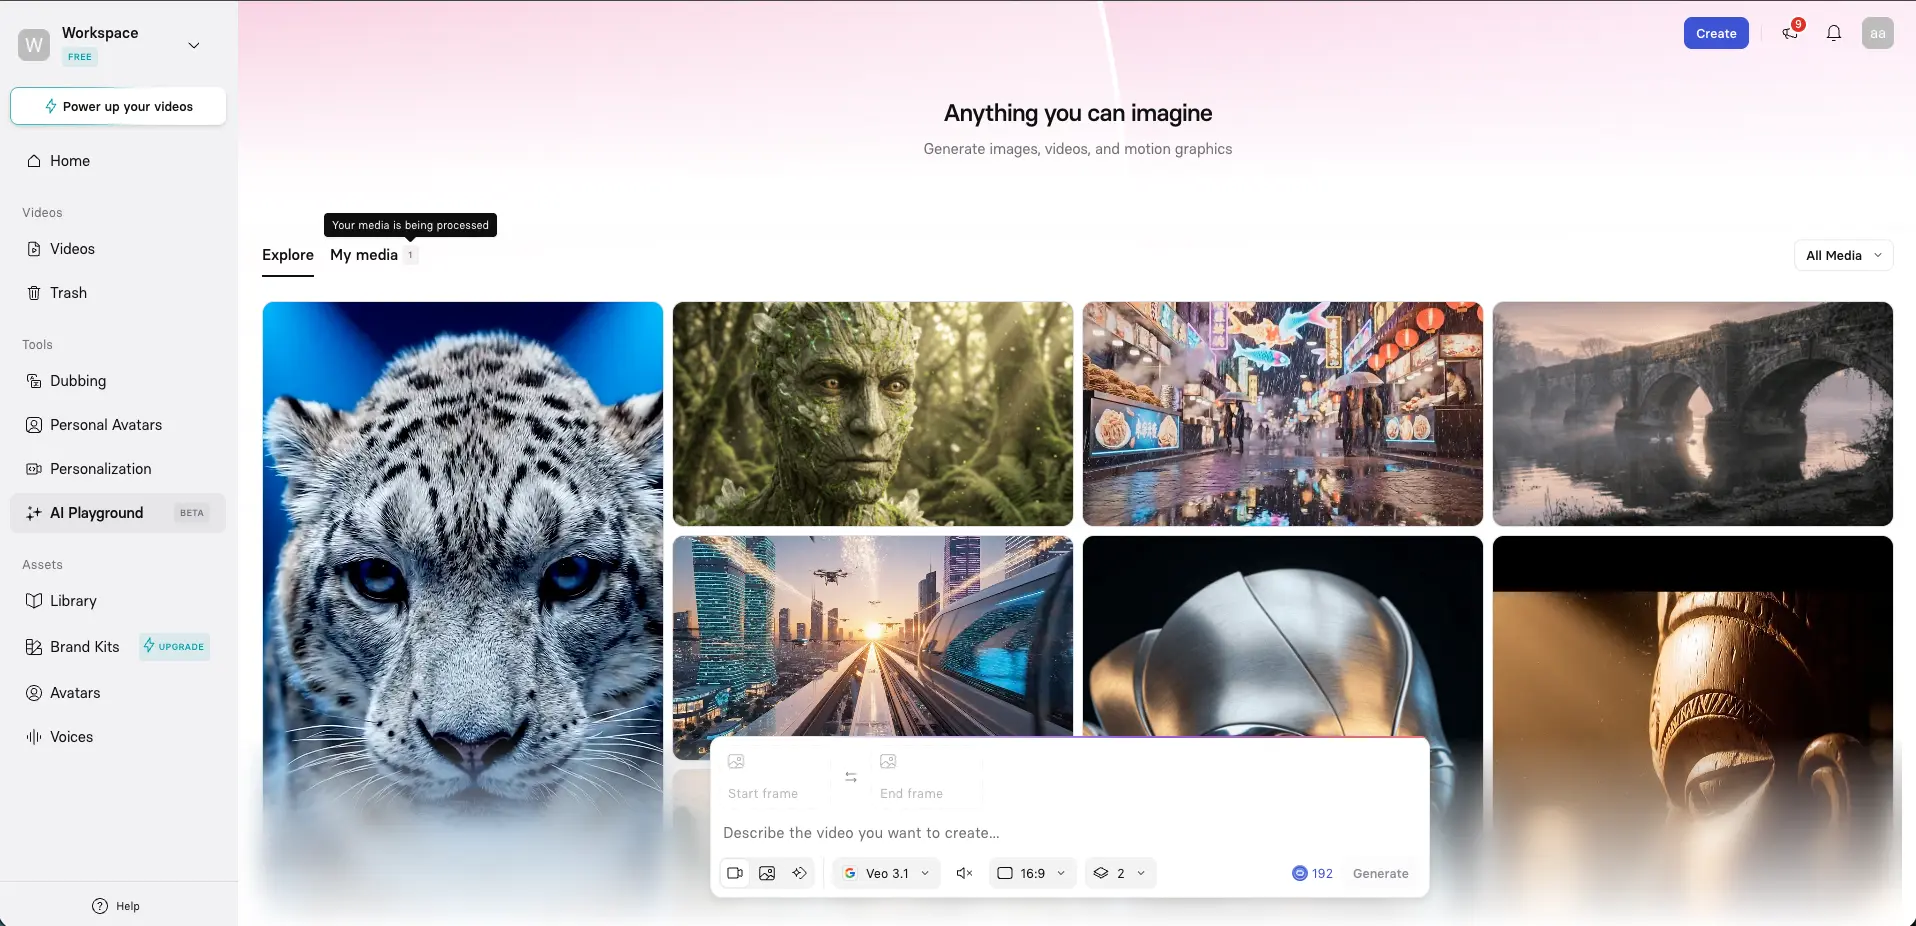
You'll now see Synthesia's AI Playground. This is where you can generate creative AI videos and images using the latest AI models.
If you click on the My media tab you'll see your video being generated.
When it's ready, you can click Continue in editor to import your video into the Synthesia editor.
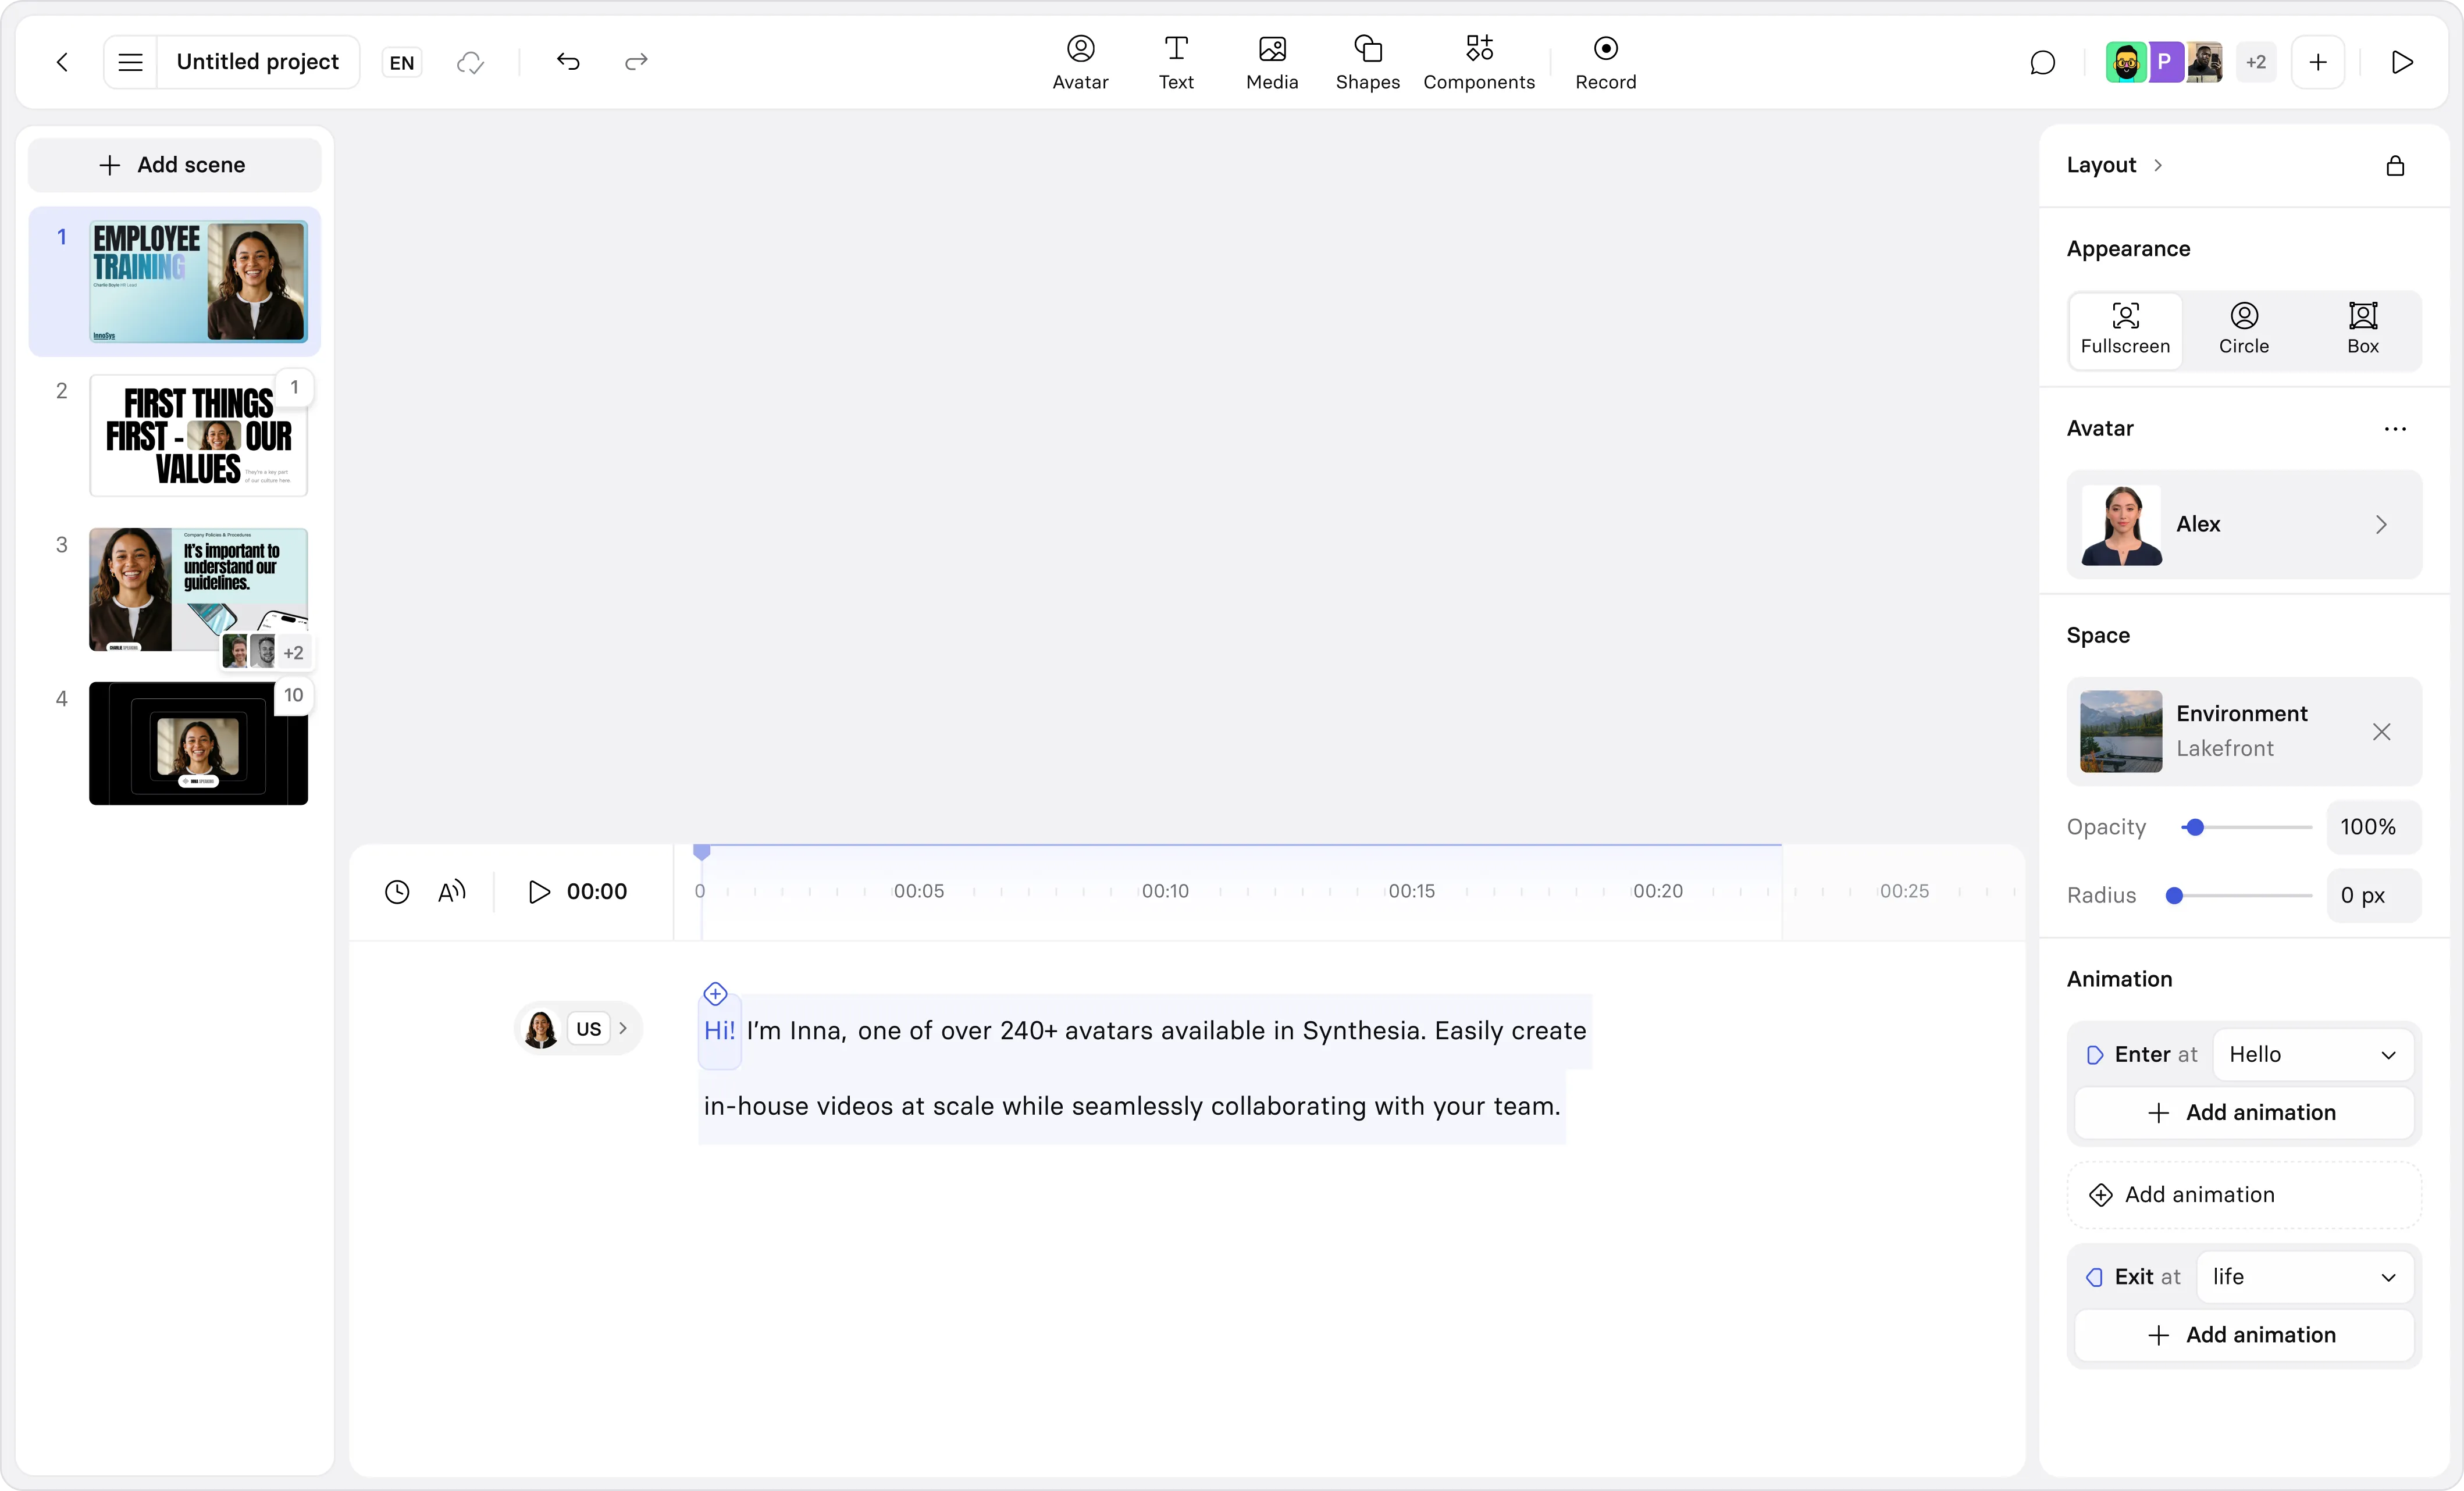
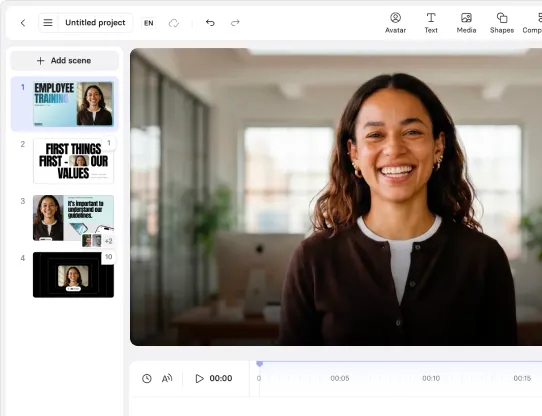
Step 6: Edit your Synthesia video
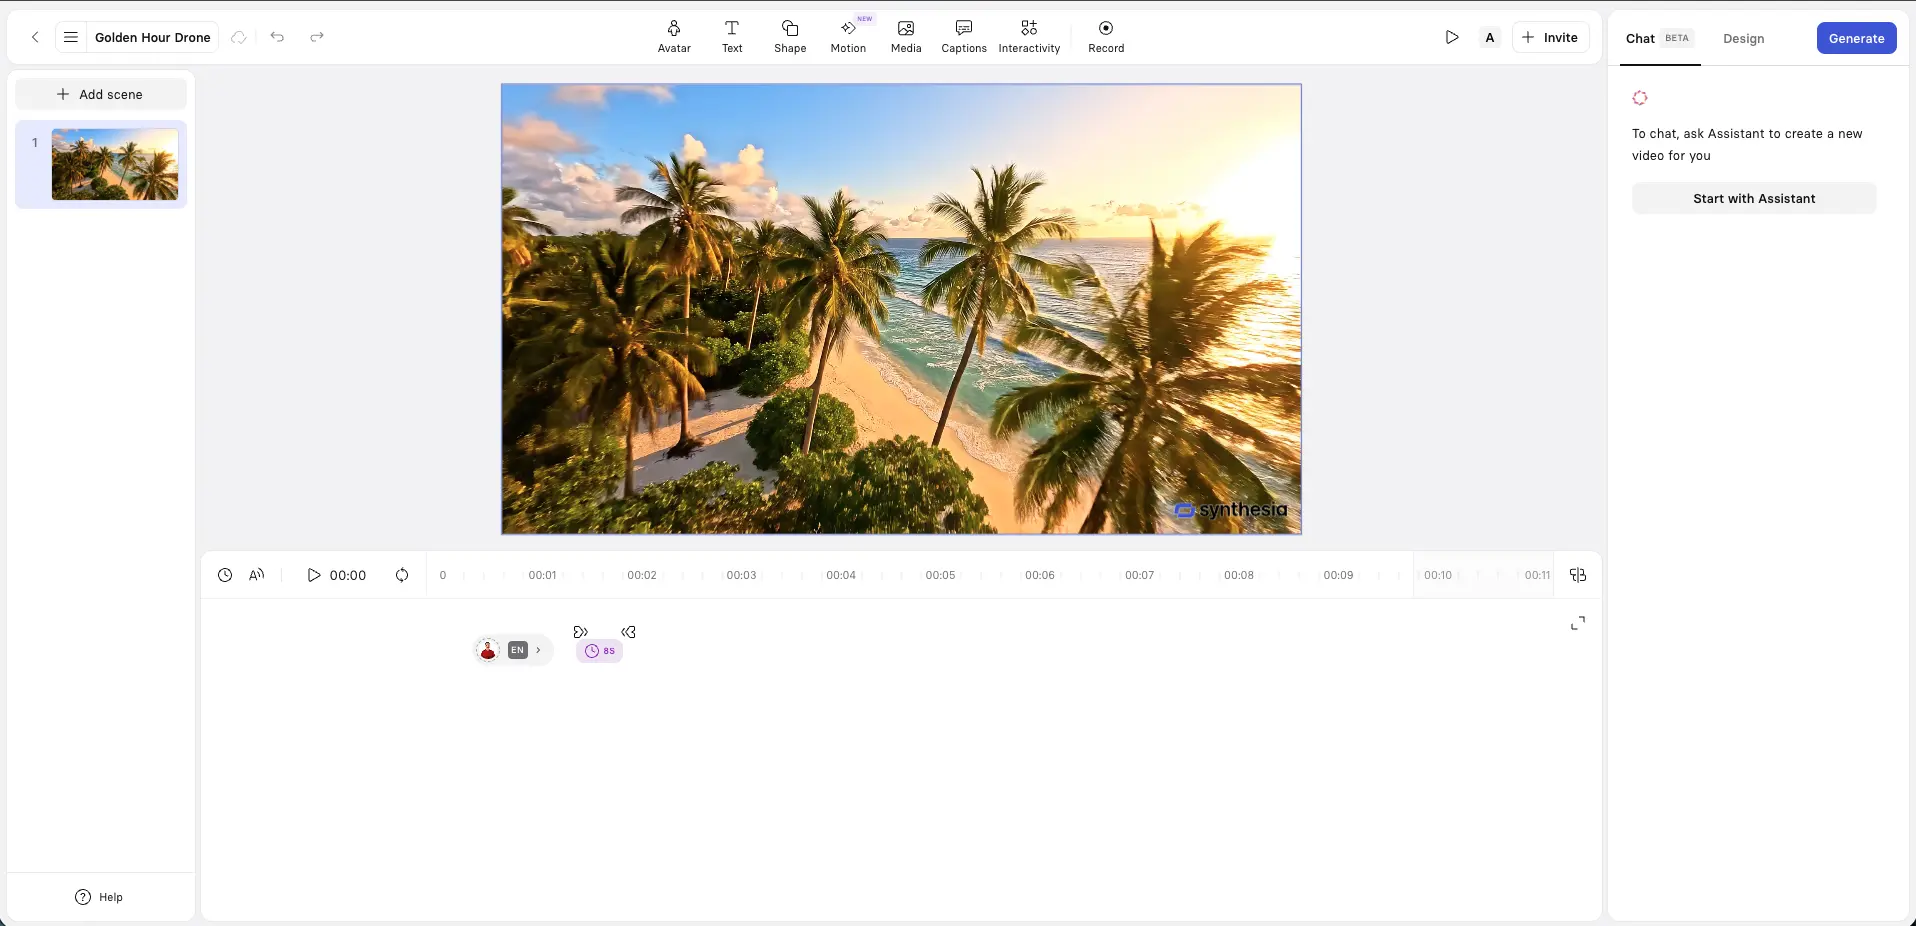
Now it's time for you to assemble all your elements together and edit your video in the Synthesia editor. If you've ever used Microsoft PowerPoint, you'll find it pretty familiar.
You can review, add, and remove scenes using the left-hand side navigation.
At the bottom of your screen is the script box where you can refine the script used by your narration and/or AI avatars. You can also change this to a timeline-based editor view.
At the top of your screen you'll find options to add avatars, text, shapes, motion graphics, AI-generated and stock media, captions, interactive features (e.g. quizzes), and there's also a screen recorder option.

Choose an AI avatar and voice
Click Avatar at the top of your screen to select from a wide range of AI avatars and AI voices to match your audience and context.
Add supporting visuals
Next on your list should be adding supporting visuals to reinforce each scene and clarify key points.
You can add text, shapes, motion graphics, AI-generated and stock media, and screen recordings. Choose the visual format that best fits the type of video you’re creating.
When I'm making a marketing video I tend to use a lot of motion graphics and B-roll.
When I'm making a training video, I'll often pair an AI avatar with a screen recording, and to keep the video visually engaging I'll often add B-roll between scenes or behind an avatar or voiceover to illustrate real-world context and break up longer segments.
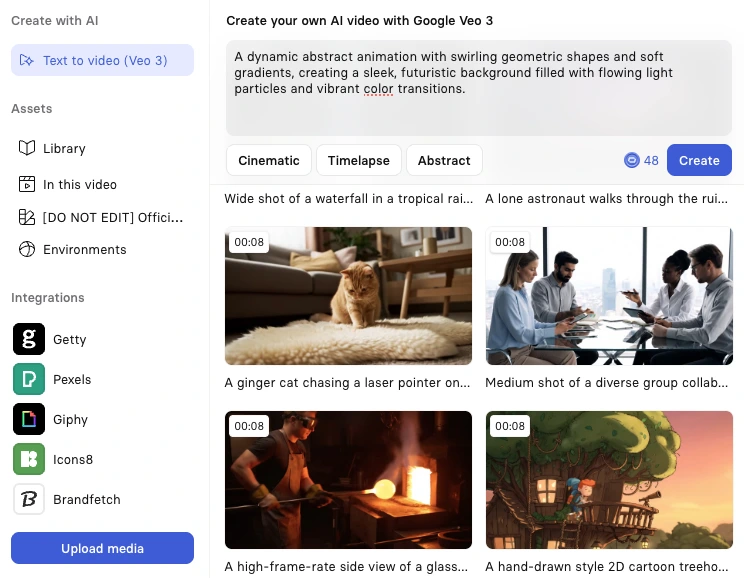
You can generate custom B-roll with AI video models, upload your own footage, or select pre-made clips from Synthesia’s stock library.
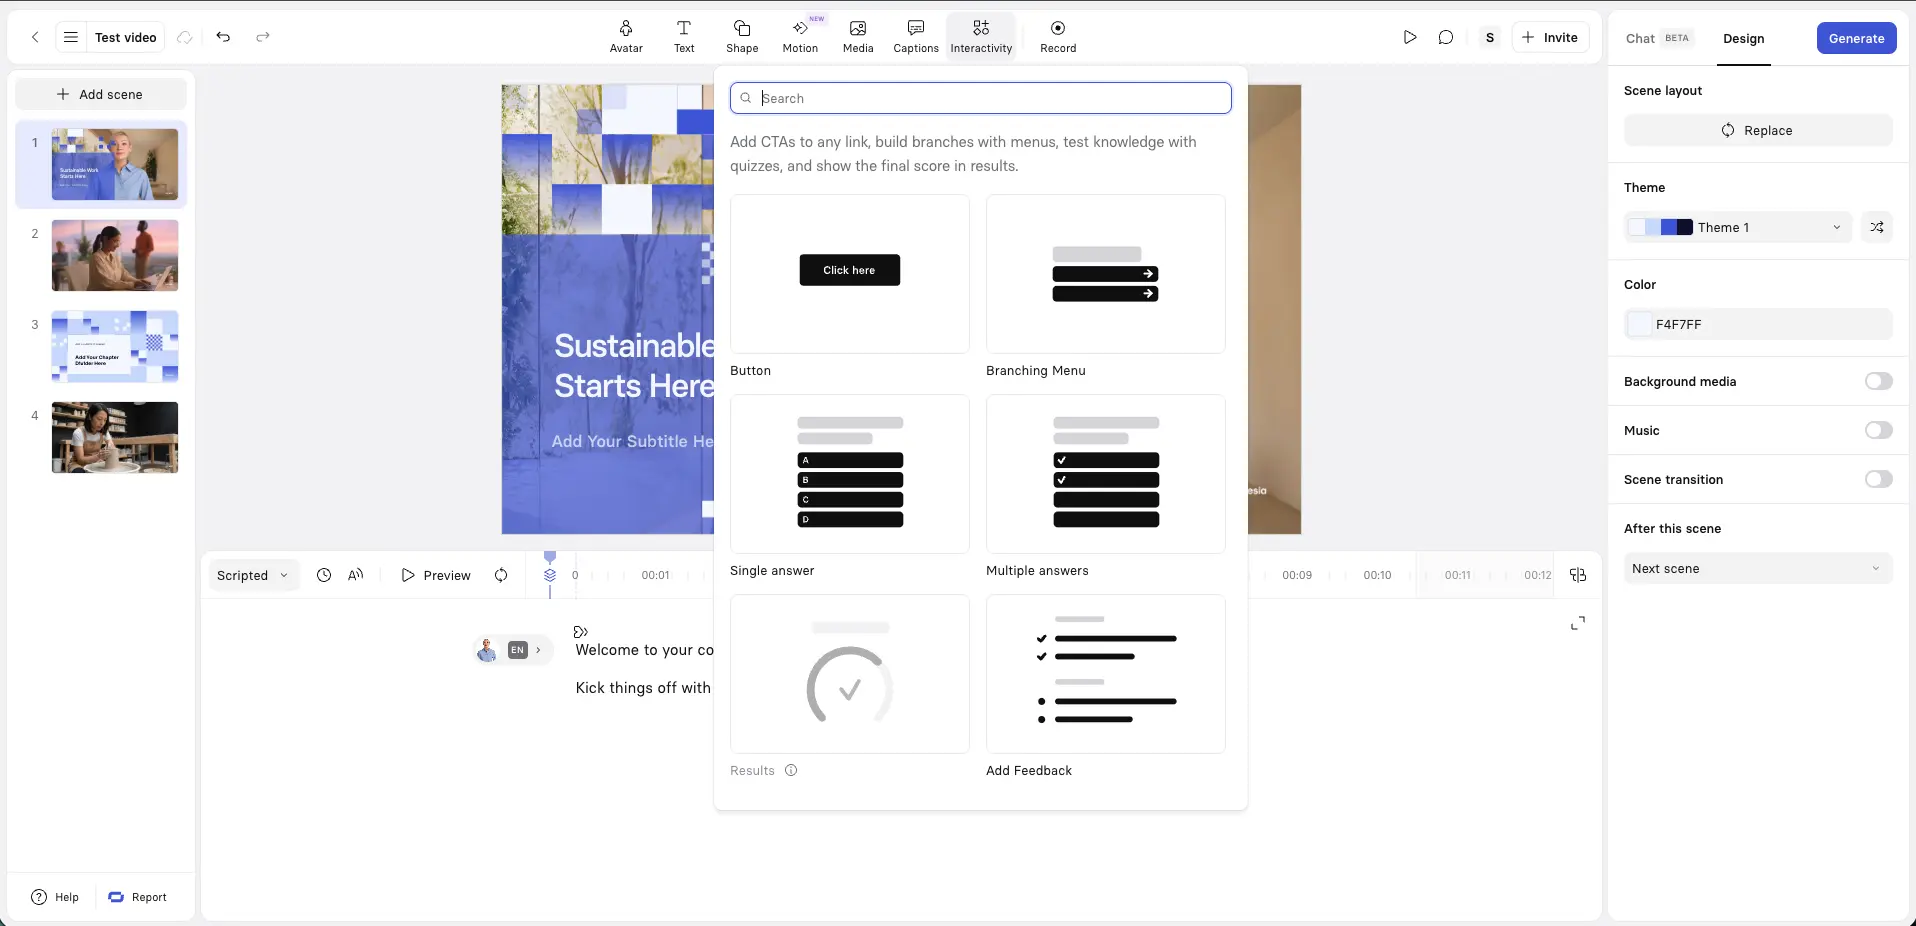
Add interactivity
I'm increasingly adding interactive elements such as quizzes, branching scenarios, and clickable buttons to my videos to keep my viewers engaged.
One of my favorite uses of interactivity is adding short knowledge checks after each section, or role-based branching options which allow viewers to explore different scenarios.
Interactivity doesn't always make sense for a video, so don't try and force it in if the context isn't right.
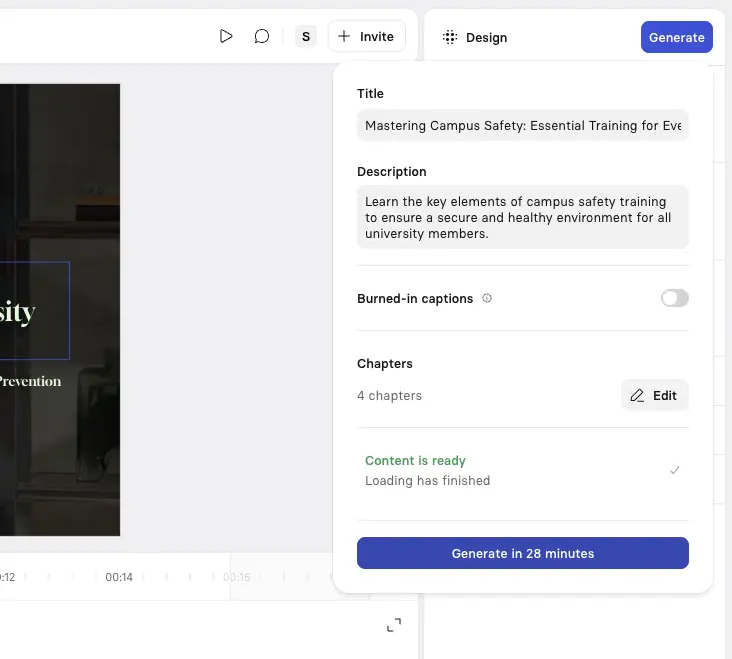
Step 7: Generate your video
When you're ready, click Generate in the top-right corner to create your video.
Before generating a video I typically run through this checklist. It takes a few minutes, but it might save you a bunch of time (and credits) regenerating your video.
- Script review:
- Have you communicated one clear idea per scene?
- Do you have a strong hook in the first 5 seconds?
- Do you have an explicit CTA near the end of your video?
- Visual consistency:
- Do you use consistent typography throughout?
- Do you use a consistent, brand-aligned color scheme?
- Have you aligned elements (e.g. text, shapes, etc.) across scenes?
- Timing check:
- Have you tried previewing your video using the Play button?
- Do your video's transitions feel natural?
- Does your video's pacing match the complexity of the video content?
- Are your video's animations synchronized with the narration?
- Accessibility:
- Are you using clear fonts at readable sizes?
- Have you enabled captions for hearing-impaired viewers?
Step 8: Publish and share your video

The final step is to publish and share your video.
You can download your Synthesia video as an MP4, get a shareable link, embed your video on a webpage, or download a SCORM version of your video and upload it to your LMS.
Option 2: Start from a template
Synthesia offers a wide variety of video templates which you can edit to fit your needs.
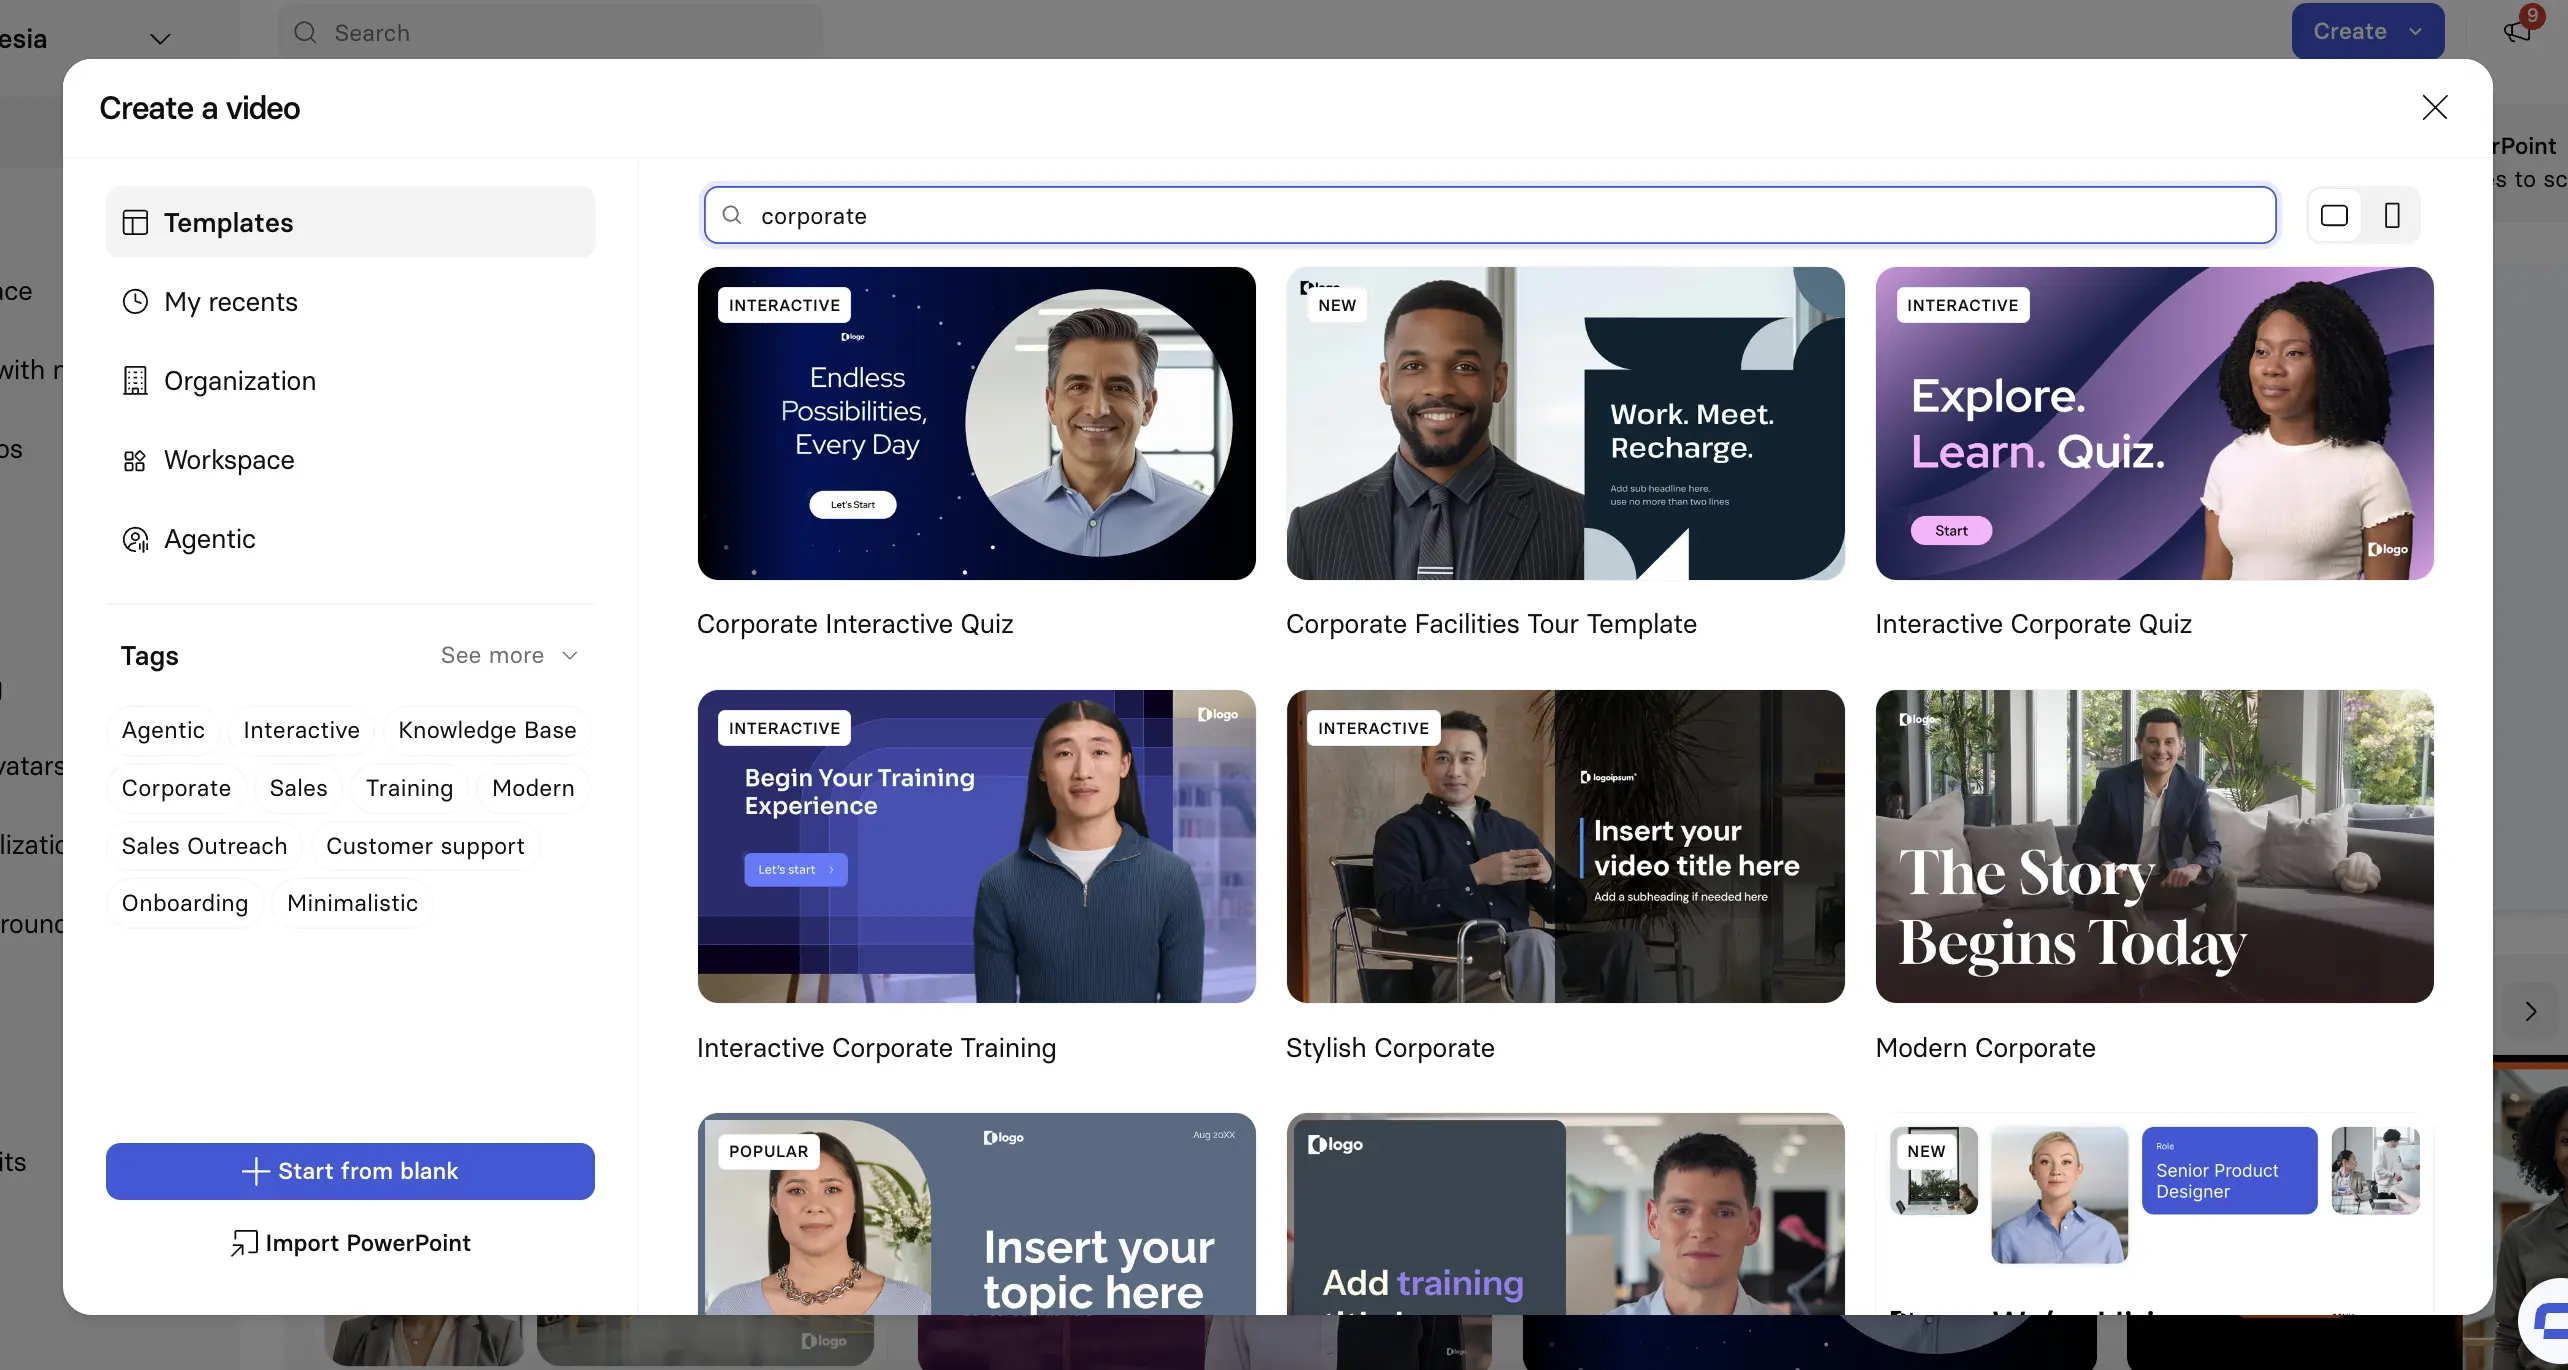
Below are some of my favorite templates for a range of video types. You can click 'Edit video template' to start using them.
Training and education
Synthesia is often used by L&D teams to create engaging training and enablement videos that are easy to update and localize.
The below template is an example of how you can quickly create polished instructional videos without needing a camera or an instructor.
Interactive learning
If you want to make your training and instructional videos even more engaging, you can try adding some interactivity.
This template is ideal for creating quizzes, knowledge checks, and branching scenarios.
Product demos and tours
Product demos are the second most common use case for Synthesia videos. You can use a realistic AI avatar to guide your viewers through your product's features and workflows. Typically I'll pair my avatar with a screen recording and maybe even some interactivity (mostly clickable hotspots).
The below template will help you create a clear, narrative-driven product walkthrough without having to record yourself.
Sales and outreach
Along with sales enablement, Synthesia videos are also often used during the sales outreach process. They can be a refreshing and engaging alternative to the typical long emails and static slide decks that prospects usually receive. They are also highly scalable.
This template gives you the structure for a video that will introduce your offer, explain value, and set the right tone for a follow-up.
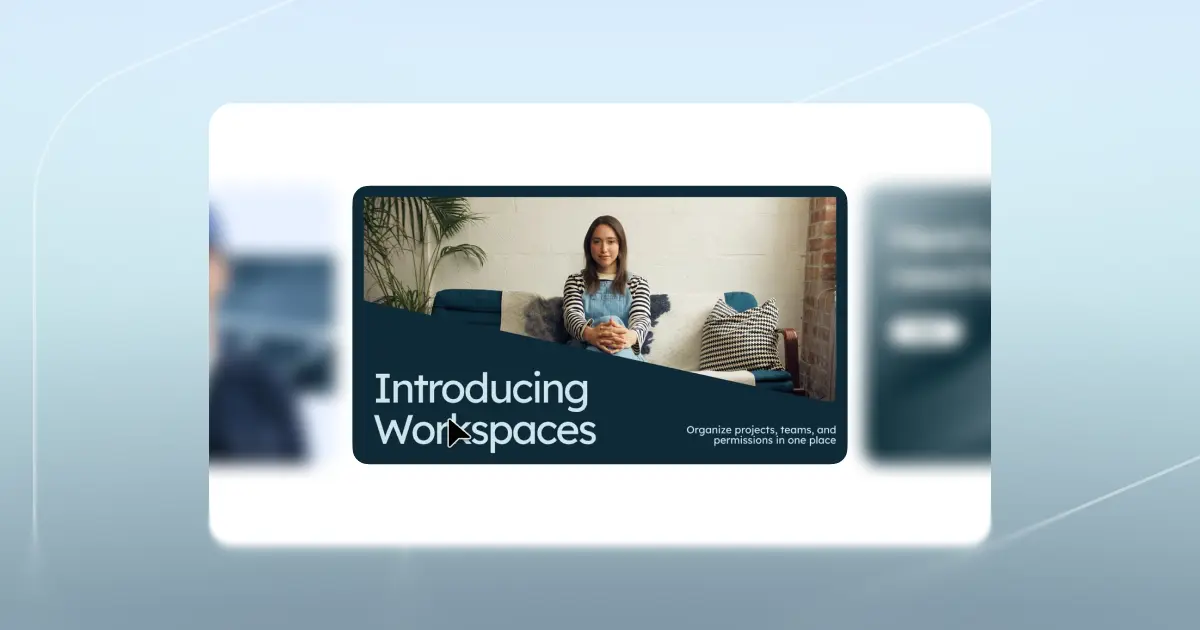
Corporate and business presentations
Try making your company updates and presentations more engaging by using an AI avatar as a virtual presenter.
This template will give you a really polished video with a structure that flows naturally and transitions seamlessly between your key points.
Knowledge base videos
I think that Synthesia AI videos are a great fit for knowledge base videos. Your AI avatar can quickly give easy-to-follow video explanations that are super easy to update when your processes change.
This template gives you a nice starting point for building a video knowledge base that answers common questions from your employees or customers.
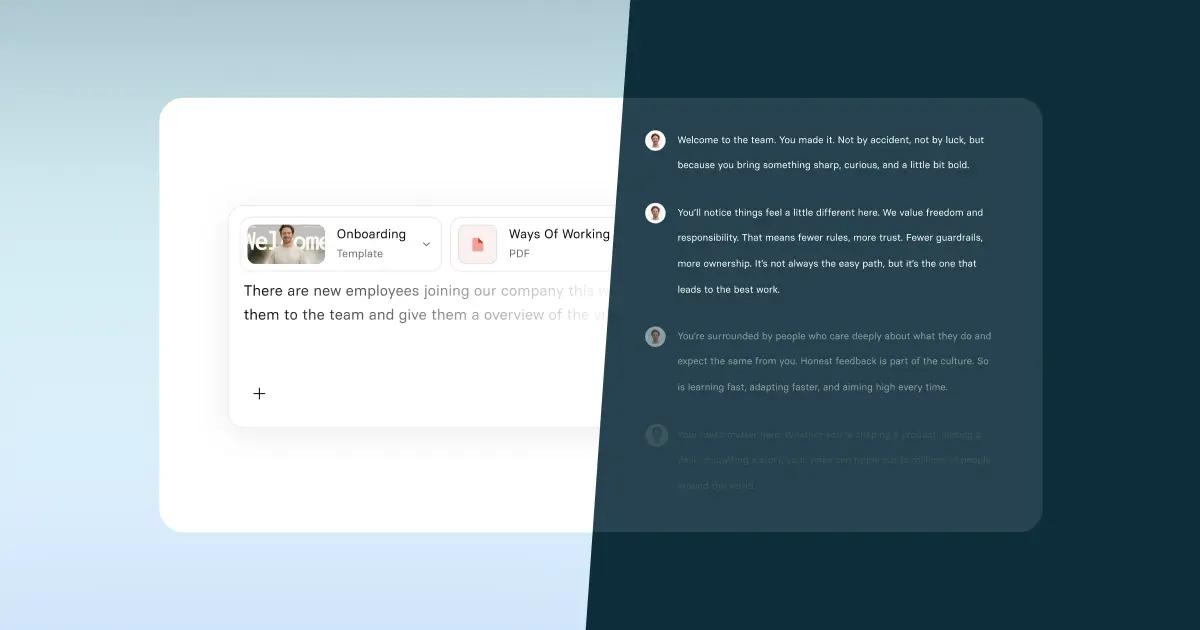
Recruitment and HR
Synthesia videos are often used by talent and human resources teams to communicate effectively with prospective hires.
This template will help you introduce your company, roles, and processes in a more human way.
Planning a Synthesia video
I think it's a good idea to go through a few planning steps before getting started on your video:
Define your video's purpose and audience
It's always a good idea to clearly define your video's purpose and audience before getting started. The optimal approach to structuring and creating your video will depend on your answers.
Are you creating compliance training for new hires? A product demo for prospects? An executive update for global teams? Each requires a different approach.
If you're creating a compliance training video for new hires, you'll need to define clear learning objectives and plan out logical knowledge checks.
If you're making a product demo video, you'll probably want to combine avatar narration with screen recordings, so you'll need to plan out what features and workflows you'll want to demonstrate.
Use the FOCA framework
How well you write your video script will determine 80% of your video's success, so it's worth working on your script as much as possible.
If you need some guidance, I recommend following the FOCA framework: Focus (hook), Outcome (what they'll learn), Content (main message), Action (clear CTA).

FOCA framework for better scripts
- Focus – Start with a hook to grab attention
- Outcome – Clearly state what the viewer will learn
- Content – Deliver your main message concisely
- Action – End with a clear call-to-action (CTA)
Tip: Aim for 2–4 short sentences per scene, and keep your tone conversational for the best results.
When writing my video script, I'll usually aim for around 2–4 short sentences per scene, with 12–23 scenes total for optimal pacing. I'll always read my script aloud to myself and a colleague to make sure it sounds natural and conversational.
Try to be mindful of what information should be narrated and what should be shown on screen. For example, long lists shouldn't be narrated – they are much better as scannable on-screen text.
It's best to start with a strong hook in your first 5 seconds. If you're stuck, try posing a question, sharing a surprising statistic, or addressing a pain point directly.
Set success metrics upfront
Specify what success for your video looks like in terms of easily measurable metrics. Again, this depends on your video's purpose and audience.
If you're making a training video, then you'll want to aim for a solid completion rate and decent knowledge retention (ideally measured by a pre- and post-video interactive quiz).
For marketing videos, you'll more likely want to measure click-through rates and conversions from your clickable CTAs.
Determine optimal length
If you're making a marketing explainer, you'll want to keep your video punchy and shoot for about 45–90 seconds. Anything instructional like a tutorial will more likely be around 2–4 minutes long. If you're creating detailed training videos they will typically be in the 5–7 minute range.
The shorter the video, the higher your completion rate is likely to be, but you always want to be sure you convey all the essential information you need to.
Plan for localization needs
If you know that you'll need multiple versions of your video in different languages, it's best to try and structure your content for easy video translation right from the start.
Try to use simple, clear language that will translate well, and avoid idioms and culturally specific references.
Measuring success and iterating
After publishing your video it's a good idea to track the following video metrics via Synthesia's video analytics:
- Completion rates: There's no specific benchmark, but I try to aim for 80%+ for my training videos and 60%+ for marketing content. If I see completion rates dropping at specific points, then I know that scene needs revision.
- Engagement metrics: If I see an obvious weak point where viewers are dropping off I'll usually try to adjust the pacing and increase the content density around that point.
- Learning outcomes: This metric only applies to training and instructional videos. Strong videos should show a measurable knowledge improvement, but this can be tricky to measure.
Kyle Odefey is a London-based filmmaker and Video Producer at Synthesia. His content has reached millions across TikTok, LinkedIn, and YouTube, even inspiring an SNL sketch, and has been featured by CNBC, BBC, Forbes, and MIT Technology Review.
Frequently asked questions
Do I need any video editing experience to use Synthesia?
No! If you've ever used Microsoft PowerPoint before, then you'll find Synthesia feels very similar. The platform is designed to be easy to use and does not require any video editing experience at all.
Is Synthesia free to use?
Yes, Synthesia has a free plan that allows you to create 10 minutes of video per month for free. Check out our pricing page for more information.
How long does it take to make a Synthesia video?
Most users can go from a prompt or file upload to a finished video in minutes, but it depends on the complexity of your video and whether you want to add additional elements like interactivity.
What languages does Synthesia support?
Synthesia supports more than 160 languages. You can see a full list here.
What file types can I use to create a video?
Synthesia can convert PDFs, PowerPoint slides, Word documents, and text files into engaging video.

.webp)