ChatGPT video generator
Instantly generate engaging, AI-powered videos from any text.

Choose your input method and let AI create your video.
0/500 characters
Please try a different idea!
Need inspiration? Try one of these ideas


0/1500 characters
Please try a different script!
Need inspiration? Try one of these ideas
With it, staying connected with your clients becomes effortless and consistent. Let me explain. We automatically schedule and personalize messages whenever you log an interaction.
Calls, meetings… every touchpoint counts! Now no lead goes unnoticed!
Join Connectly today and turn your everyday conversations into lasting relationships.
First, why we're here: we turn big ideas into simple, helpful products always for the customer.
On day one, just focus on three things: Meet your squad. Slack, wave, or say hi in person. Set up your tools. Email, chat, and our project hub.
Pick a tiny task and ship it. Nothing builds confidence like a quick win.
We are so glad you are here. Ping your buddy or me if you have any questions. That's it. Let's make awesome stuff together!
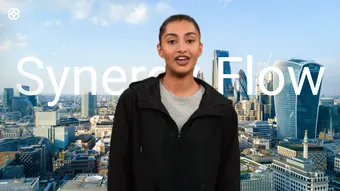
With Synergy Flow you can track tasks, analyze performance, collaborate in real-time.
Let's look at our plans: We have Pro plan for small teams and startups. Also — we have Pro plus plan for growing companies.
And enterprise for those companies that need robust security. If you can't find the right plan, let us know.
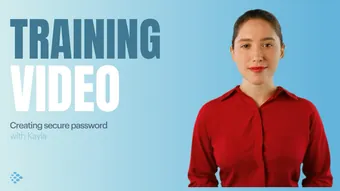
Strong password is key to your security. Make it at least 12 characters, and use a mix of uppercase, lowercase, numbers, and symbols. Avoid common words or names.
We don't recommend you to use same passwords for work and personal accounts. Also always use multi-factor authentication to avoid extra risks.
Stay cautious, never share your password and don't hesitate to ask questions. That's it for today. Thanks for watching.
Paste a link to a public article or blog post you have permission to use and we’ll turn it into a video.
Pages with over 4,500 words will be rejected.
We don’t support this type of link. Try a public article or blog post instead.
Upload a text-based document to create your video.
Choose a file
PPTX, PDF, DOCX, TXT (max 50MB)
Thumbnail name
Thumbnail name
Upload error
By using this service, you confirm that you have all necessary rights, licenses, and permissions to upload or generate content, and that your use of any generated videos will comply with the Acceptable Use Policy and applicable regulations related to intellectual property and data privacy.
Trusted by over 90% of Fortune 100 companies.
Generate videos with ChatGPT and Synthesia
Use Synthesia's ChatGPT-powered AI video assistant to instantly create scripts and engaging AI videos from text prompts.
Go from prompt to video in just a few clicks
- Refine your prompt by specifying length, tone, audience, and objective
- Create videos for training, marketing, sales, and more in minutes
- Share seamlessly everywhere: social, email, and presentations
Bring your videos to life with AI-generated assets
- Integrate AI assets directly into your Synthesia videos
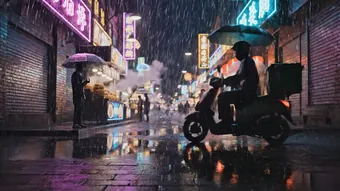
- Easily create custom, cinematic b-roll and scene backgrounds with just a prompt
- Produce industry-specific visuals and branded content to elevate your videos
Engage viewers with lifelike AI avatars
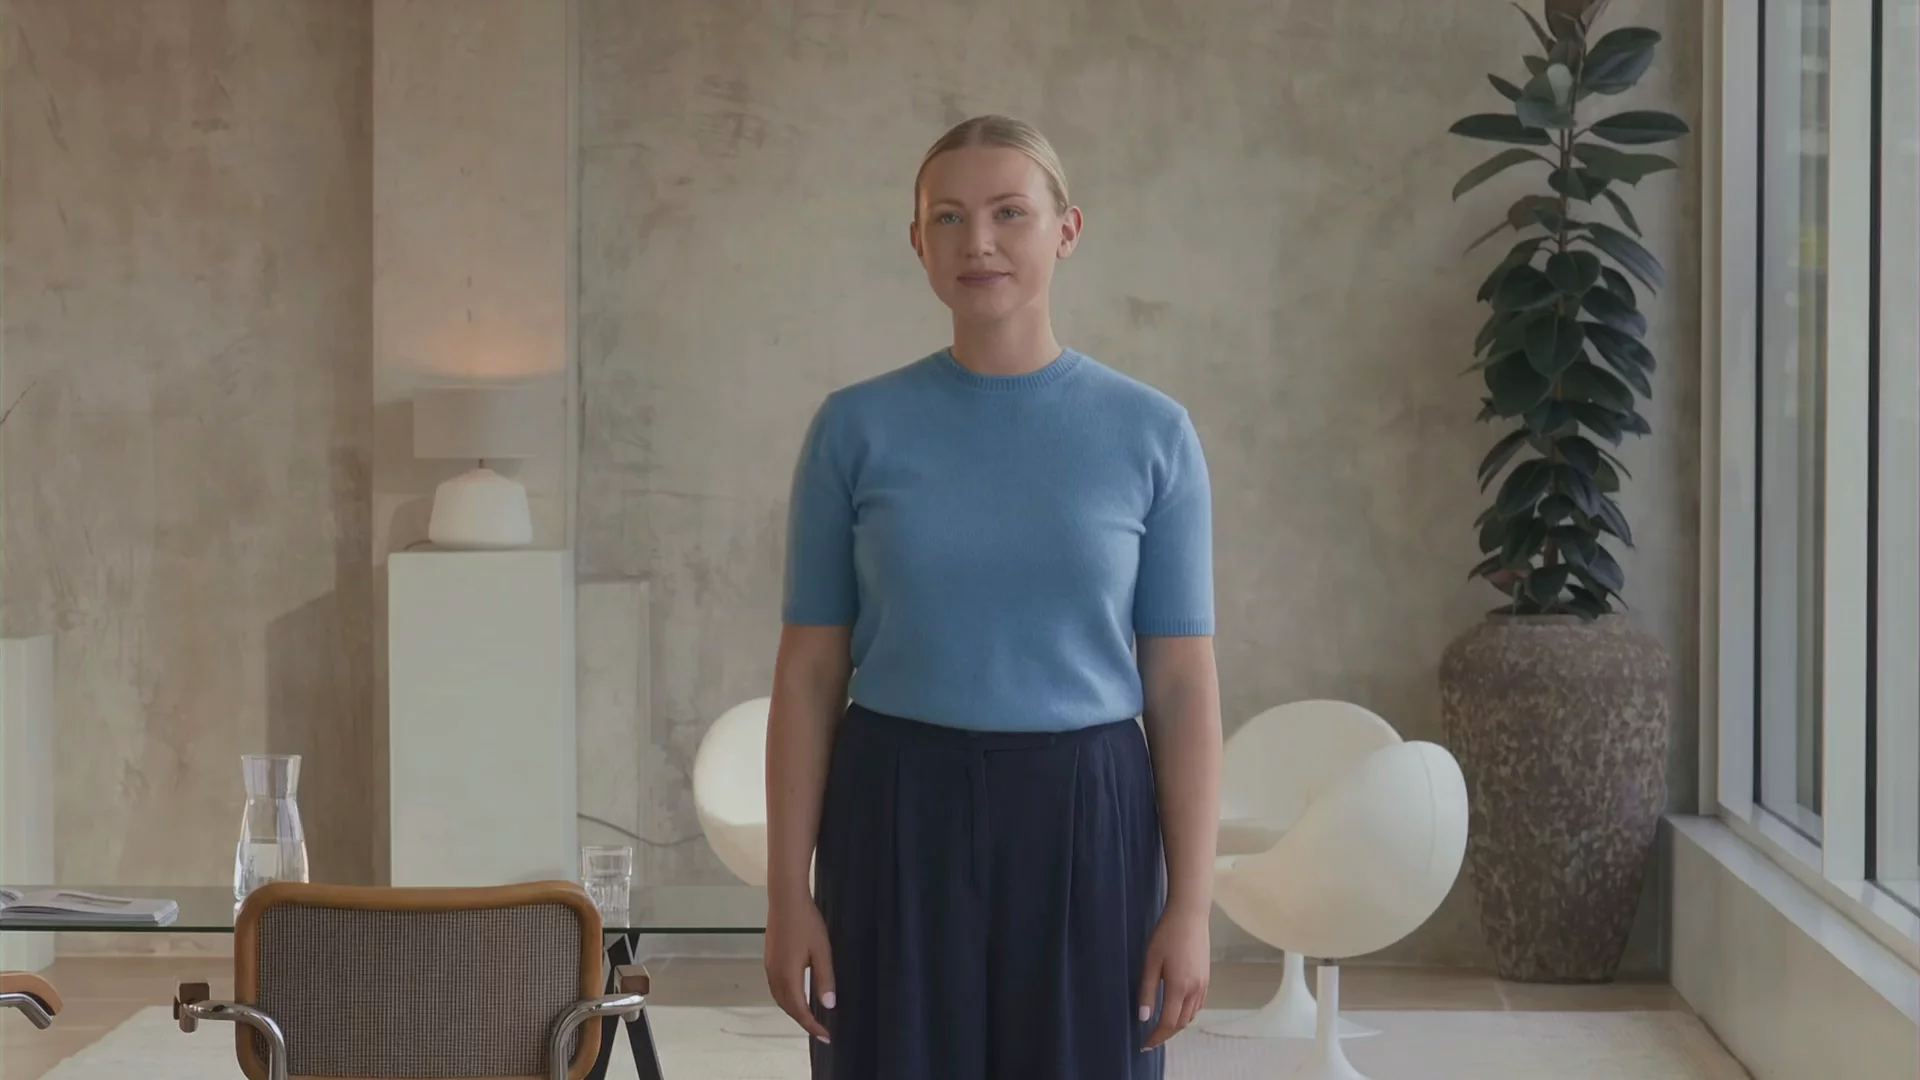
- Pick from 240+ diverse, realistic avatars
- Create a digital version of yourself to deliver your message without being on camera
- Personalize clothing, backgrounds, and layouts to fit your style
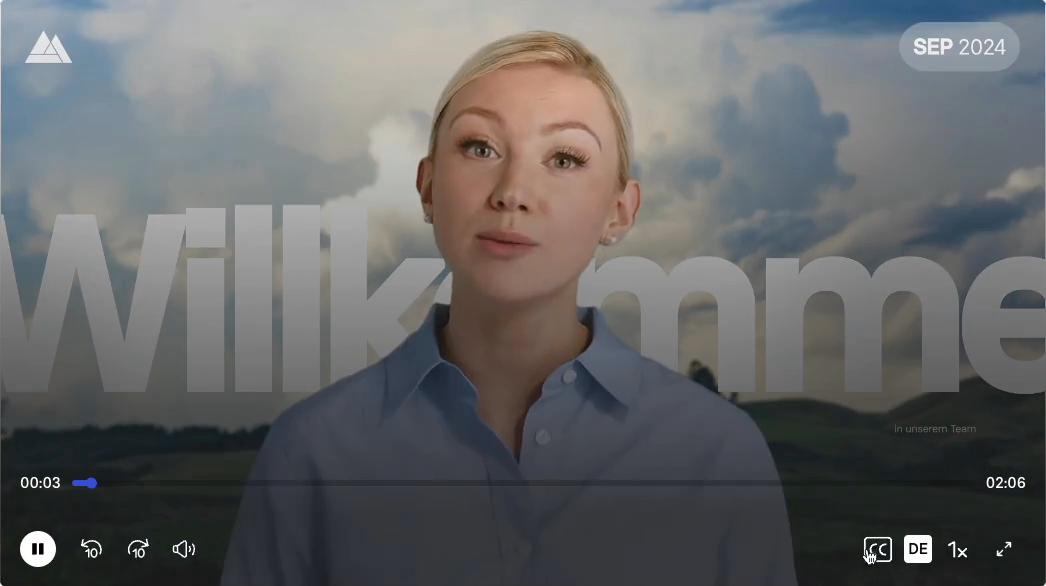
Create videos in 10+ languages with ease
- Add voiceovers in 160+ languages and accents
- Share your message globally without recording audio
- Clone your voice to speak naturally to an international audience
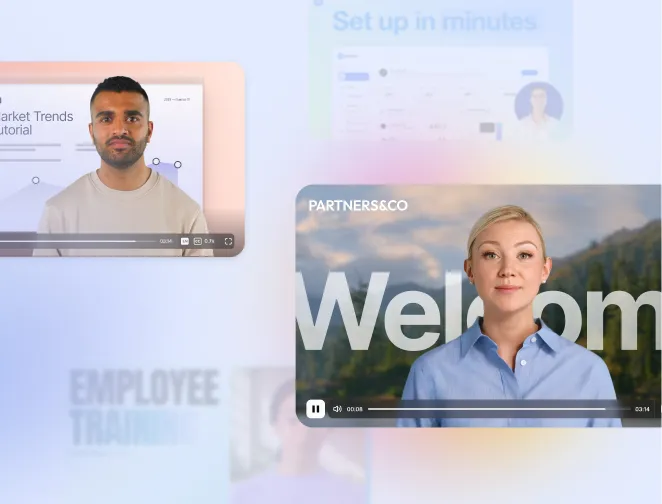
AI-generated video examples made with Synthesia and ChatGPT
One platform to create and manage AI videos at scale
Synthesia provides advanced AI video features alongside our ChatGPT video generator, allowing you to create engaging videos in seconds.


Why do training, marketing and sales leaders trust Synthesia?
“It's enterprise-ready and makes video creation easy.”

"What used to take 4 hours now takes 30 minutes."

"The platform is so easy to use and intuitive."

“We make videos fast and use them every day.”


“Updating 10,000 courses? Totally doable now.”

"100 hours of translation done in 10 minutes!"

"I don't need a third party anymore. I do it myself"


“50% faster content. Without sacrificing quality”

"Teams adopt it fast and use it across the company."


“Interactive video is redefining training for us”


“We push updates without touching the LMS.”


"We saved $56K and hit 100+ custom videos."

"With Synthesia, we get lightning-fast results."

"180 videos. 5 languages. 0 hassle."

How to create a ChatGPT video
Start with an idea
Enter a prompt, paste a script, upload a file, or drop in a URL. The AI will instantly turn it into a first video draft.
Customize your video
Pick from templates, tweak the script, add an AI avatar, and generate fresh visuals. Adjust every detail to match your style.
Generate your AI video
Hit ‘Generate’ to produce your video. Translate it into any language with one click, then export and share it anywhere — LMS, website, or social channels.
Ready to try our video platform?
Join professionals from 50,000+ leading companies.

All your ChatGPT video questions answered
Can ChatGPT generate video?
While ChatGPT itself doesn’t create videos, OpenAI has developed tools like Sora for AI-generated video content. However, while Sora is fun, it may not be the most practical tool for creating useful videos. If you're looking for a more user-friendly and efficient solution, Synthesia is a great option.
Synthesia seamlessly integrates ChatGPT’s content creation capabilities with AI avatars, realistic voiceovers, and video translation, allowing you to produce professional-quality videos quickly and effortlessly.
Can you make videos with ChatGPT?
You can create videos with AI, but ChatGPT itself doesn’t generate them. OpenAI recently released Sora, a powerful text-to-video model capable of generating high-quality clips from simple prompts. While Sora is fun to play around with, users looking to create professional AI-generated videos today can use tools like Synthesia, which turns text into engaging videos featuring AI avatars.
Can ChatGPT do video editing?
ChatGPT doesn’t have built-in video editing features, but it’s great for generating scripts, captions, and creative ideas for your videos. If you need a tool to actually produce videos, Synthesia is a top choice.
Synthesia leverages AI to turn text into professional videos with realistic AI avatars, voiceovers, and multilingual support. While ChatGPT helps with planning and brainstorming, Synthesia takes it further by bringing your ideas to life as fully-produced videos.
How do I write a video script with ChatGPT?
You can use ChatGPT to generate video scripts by providing a prompt with details like tone, length, and key points. It helps with brainstorming, structuring, and refining your script to fit your needs.
For a more streamlined process, tools like Synthesia include an AI script generator that not only helps you write scripts but also turns them into full AI-powered videos. With realistic avatars and voiceovers, Synthesia makes it easy to go from script to production in one platform, combining creative writing and video creation seamlessly.
How does ChatGPT video editing work?
ChatGPT itself doesn’t have video editing capabilities, but generative AI tools like Synthesia do. Synthesia uses AI to generate and edit videos with lifelike avatars and voiceovers. It also integrates with ChatGPT, allowing users to turn ideas or existing text into full video scripts, making the entire video creation process seamless.
Can I create ChatGPT videos for free?
Yes, you can create ChatGPT-powered videos for free using Synthesia. Simply sign up for a free account to start generating AI videos. Synthesia also offers video templates, AI avatars, and voiceovers to enhance your video content.
Why is Synthesia the best tool for generating videos with ChatGPT?
Synthesia works with ChatGPT to generate engaging videos from your text prompts, scripts, documents and webpages. With Synthesia, you can translate videos in 1 click into 160+ languages and accents, generate natural-sounding AI voiceovers from a library of 1,000+ voices, and add customizable AI avatars to deliver your message on screen. Combined with stock and AI-generated visuals and professional templates, Synthesia makes it easy to go from a ChatGPT idea to a polished, professional video in minutes.
Not just a ChatGPT video generator
Aside from Synthesia’s ChatGPT video generator, you can go far beyond simple text-to-video creation. The platform lets you generate realistic avatar videos with the AI avatar generator, create lifelike presenters using the talking head video generator, and instantly turn your scripts into engaging videos with the script-to-video maker.
Everything you need to produce professional videos at scale is built right into Synthesia – all in one platform.
Discover more