

Create AI videos with 240+ avatars in 160+ languages.
Ready to make training videos that unwrinkle your employees’ foreheads and make them excitedly say, “Oh, I get it!”?
By the end of this post, you’ll know:
- The different use cases for screen capture (and software features to look out for)
- The 4 best screen recorders currently available (from a free version without a watermark to a corporate solution).
- Top 3 essential tips for pulling off a great presence on camera.
Let’s dive in. 👇
How to choose the best screen recorder
People use screen recording for training, but also in other situations. And different video use cases require different features. Here are several use cases you may have and the features to watch out for when picking your screen recording software.
Features to look out for when creating software tutorials:
You want screen recording software that lets you edit quickly, annotate the footage, and guide viewers on the screen with cursor effects and highlights of essential areas.
✅ Quick editing tools.
✅ Live recording effects (cursors, content zoom, draw-on-screen).
Features to look out for when recording online classes or webinars:
You want a screen recorder with high-quality video and audio, live-streaming recording, and options to schedule and automate recordings.
✅ High-quality, stable live-streaming.
✅ Webinar management features that can host multiple event users.
Features to look out for when making instructional videos:
You want to enhance the instructional video’s clarity, flow, and overall presentation.
✅ Rich editing features (text overlays, annotations, captions, trimming, transitions).
✅ Control over what portion of the screen to record.
Features to look out for when recording video calls:
You want screen recording software that captures video and audio from the call simultaneously, regardless of the applications used for the call.
✅ High-quality, synchronized audio and video.
✅ Integration with popular video conferencing platforms (Zoom, Skype, Microsoft Teams).
Features to look out for when capturing live streaming videos:
You want to record videos without delays/buffering and to be able to view them later or edit the capture.
✅ Real-time recording capabilities.
✅ Different saving formats.
Features to look out for when creating product demos:
You want to record videos that show the product clearly and in detail, from multiple angles, demonstrating its features.
✅ Control recording specific application windows.
✅ Highlight mouse clicks and key presses, edit with zoom-in and loop.
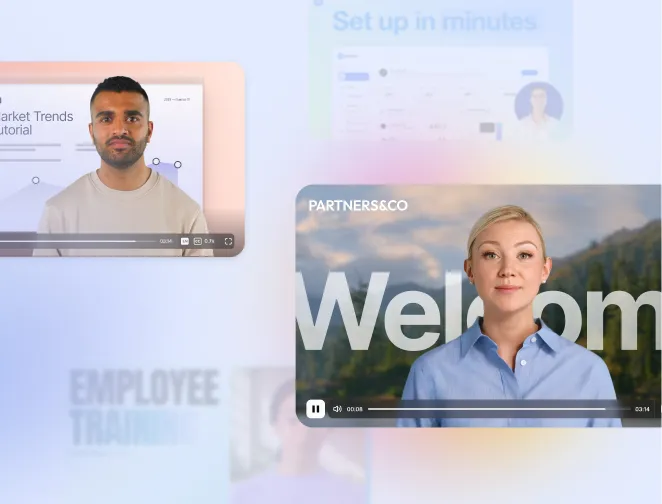
Best screen recorder for training videos: Synthesia
Synthesia is an AI video creation tool with built-in screen recording. It’s the best screen recording software for training videos because:
1) It comes with tons of editing options so that right after you’ve finished recording, you can customize the footage with your logo, text, images, or anything else you’ve decided to add.
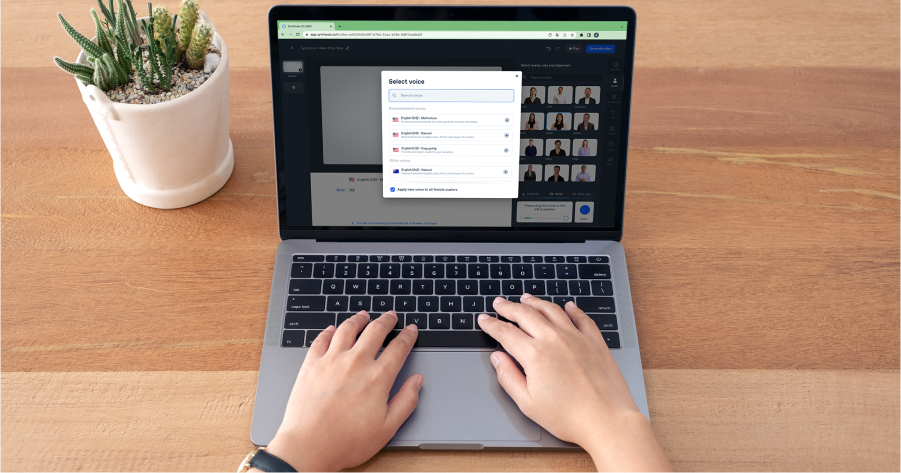
2) It eliminates the need for you to show up on camera and do the narration because it provides AI voiceovers and human-like avatars to replace your presence easily and naturally.
Here’s how Synthesia works:
- You select a video template from the Synthesia training video library
- Use the screen recording feature to record your screen and add the footage to your template.
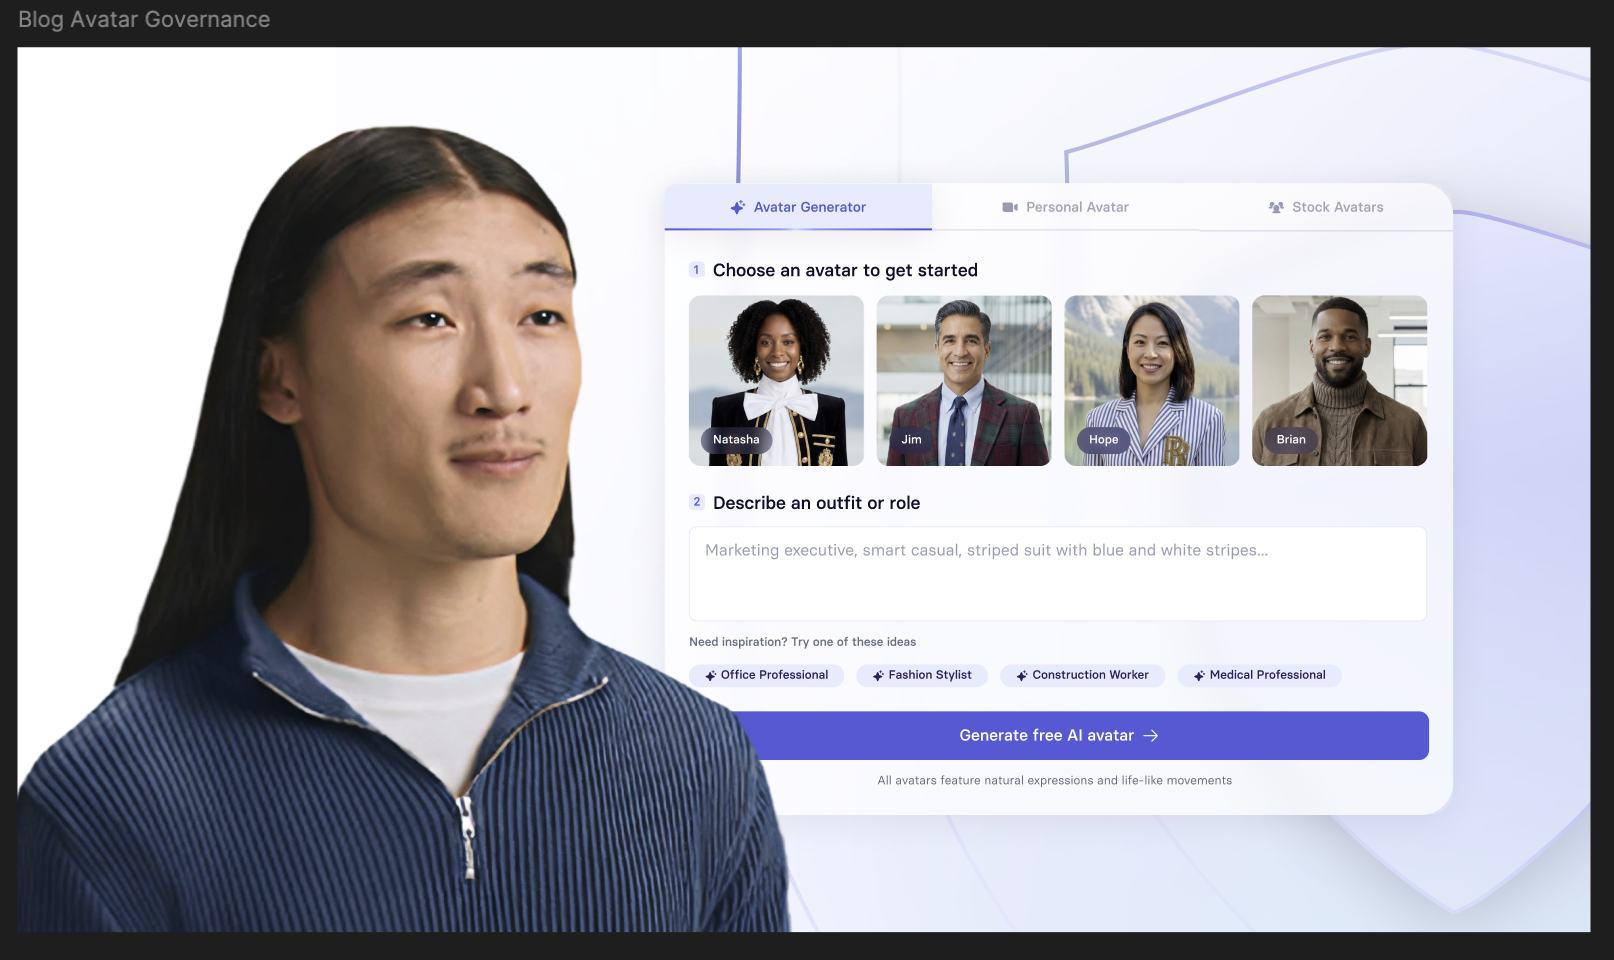
- (Optional) Write a script, have Synthesia generate the voiceover in your chosen language, and select an AI avatar.
- Fill in all the other elements of the template, such as your logo, company colors, stock photos, and text.
- Generate your video, and you’re done!
So, you’re looking at an AI tool designed to help you create a professional-looking video in as little as 15 minutes.
Synthesia’s top features:
✔️ Full HD record of a particular Chrome tab, a window, or the entire screen for up to 5 minutes at a time.
✔️ Manage the timing of the screen recording and sync it with the audio.
✔️ Easy trim, cut, and loop editing functions for your video and screencast.
✔️ 65+ video templates so you can select a visual base for inserting your screencasts instead of working from scratch.
✔️ 120+ languages to pick from, so you can localize and scale training videos with built-in screen recordings at the click of a button.
✔️ 125+ diverse AI avatars to choose from, so your recorded videos have a presenter that isn't necessarily you.
✔️Auto-generated closed captions to make your video tutorials more accessible.
✔️Video footage upload to add an existing screen record to your training video template.
✔️Built-in stock library with music tracks, videos, and images to complement your video.
Cost: from $22/month
Best recorder for drawing on screen: Movavi
Movavi is an all-in-one video solution, a platform where you can get video creation, screen recording, and photo editing tools for training or education.
The Movavi screen recorder is one of the best screen recording tools for real-time, on-screen drawing thanks to its intuitive interface.
Top features:
✔️ Draw freeform shapes and figures on screen while recording.
✔️ Add notes and highlights while recording your video tutorials.
✔️ Capture any tab, window, or screen on your device on demand or scheduled.
✔️ HD video recording and external audio recording with no recording limit.
✔️ Full-page screenshots so you can turn lengthy pages of content into a continuous, automated scroll.
Cost: $34,28/year or $55.74 lifetime
Best free screen recorder: ScreenRec
ScreenRec is a free screen recorder for capturing your desktop with one click. It’s easy to use, and you can instantly share the screencasts you create with it. It can be your go-to free screen recorder when you need to quickly record your screen and send the raw recording to a colleague.
Top features:
✔️ Screen recorder with bubble face camera.
✔️ Mute notification sounds from your computer while you record.
✔️ Record offline, save to your computer, or share instantly via a quick link.
✔️ Automatically uploads recordings to a library.
Cost: Free
Best screen recorder for corporate communications: Loom
Loom is a video messaging tool with a simple screen recorder that people with various tech expertise can use easily.
While it’s similar to ScreenRec in its recording functions, Loom’s sharing and collaboration options make it a valuable communication tool in the corporate environment.
Top features:
✔️ Computer screen, webcam, and microphone recording, individual or simultaneously.
✔️ Automatic transcriptions.
✔️ Add your team members and create video libraries.
✔️ Custom branding.
✔️ Engagement insights and advanced analytics.
Cost: $12.50/creator/month paid annually for business and custom pricing for enterprise
4 tips and tricks for creating compelling training videos using screen recorders
Even though screen casts focus on action, our brains are wired to look at faces, so when a presenter shows in an instructional video, we spend 30% of the time looking at their face.
(Plus, learning is more enjoyable with a friendly companion or an encouraging teacher).
There are many benefits to including your face, but recording a video starring your voice and face can feel well… like this: 🙈. And if you’re posting videos somewhere public — like YouTube — there's even more pressure to create video recordings that look and sound good.
Before turning on your screen recording tool, focus on the following areas, and you’ll get a confidence boost and superior training videos:
#1 Speak clearly
You want a smooth video narration so your audience doesn’t get distracted by your voice. Avoid saying um, ahh, or other unnecessary sounds. If you lose track of what you’re saying, pause. It’s easier to cut out pauses than rambling.
#2 Know your objective inside out
Screen recs are meant to show someone how to repeat a task. This mega-post guides you through using FOCA, a video planning framework that helps define your objectives and ideas. Read it, and you’ll know what to say.
#3 Ensure high video quality
High-quality video recording keeps your viewers focused, makes you look better, and can even do wonders for your authority. Avoid a low-quality record, as it typically results in pixelation. When the image isn’t clear, the audience gets distracted and doesn’t follow along.
#4 Present with professionalism
When recording videos, dress appropriately and pay attention to grooming, use good lighting in your favor, watch out for your posture, and position the camera at eye level. If you plan on doing many of these videos, opting for an AI avatar, which will always be camera-ready, could be your best choice.
Level up your training videos with quality screen recordings
A screen recording tool can be powerful if you know how to use it. And when you record training videos, you want software that makes recording easy AND lets you scale without effort.
Try Synthesia’s free AI video maker to witness the power of AI video generation, and things will never be the same again.

Kevin Alster is a Strategic Advisor at Synthesia, helping enterprises apply generative AI to learning, communication, and performance. With over a decade in education and media, he’s built programs for General Assembly, NYT School, and Sotheby’s.