

Lighting for Video: 7 Rules to Help You Create the Best Setup

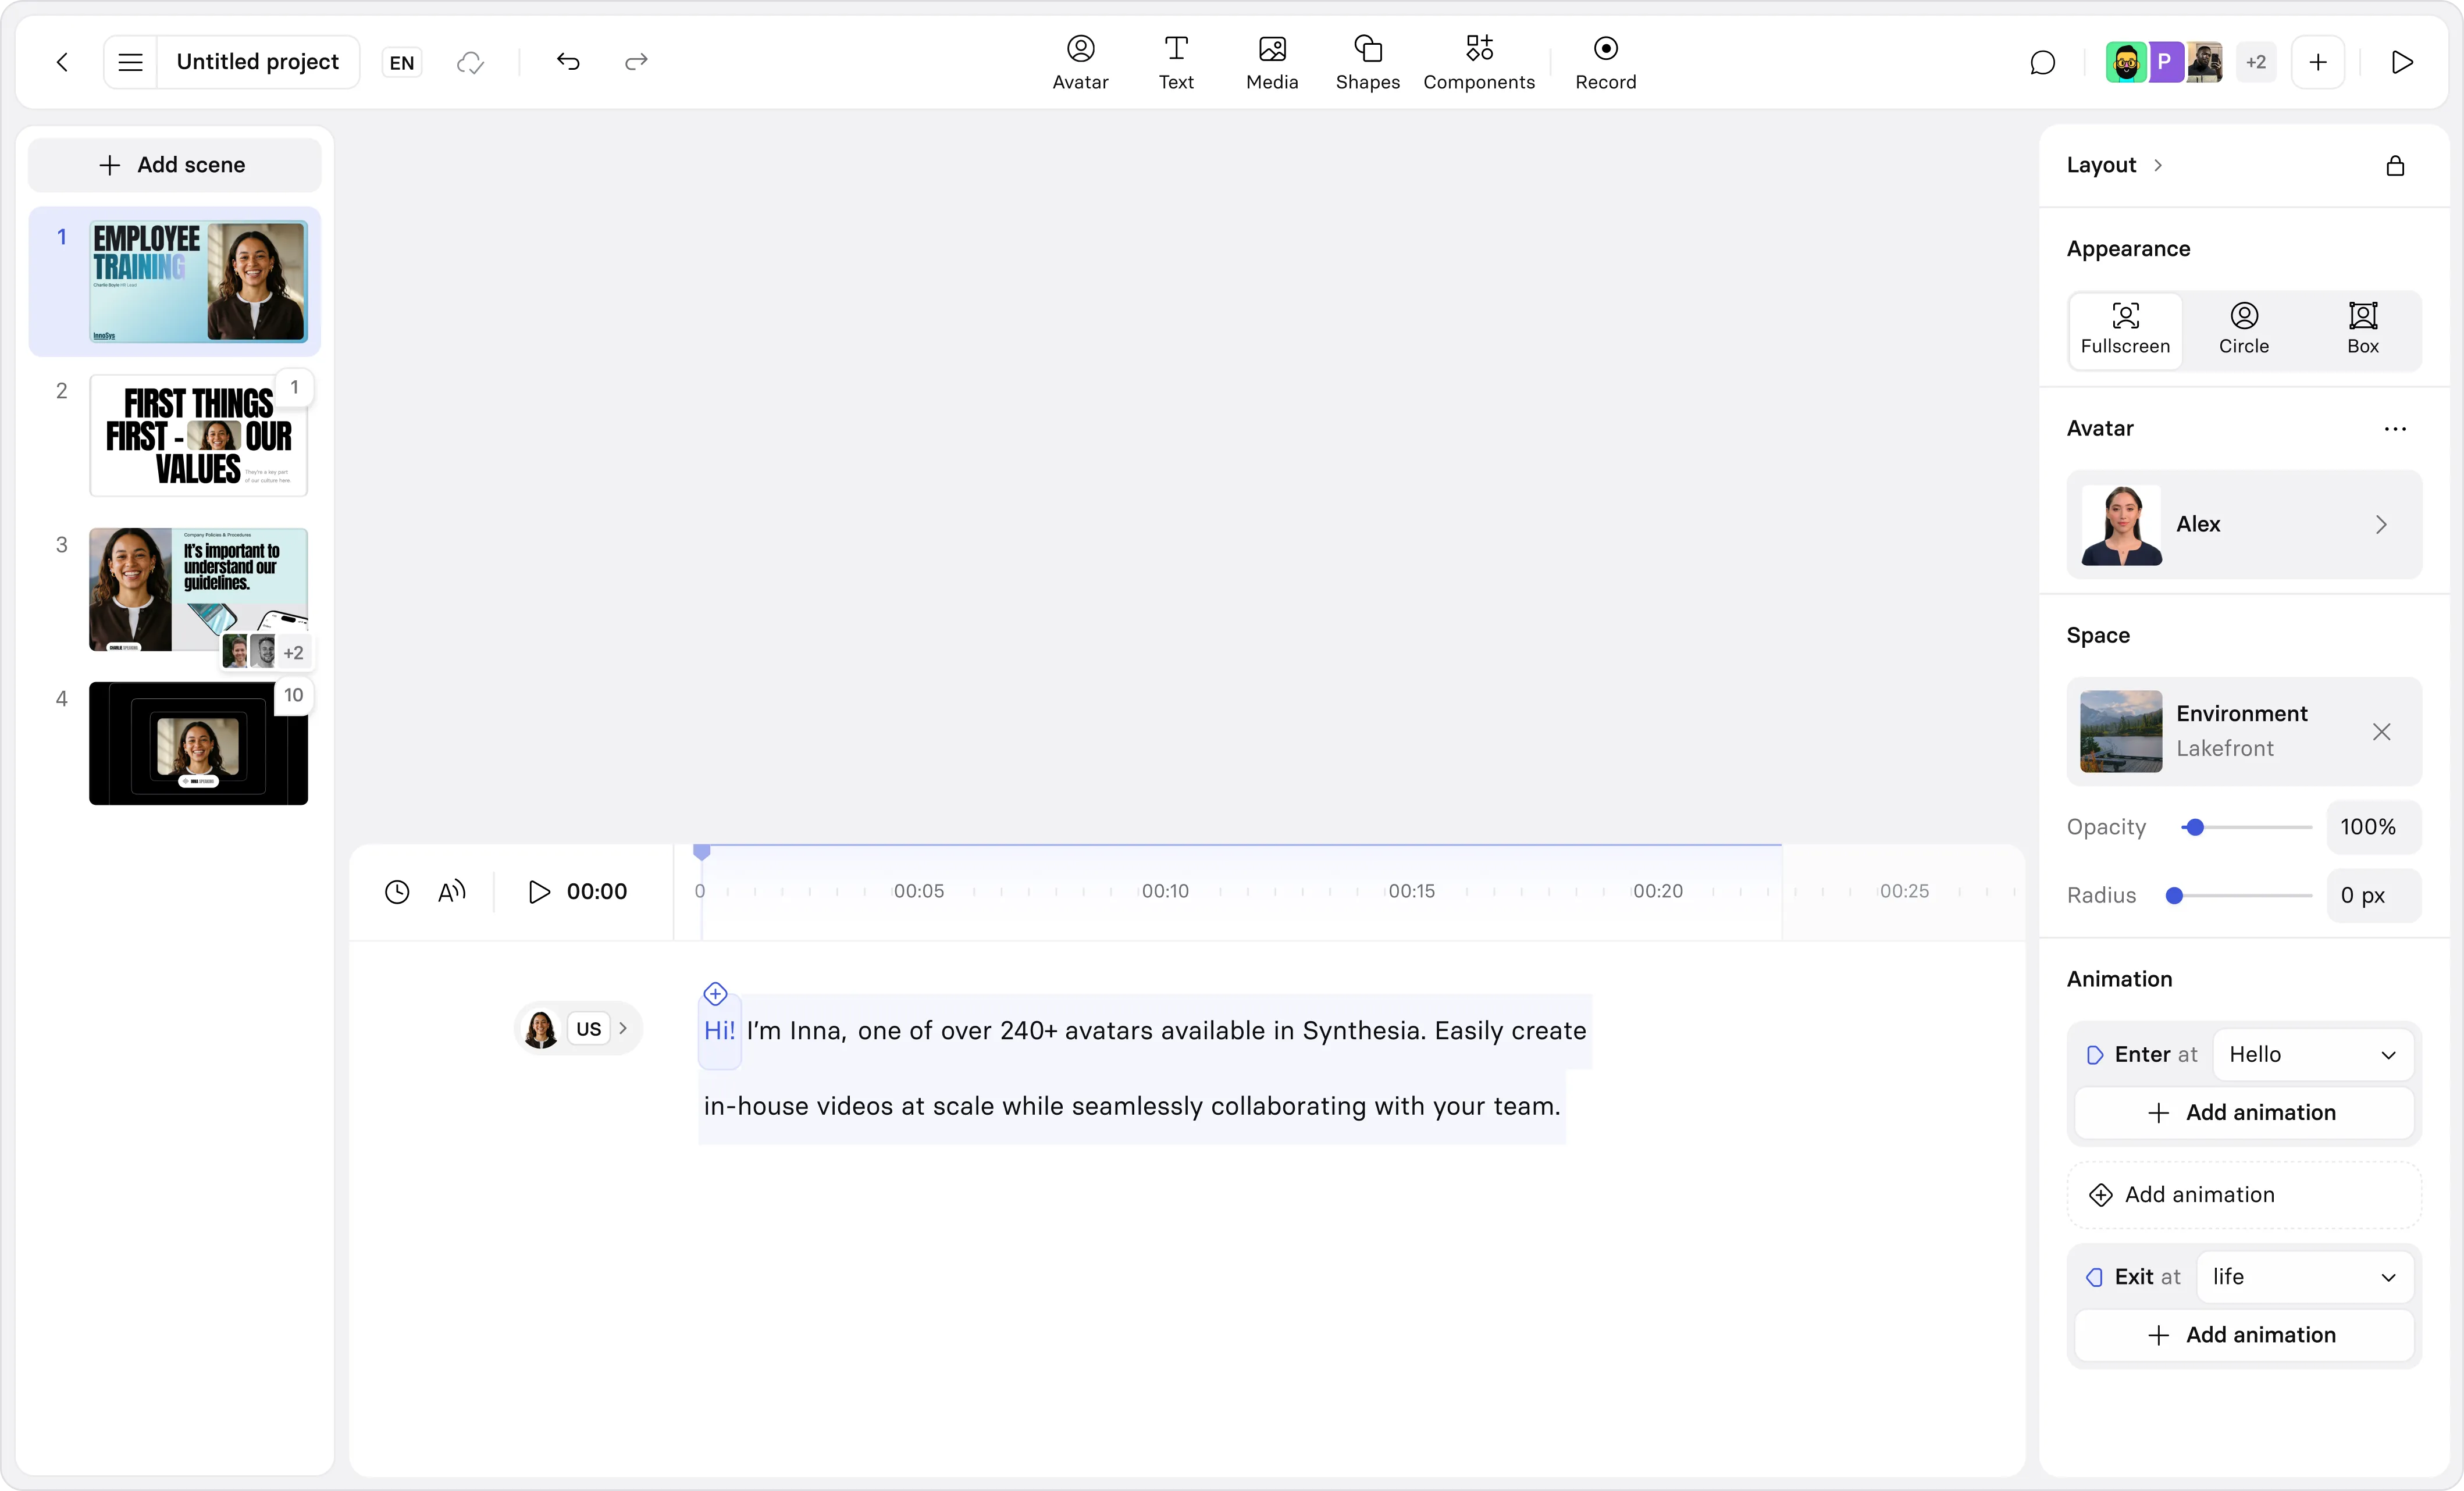
Create AI videos with 240+ avatars in 160+ languages.
The secret to great video content isn't only about the subject you choose or the camera you use.
If you want to make great videos, you'll need to master the art of lighting.
As American film director Aaron Rose said, "In the right light, at the right time, everything is extraordinary."
Understanding the nuances of the best lighting for video and how to use it to create mood and enhance clarity will improve the quality of your production.
Does lighting improve video quality?
Good lighting is essential for shooting high quality video footage.
While its primary function is to help the people and objects in your shot to stand out from the background, it can also be used to change the aesthetic and mood of your video.
While natural light is arguably the best (and most affordable) type of video lighting, studio lighting is also commonly used to create atmosphere and effects when shooting video footage inside.

Getting video lighting right is hard
If you're having trouble getting your video lighting right then don't worry - pretty much everyone does.
The sensors used by cameras capture light, color, and motion differently to how our human eyes do.
Our eyes can naturally adjust to varying light conditions as our pupils dilate or constrict and our photoreceptor cells adjust.
Whereas with a camera you are making the equivalent adjustments manually or semi-manually, so it's no surprise that it's a complicated and difficult task.
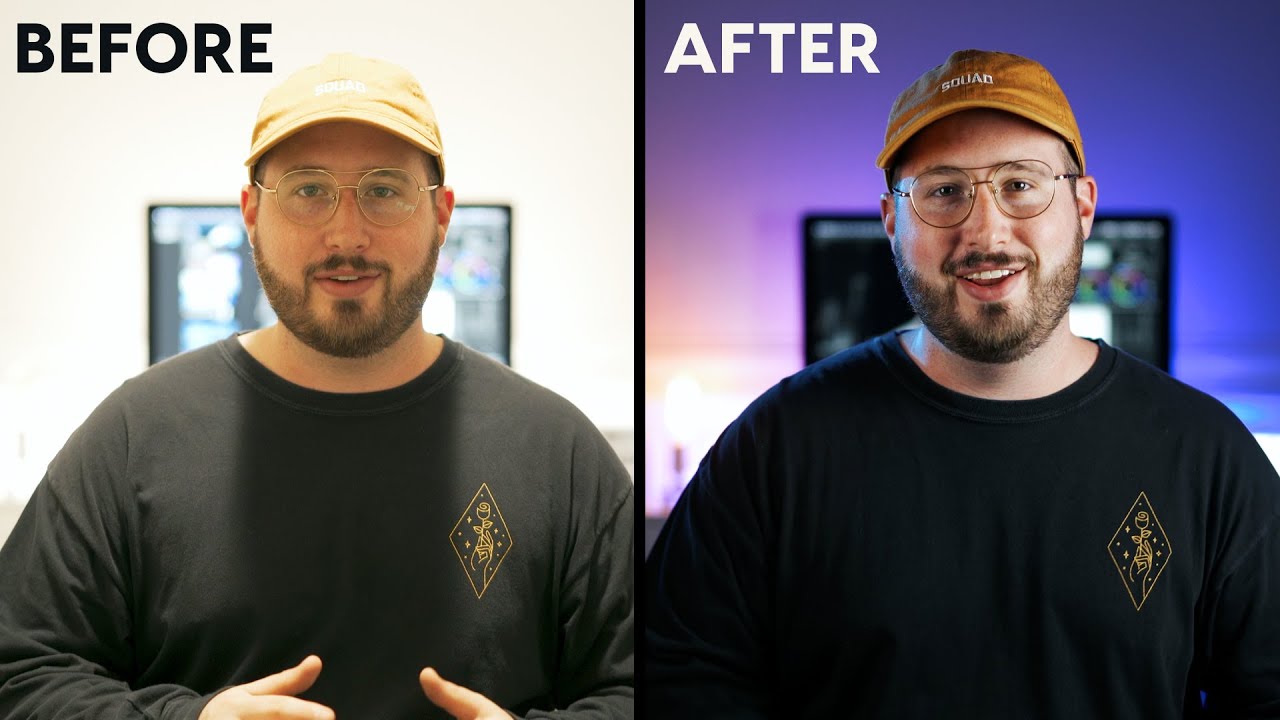
Getting your lighting right can lead to a natural look to your videos that can enhance the performance of your actors and even guide your viewer's emotions. Getting it wrong can distract your viewers away from the content of your video.
If a scene is too dark your viewers won't see the details, and lighting that is too bright will cast hard shadows that are unflattering and unnatural-looking.
The video below does a really good job of demonstrating the impact good lighting can have, and how different lighting configurations can completely transform a scene.
Even though it's targeted at people shooting video for YouTube, the principles it covers are fairly universal for shooting all types of video footage.
Which lighting setup is best for making videos?
The best lighting setup for shooting video footage depends on the type of video you are shooting and on which lighting effects you hope to achieve.
The most commonly recommended lighting setup is called the three-point lighting system, which involves using a key light, a fill light, and a backlight.
Other commonly used lighting setups include two-light, four-light, loop lighting, and ring light setups, all of which have a place in your video lighting toolbox.

If you look closely, you'll see all three types of light in this video interview setup.
My advice is that the right lighting setup for recording a video is the setup that helps you to:
- Set the video's tone, which might be professional, casual, or dramatic.
- Ensure that the props you're using don't look flat due to poor background lighting.
- Make the presenters and actors look natural while highlighting their facial expressions and body language in a way that helps to maintain the viewer's focus fixed on them.
Why you should use soft and diffused lighting sources
Soft lighting wraps around the subject and reduces contrast, offering a more natural and appealing appearance.
You can achieve light diffusion in an indoor space by matching your light source with professional softboxes or using some DIY solutions (white fabrics or paper).
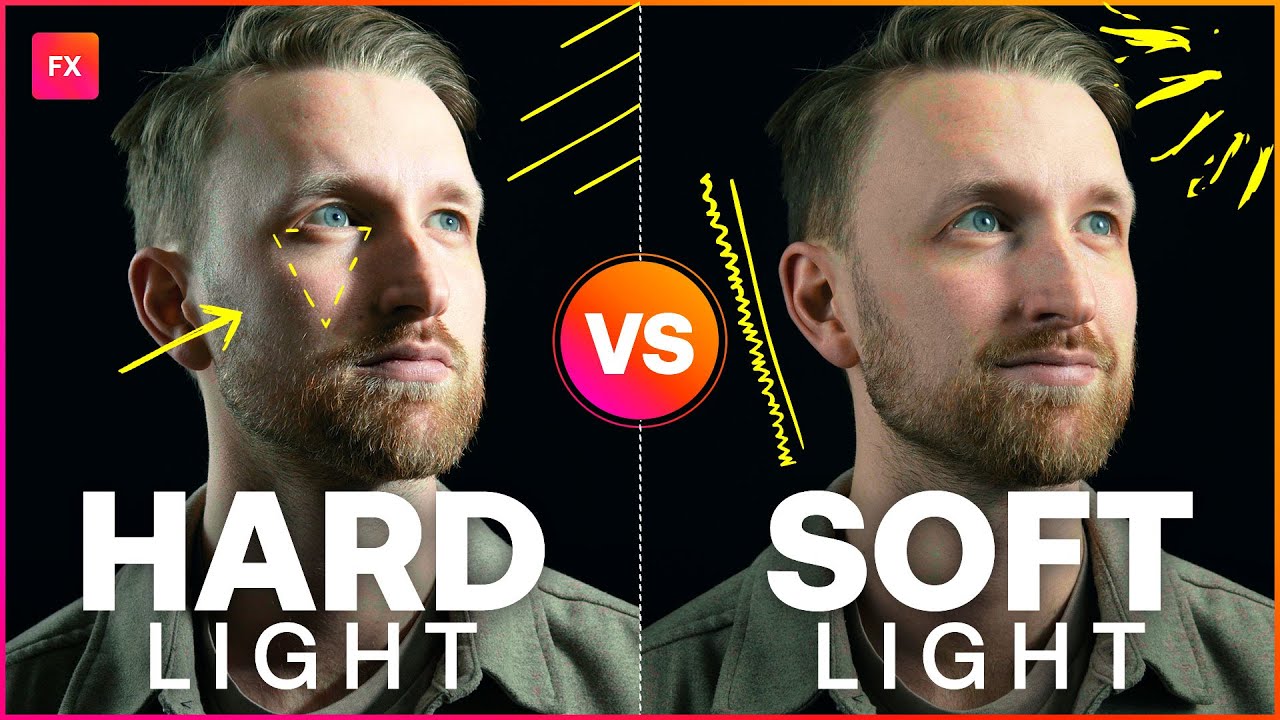
Another source of this diffused soft light (when filming outdoors) is overcast weather, whereas the light coming directly from the sun tends to be harsh and directional.
Harsh lighting creates strong shadows and high contrast that you must counteract. You can use reflectors that bounce the overhead lighting or additional light sources to balance the harshness and soften the overall lighting of your scene.
What is overcast weather?
A day is defined as overcast when clouds are covering at least 95% of the sky.
Anything less than 95% will mean you'll have patches of visible sky which will probably mean that you won't have the ideal conditions for filming outdoors with soft and diffused natural light.
How appropriate color temperature can make or break your video
The practice of describing the appearance of light in terms of color tones and measuring it in Kelvin (K) is called color temperature.
A light's color temperature can range from warm yellows and oranges to cool blue tones, with the standard reference point being natural sunlight at around 5000-6500K. Adjusting the color temperature in your videos is one of the most popular video lighting tips because it helps create a specific atmosphere or mood.
With videos that focus on a human (like presenter videos, tutorials, or testimonials), neutral to slightly warm color temperatures create a welcoming and friendly atmosphere.
While video lighting during film production is as good as possible, editors often color grade a video in post-production, adding additional color effects like the teal and orange look. As long as your soft lighting is good, your color temperature can always be adjusted after filming.
The 4 types of lights in video production
Whether the subject of your video recording is a person or an object, there are four primary types of light you can choose from to ensure the best lighting:
- Key Light: This is your primary lighting source. It's usually the brightest light you use and it has the most impact on the overall lighting of your video.
- Fill Light: This is a softer secondary light whose main purpose is to try and balance the lighting effects of the key light by reducing shadows and contrast.
- Back Light: This is a light specifically used to try and separate the subject of your video from the background and to add depth to your video.
- Ring Light: This is light that is specifically used for close-ups because it provides an even and diffused form of light that can be flattering.

One cool thing about video lighting is that there are no strict rules and lots of room for experimentation.
If you want to create a key light, it can be from an artificial source like a professional LED panel, your ceiling lights, or natural lighting.
Similarly, fill light and backlight can be improvised using DIY reflectors made of foil or some other reflective surfaces you have available.
The one exception to this is the ring light, which is quite a unique light source because of its specific shape, which can make it hard to replicate naturally.
How to choose the best lighting setup for your video production
Each of these video lighting setups has unique strengths and weaknesses that make them suitable for specific filming situations.
While I'm going to walk you through the best practices, I want to emphasize that you should try and experiment as much as possible, as a lot of the process of finding the perfect lighting for your project is trial and error until you spot it.
Here are the most common lighting setups and how to use them:
- Three-point lighting: This should be your default lighting setup. You place the key light on one side of the camera, the fill light on the opposite side, and the backlight behind the subject. This setup is great for creating a balance and professional look that is often suitable for interviews and narrative videos.
- A two-light setup: This setup uses just the key and fill lights, and instead of a backlight I'll try and supplement with a natural light source or a bounce card (which is a reflective surface that redirects light). This setup is a good choice if you're looking for a more natural look to your video or if you don't have the space or time to organize a three-point lighting setup.
- A four-light setup: This setup adds an additional background light to the three-point lighting scheme. The additional background light is used to provide additional illumination of the background of your video which can add additional depth. I don't use this one very often.
- Loop lighting: This is a simple but effective lighting setup that uses a key light and backlight, with the keylight placed at an angle such that it emphasizes the subject's features. It's pretty much only used for portrait or talking head videos.
- A one-light approach: This is the setup most commonly used by those who are just getting started creating video content. All you need is a simple ring light, which can provide you with a flattering light that's great for when your subject is directly addressing the camera.
Instantly awesome lighting for video with AI
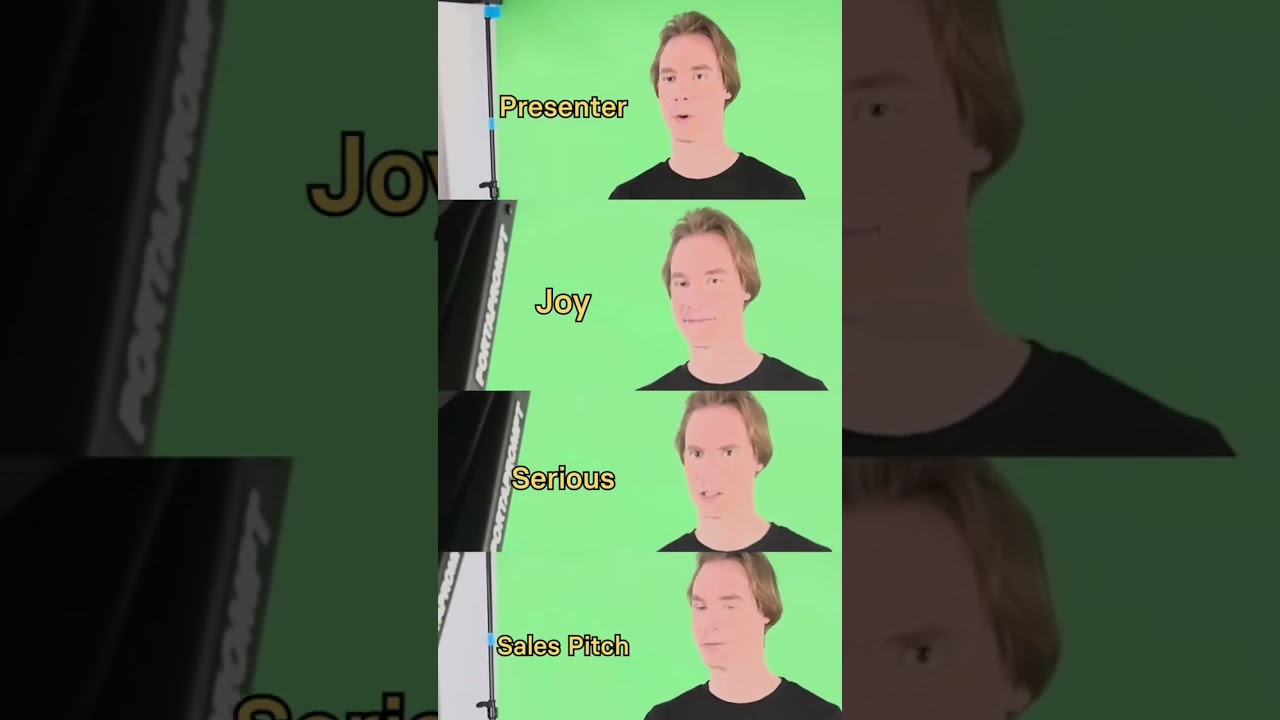
When you're just starting out with video creation, especially if you're on a tight schedule, achieving this look can be tricky, even if you know all the video lighting tips in the book. In that case, "digital doubles" or AI avatars can be a great workaround that spares you from using lighting equipment. These avatars are perfectly lit, regardless of the physical environment (aka the template where you use them), ensuring your videos always look professional.
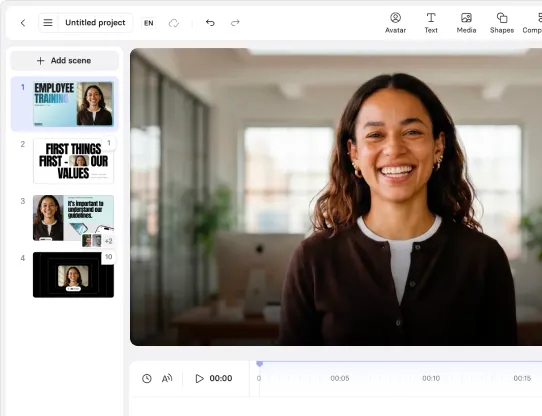
You can create and customize an AI avatar using the AI video-maker Synthesia. There are 240+ avatars to choose from, and they can speak in 160+ languages. You can mix and match each avatar to choose any face, voice, and accent combo you like. You can even customize your avatar's clothing color and branding elements.
AI Avatars always have a perfect 3-point lighting setup. To see an AI avatar in action, take a look at how they're made:
7 rules to help you get the best video lighting
Great video lighting can help your presenter hypnotize the audience and take your video content from good to outstanding at lightning speed. Use the following video lighting tips and rules to produce just the right effect and create the perfect ambiance for your story.
Rule 1: Choose an environment you can control
Light can play tricks on you, so the best way to manage it and ensure great lighting is by producing videos in an environment you can control. This could mean shooting in a studio with professional studio lighting or in a quiet room where you can manipulate artificial lighting. Alternatively, an AI video maker can generate the perfect lighting for you and help you avoid the traditional lighting challenges altogether.
Rule 2: Never skip the preparation stage
A tidy environment looks better on camera and reduces unwanted shadows and reflections. Before filming, declutter, clean, and organize your set. Choose your prompts carefully, too, because these can make your video more appealing and contribute to the story you want to tell.
Rule 3: Aim for consistent color temperature
When you set up your lighting for video, check and match color temperature ratings to get a consistent Kelvin value throughout the shooting. Staying consistent with color temperature is critical for your scenes to have a coherent visual tone. Otherwise, mixed lighting with different color temperatures will produce a mismatched, unprofessional look.
Rule 4: Avoid glare on glasses
If your subject wears glasses or uses a glass cup, the reflections could reveal your studio setup or block important visual elements. To reduce the glare, position your lights at angles that don't reflect directly off the glass, such as higher than the subject or to the side. Avoiding glare without affecting the subject's comfort can also be done by slightly adjusting the positioning of the glass.
Rule 5: Use natural lighting to your advantage
Natural light is powerful and free. If you don't have studio lighting or you're shooting videos outside, early morning and late afternoon (golden hours) will provide you with soft, warm light. But if you want stronger contrasts and a more dramatic effect, schedule your shooting midday — just don't forget that the overhead lighting produced by the direct sunlight can sometimes be too powerful.
Rule 6: Experiment with angles and positions
Even the right equipment can be used wrong. Try different lighting angles and positions because experimentation is vital to finding what works best for your video. Side lighting can bring out textures, while backlighting can create an ethereal glow. Just move your light sources around, and you can drastically change the mood and feel of your scene.
Rule 7: Have at least one LED light
I think that anyone shooting video footage should have some LED lights. They are super useful when recording because they let you easily adjust the intensity (for a range of color temperatures), and they are also highly compact and easy to move around and reposition as you experiment with different lighting setups. They are also energy-efficient and generate very little heat too.
Ready to create AI videos with perfect lighting?
Thinking about saying goodbye to lighting equipment and hello to stunning AI-powered content?
Explore the world of hassle-free, perfectly lit videos with Synthesia and make your own videos from plain text.
Try this free AI video maker to see how you can quickly create professional videos with a flawlessly illuminated virtual presenter.
Kyle Odefey is a London-based filmmaker and Video Producer at Synthesia. His content has reached millions across TikTok, LinkedIn, and YouTube, even inspiring an SNL sketch, and has been featured by CNBC, BBC, Forbes, and MIT Technology Review.
Frequently asked questions
Does lighting improve video quality?
Good lighting is essential for shooting high quality video footage.
While its primary function is to help the people and objects in your shot to stand out from the background, it can also be used to change the aesthetic and mood of your video.
While natural light is arguably the best (and most affordable) type of video lighting, studio lighting is also commonly used to create atmosphere and effects when shooting video footage inside.
Which lighting setup is best for making videos?
The best lighting setup for shooting video footage depends on the type of video you are shooting and on which lighting effects you hope to achieve.
The most commonly recommended lighting setup is called the three-point lighting system, which involves using a key light, a fill light, and a backlight.
Other commonly used lighting setups include two-light, four-light, loop lighting, and ring light setups, all of which have a place in your video lighting toolbox.

.webp)