

How to Create Microlearning Videos at Scale

Create engaging microlearning videos in 160+ languages
“You now have a shorter attention span than a goldfish,” proclaimed an article in TIME magazine in May 2015. The article summarized “research” from Microsoft, which determined that humans’ attention spans had dwindled to 8 seconds.
Suddenly this statistic was ubiquitous: "proof" of how hard it is to keep people engaged in the attention economy.
Unfortunately, the data seems to have been fabricated. It turns out we can choose to focus on something when it interests us and tune out the rest.
Here’s why that matters for learning design. I often hear from L&D practitioners that they need to make microlearnings because if trainings are too long, no one will ever complete them.
What I challenge them (and now you) to consider, is that microlearnings aren’t effective simply because they’re short. A poorly designed microlearning can lose engagement just as easily as a lecture.
What makes microlearnings effective, and captures engagement, is well-designed content that is tailored and relevant to the audience.
What are microlearning videos?
Before we wade into how to make effective microlearning videos, I want to clarify what microlearning means. Microlearning is an umbrella term for any training that can be quickly consumed.
If you’re thinking that sounds vague, you’re right. The term became popular in L&D in the late 2000s, and has been used to describe everything from eLearnings to infographics, podcasts, and videos. And that “quickly” consumed part. Well, that’s anything from 30 seconds to 10 minutes in length (though that doesn’t seem particularly “micro” to me).
For simplicity, when I refer to microlearning videos, I’m talking about short videos built around one learning objective, with just enough context for someone to take a next step.
Microlearning videos can support live training, either as pre-work, in-session learning, or reinforcement. They can also be standalone trainings or offer just-in-time performance support.
Why use microlearning videos
L&D teams estimated their employees averaged 40 hours of training per year in 2025, so less than an hour per work week. That’s down from 57 hours in 2023.
And yet, companies are spending more than ever on training. Here’s what that data tells me: companies are struggling to measure the impact of those investments. They’re offering more training than ever, and employees are consuming less than ever.
L&D is competing with AI tools (and their productivity burnout), and with calendars that are so packed there’s almost no time for formal learning. That’s where microlearning videos can be especially impactful.
Here’s three reasons why I recommend microlearning videos:
- They can be delivered in the flow of work.
You can upload or link a video to a Slack help channel, in an intranet page, or even on a printed SOP with a QR code. That means employees don’t have to leave the systems they’re working in to go searching for the information they need. - They can be updated quickly.
I can edit a microlearning video in 5 minutes, if there's a minor change, or within an hour, if there are more substantive changes. By design, microlearning videos are modular, allowing you to easily swap out details, so the content remains relevant. - They can be localized.
With AI, you can localize videos with a few clicks. If you’re designing learning at scale, this can save a considerable amount of time and money.
Generally, I don’t recommend microlearning videos for compliance training. Compliance trainings are typically tied to regulatory requirements, such as the amount of time an employee or manager needs to spend on a certain topic.
While you can absolutely break down compliance content into shorter videos, I wouldn’t recommend delivering 20, 3-minute videos for a course on harassment prevention or cybersecurity.
Common microlearning video use cases
There are so many use cases for microlearning videos. Compelling examples I’ve seen recently have ranged from breast cancer patient education delivered after someone receives a diagnosis (to help them process the information just shared by their physician before their next appointment) to safety reminders for an airline’s employees working on the tarmac.
Before AI video platforms, you would often see microlearning videos referred to by their format or “type”: things like a scenario-based video or an explainer video. That’s because the format was often dictated by the video production tool. If you were building a microlearning video with a screen recording tool, then you could only use screen recordings (and maybe narration if you were lucky).
I don’t find those labels particularly useful anymore. If you’re trying to figure out what kind of microlearning video to make, I recommend thinking more about what you’re trying to accomplish with the video — your learning objective.
How to create a microlearning video
The secret to an effective microlearning video is that it has a specific and tailored learning objective that can be measured. I recommend writing that down somewhere like this:
This video is for [specific role] who currently [context or gap]. After watching, [specific role] should be able to [observable action] so that [business outcome].
Once you have your learning objective, you're ready to create a microlearning video.
Heads up: as I go through the next steps I'm assuming you've got all the resources you need, whether that's your company's brand guidelines, existing content that you're going to reference for the video, or an SME on speed dial.
Note: We've put together these guides to help you evaluate training video production companies and eLearning authoring tools.
Step 1: Write your script
Remember, you need to keep your video focused to be effective. That starts with your script. There are so many resources out there for writing a great script, but you can distill them down into a few components:
- Hook: Why is someone spending their precious time on this training?
- Outcome: What is someone going to be able to do immediately after this training?
- Steps: How to get to that learning outcome (i.e., the minimum number of steps to complete the task or make a decision)
- Pitfalls: Any common mistakes and how to avoid them
- Next action: What someone is going to do next, and how they can get help if needed
Scripts are tricky to get right. That's why I recommend reading them aloud so you can hear the issues. Usually, active verbs and plain language can remedy any awkwardness.
If you're still struggling, try an AI scripting tool to help you get a first draft (be sure to read and revise it, okay?).
Step 2: Plan your scenes
Once your script is drafted, you can begin planning out your scenes. While this process is often called storyboarding, I know that most people aren't out here like Disney animators, hand sketching each frame.
Instead, what I want you to focus on is the big pieces that you need to accomplish your objective. A helpful rule of thumb is: one idea per scene.
If you're working with a production company, you'll likely be handing off the project at this point (unless they're writing the script, too). Be sure to share with them:
- Your finalized script
- Screen recordings or process walkthroughs from an SME
- Brand assets (logos, colors, or fonts to use)
- Supporting documentation or reference materials
- Instructions for any external contributors
- Anything else that's relevant to your project
A note on localization: Whether you're handing off the project, or doing it yourself, you'll want to plan for localization at this stage. That means standardizing components that are universal (e.g., how a tool works or industry terminology), and identifying the parts that vary by region (e.g., local contacts, policy names, or workflow changes). You'll be grateful you did.
Step 3: Build your video
This is where you'll follow any tool specific guidance for crafting your video. Whatever that requires, be sure to dedicate time for revisions.
Be ruthless about cutting anything that is tangential to your learning outcome. Think carefully about how people will engage with the video, only adding interactivity, like knowledge checks or branching scenarios, if they prompt viewers to apply what they've watched.
Step 4: Publish and iterate
Finally, plan for where you’ll publish your video and how you’ll manage any revisions. Our Academy team refers to this as the publishing triangle:
- Surface: Where does this live, and how do people find it?
- Security: Who has access, and what happens when it's shared?
- Stability: How do you update content without creating confusion or outdated versions?
These decisions correlate to your measurement goals (more on that in a bit).
How to create a microlearning video with AI
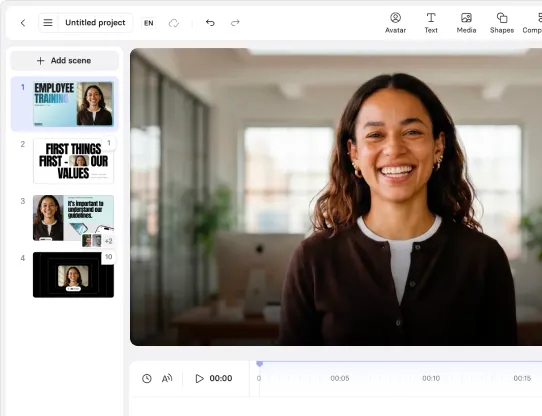
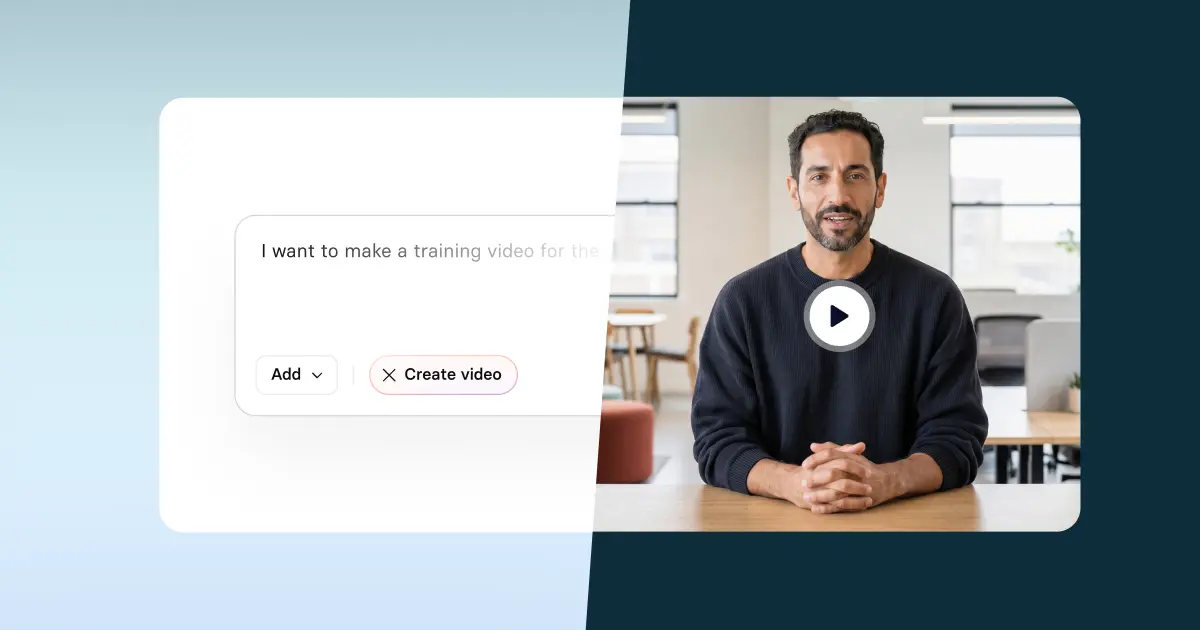
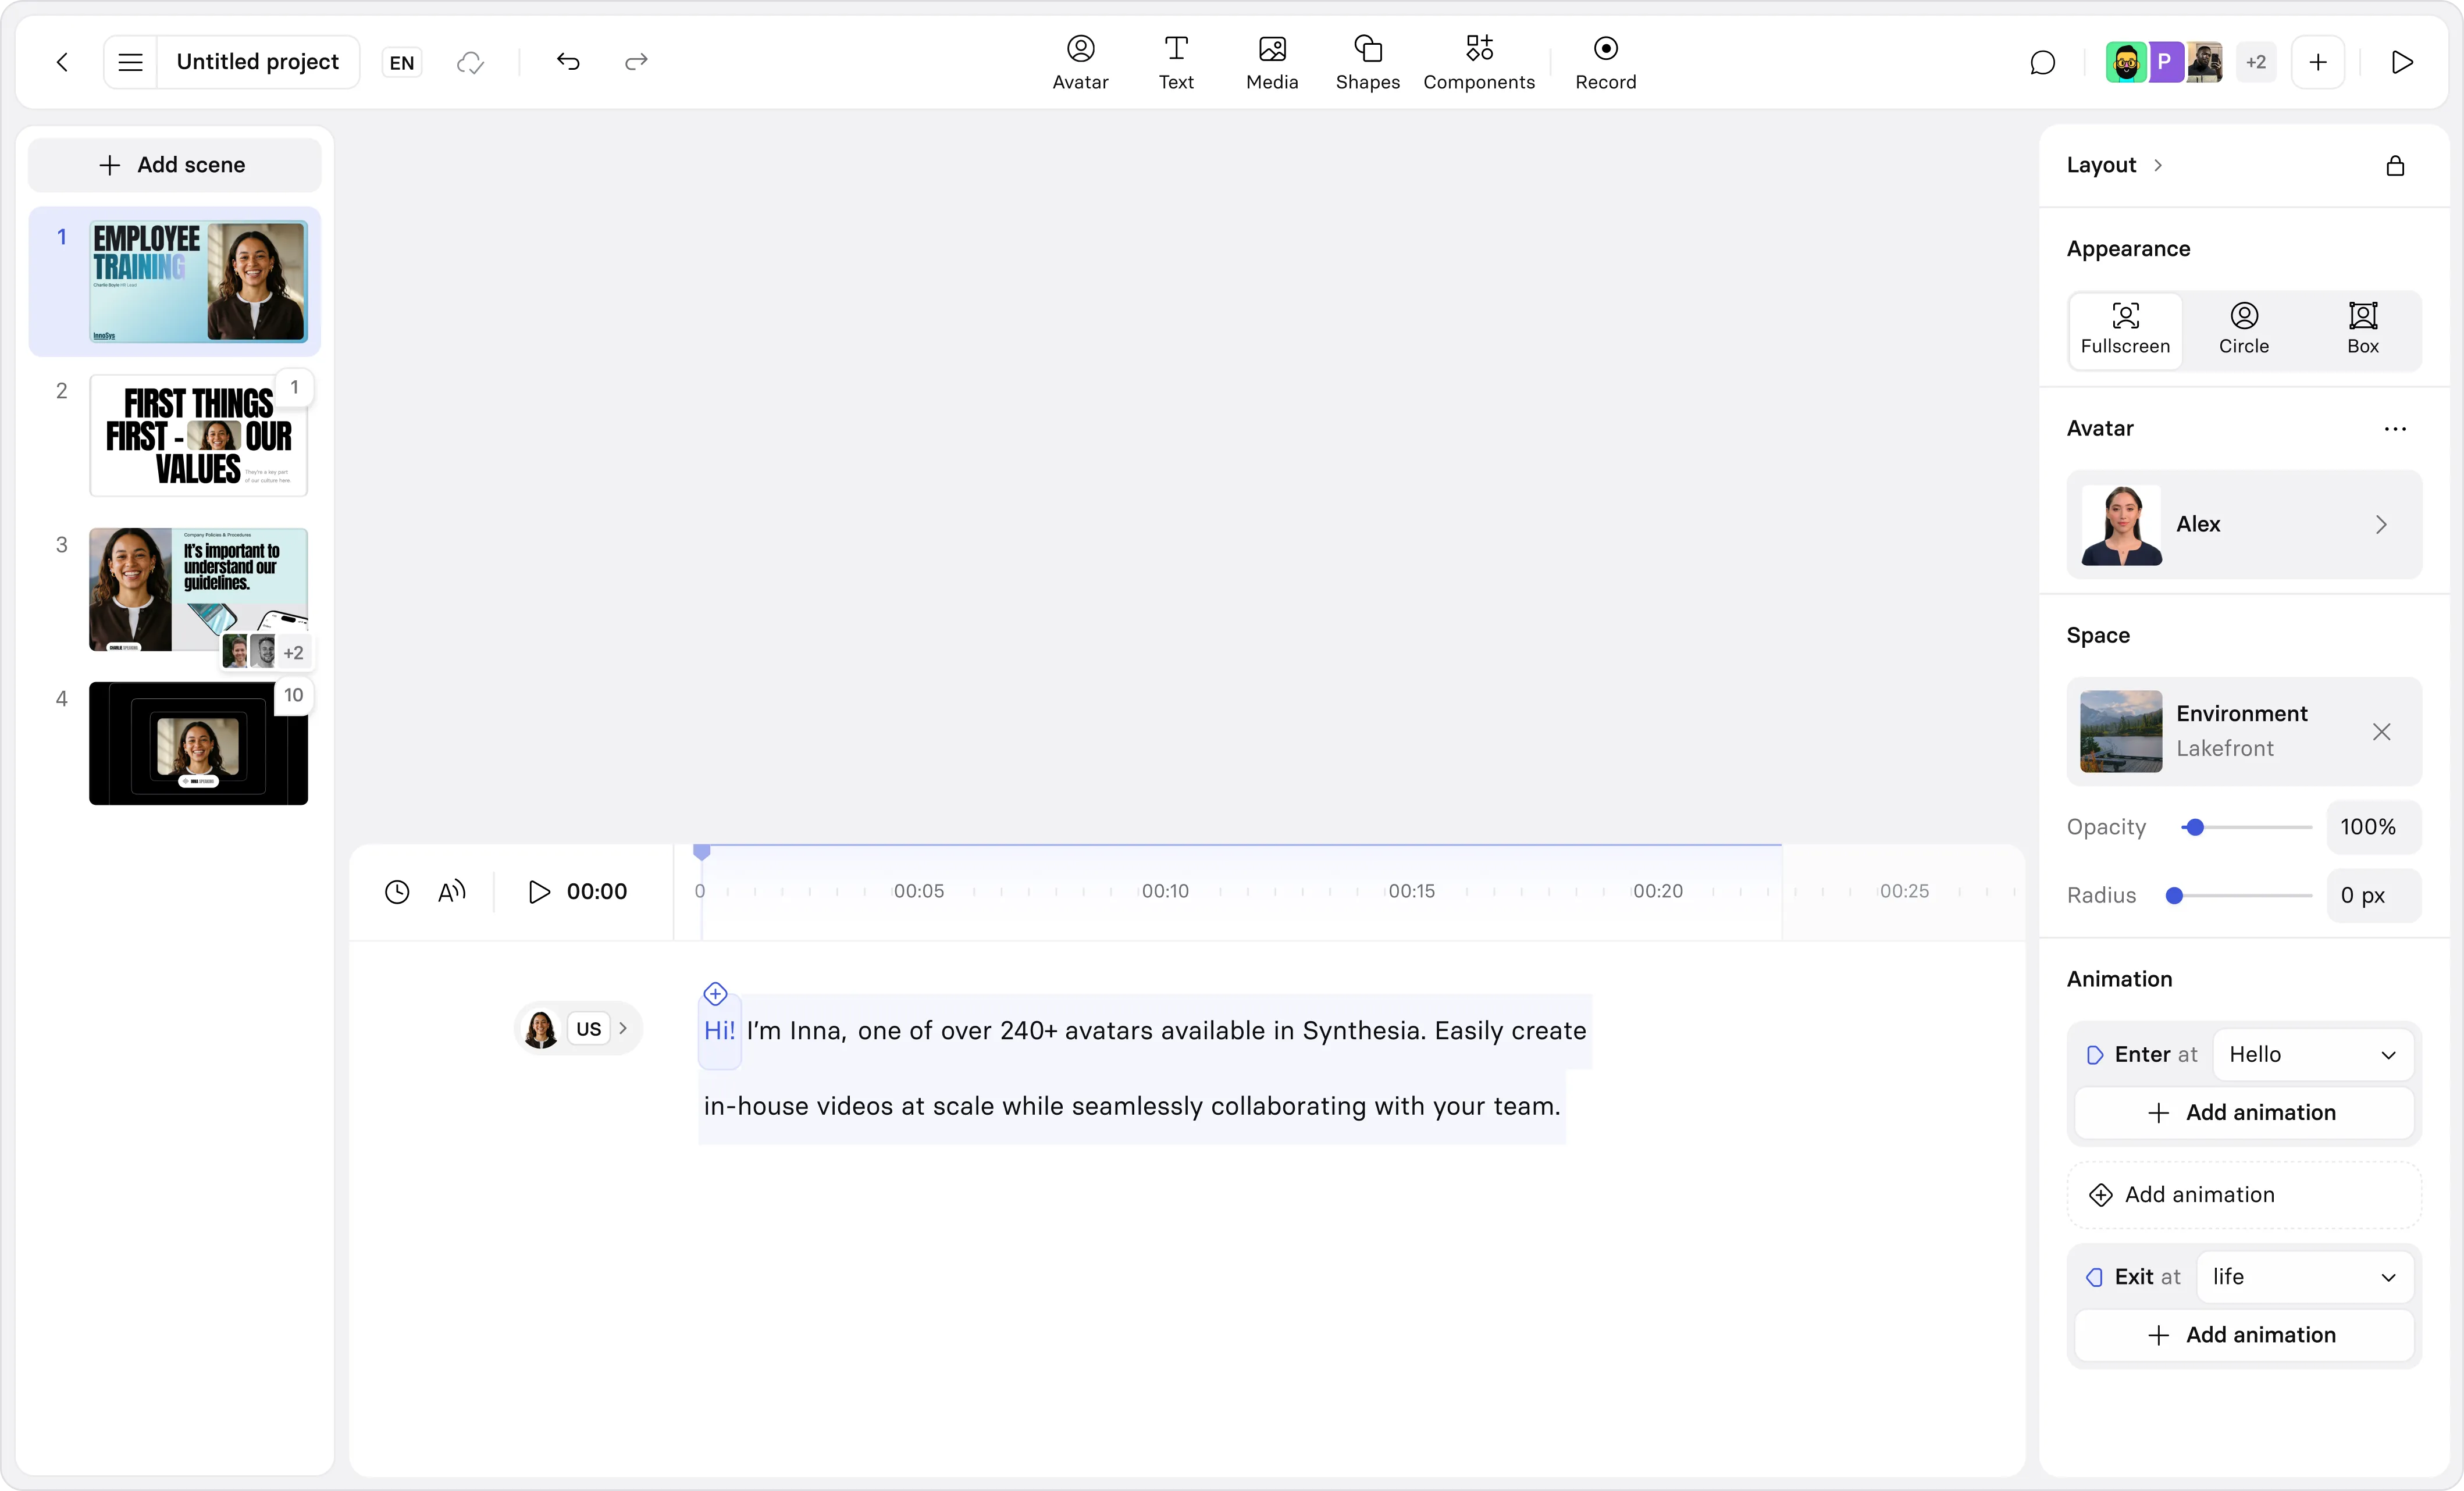
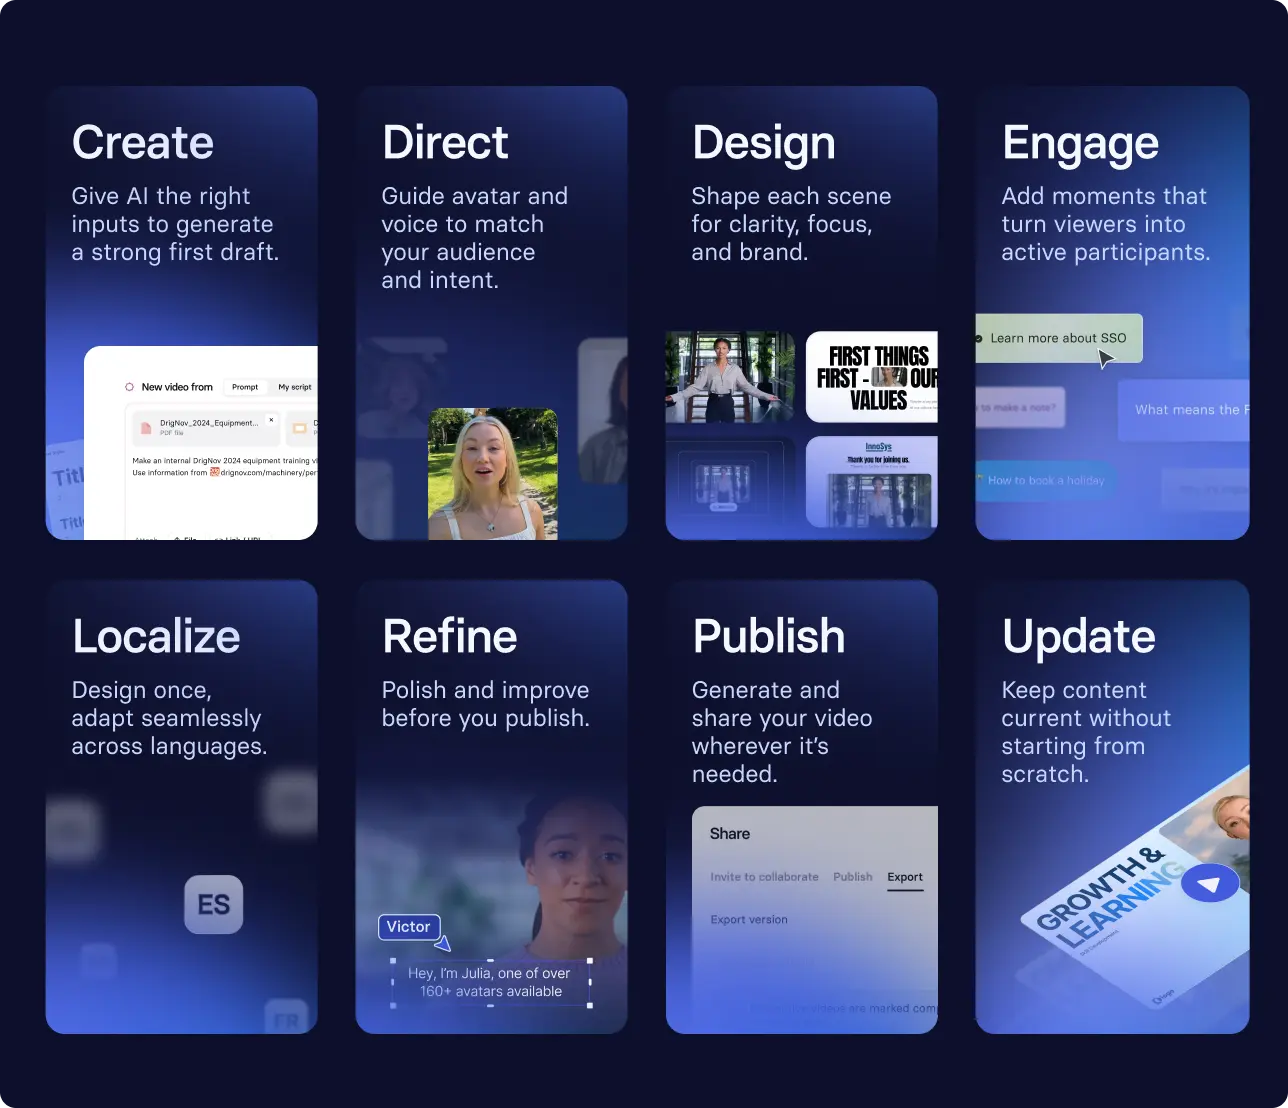
Now, if you're here because you want to create a microlearning video with an AI platform like Synthesia, the process is going to look a bit different. You're always in charge, but you're more a director than a creator. You'll guide our AI Assistant, giving it feedback to work towards the polished final project.
If you're looking for more information about the best AI tools for creating microlearning videos, this AI video generator guide can help you make a more informed decision.
Here's what that might look like:
- Uploading a script or other source material to our AI video generator to get a first draft of your video
- Selecting an avatar and updating their outfit or backdrop to match your working environment
- Adding a knowledge check at a key decision point so learners can confirm what they should do next
- Making revisions before localizing into three languages
- Publishing and sharing the video, updating in minutes (seriously) when anything changes
Watch how this workflow comes together in three minutes.
Or, start with a template
If you're new to video as a medium for training, you might want to see some examples of what other people have created first. That's why we offer our templates library. Templates are customizable, and allow you to try out a validated form, so you can focus on the learning objective.
Try it out for yourself with this template.
Our enterprise clients get custom templates created by our instructional designer team. This allows them to build a scalable content library by focusing on the content (and not recreating the wheel every time).
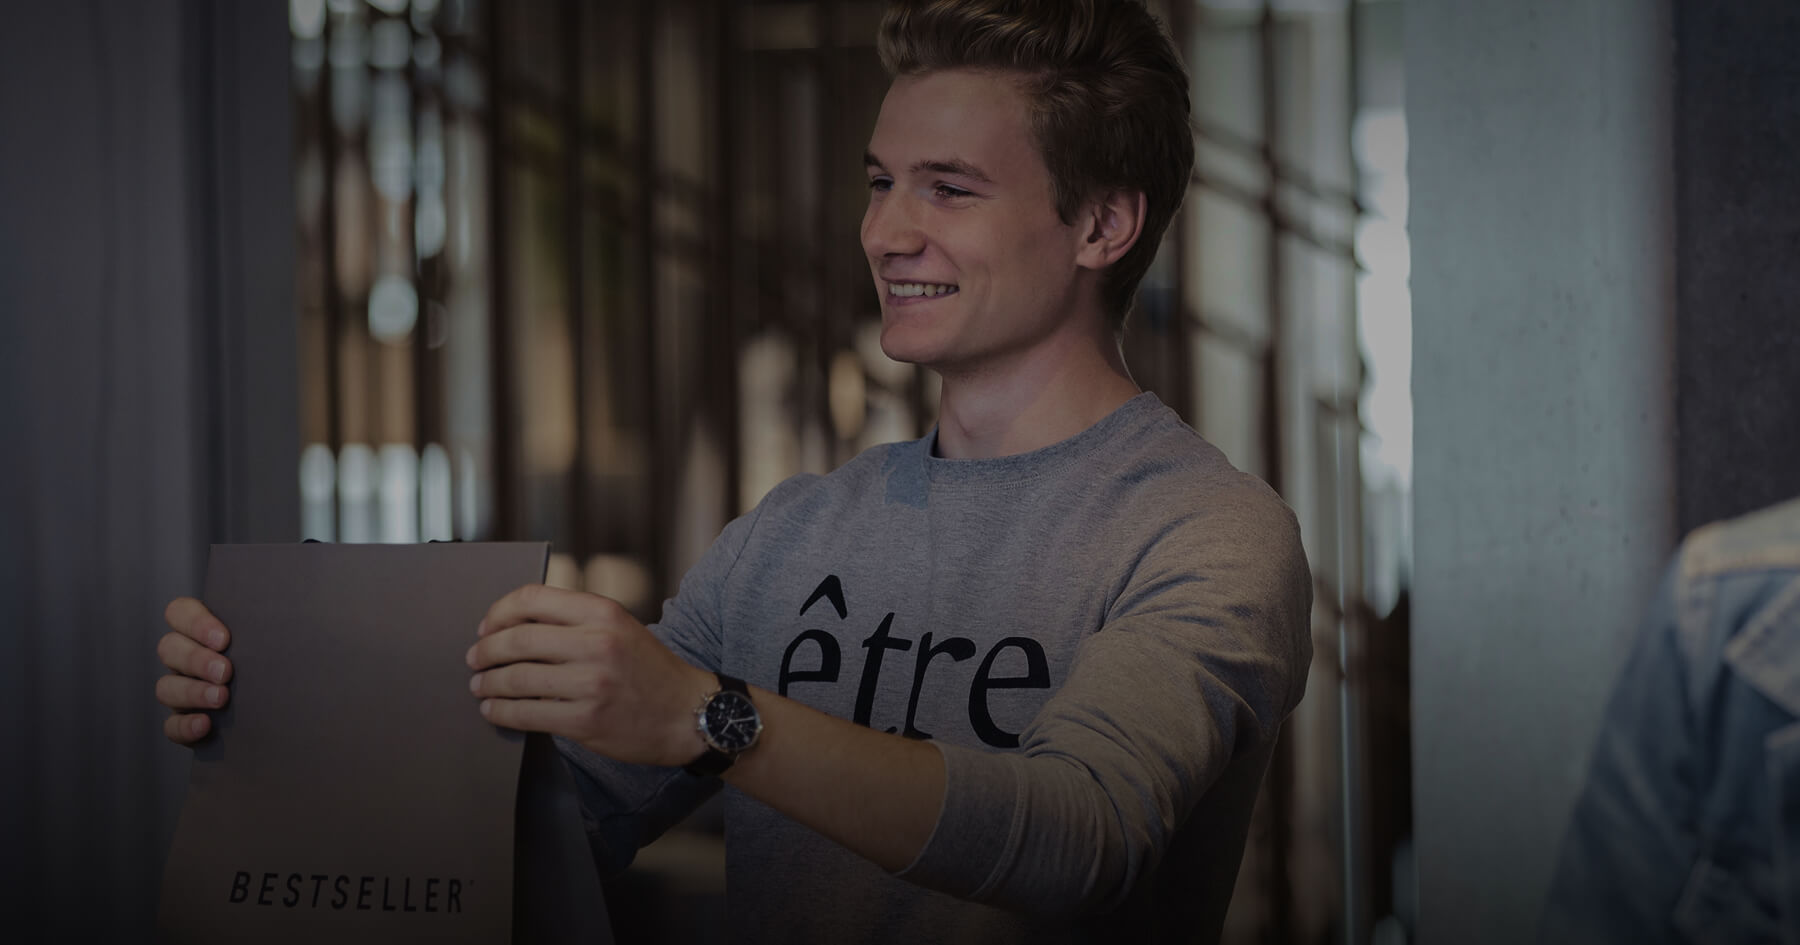
One of our customers, BESTSELLER, trains 20,000 employees across 70 markets with microlearning videos. They've built a library of over 250 videos. See more below.
How to measure microlearning videos
You need to measure if your microlearning video is achieving the outcome you defined earlier. Go back to the sentence you wrote down at the beginning of our exercise. That's your baseline. Then, look for evidence that you met your goal.
When you're building videos for the first time, you might focus on metrics like completion rates or assessment scores. That's okay: it is usually the easiest data to capture. But there are four levels worth working through: completion, recall, behavior change, and business KPI. The goal is to get as close to the business KPI as your data allows.
Sometimes, that evidence is readily available. If your microlearning video covers a new software workflow, and your desired outcome is to reduce related tickets in an IT help channel, then you can quantify that over a set period.
If, on the other hand, you designed a just-in-time training for people managers to help them escalate performance-based issues to HR Business Partners, you'll need to get creative. Perhaps you ask for performance data from HR business partners as proxy metrics or conduct listening sessions with select focus groups.
One effective microlearning video is achievable for most L&D teams (even if you're a team of one). Fifty microlearning videos published across ten regional markets, that need to stay current as your business and processes change: that's a system problem. And it's where we can help.
If you're looking for support building a library of microlearning videos, reach out to our team to learn more about how Synthesia can help.
Amy Vidor, PhD is a Learning & Development Evangelist at Synthesia, where she researches learning trends and helps organizations apply AI at scale. With 15 years of experience, she has advised companies, governments, and universities on skills.