

How to Make a Video Presentation With No Equipment

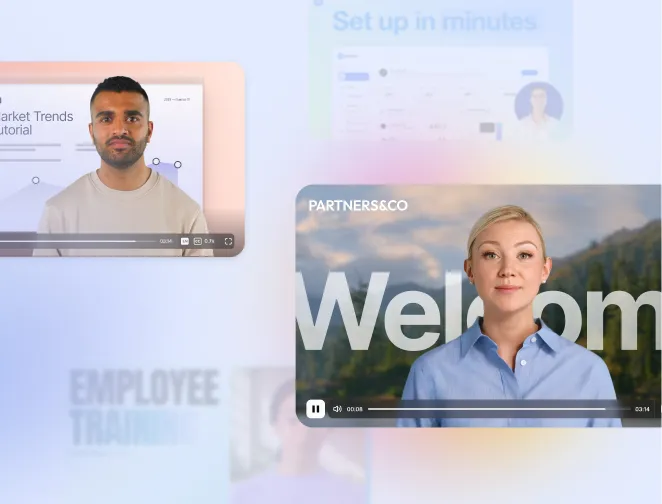
Create engaging video presentations in 160+ languages.
I think most people would acknowledge that video presentations drive better engagement than a standard slide-based presentation.
However, making a video presentation typically involves recording yourself on camera, learning how to use complex video editing software, and then spending hours on video production.
With all the effort required, I think it's easy to see why most people still stick with PowerPoint — it's much less of a hassle.
There's an easier way though!
In this guide I'm going to show you how you can use a tool called Synthesia to take you from a document, script, or prompt to a finished video presentation in a few minutes.
How to create video presentations with AI
Step 1: Go to Synthesia's video presentation maker
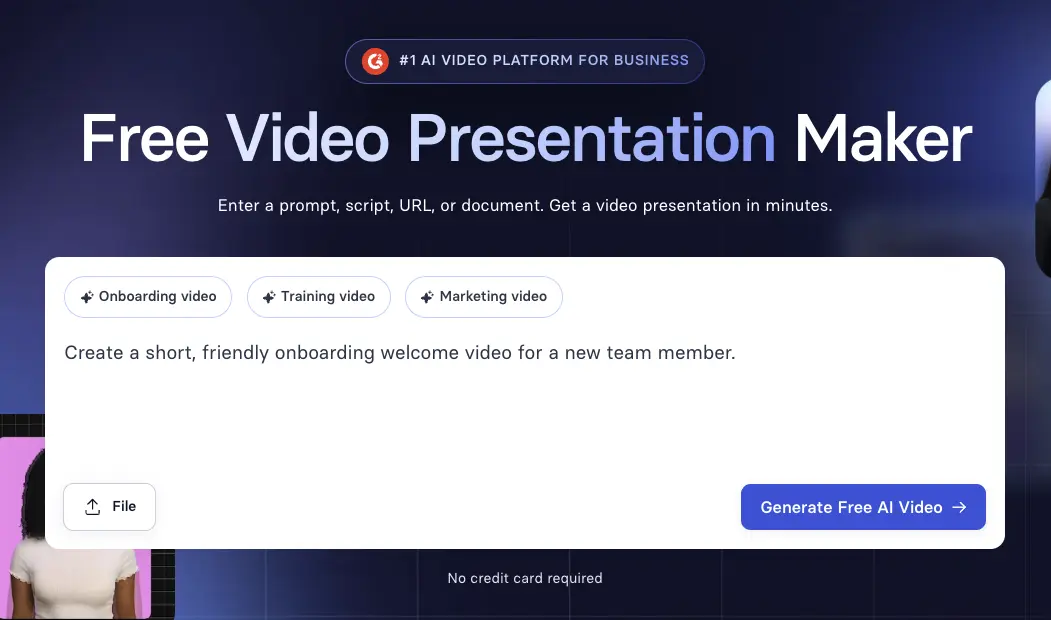
Head to Synthesia's video presentation maker and enter your prompt, script, or document and click Generate.
There are a variety of starting points to choose from when creating a video presentation with AI:
Start with a prompt
This should be a description of the video presentation you want to generate — the more detail you add, the better.
Here's an example prompt:
Create a 2-minute video presentation on why plants improve mental health. Explain the science simply, show real benefits (reduced stress, better focus, cleaner air), and include quick tips on easy plants to keep at home. Use calming visuals and upbeat music.
Start with a script
If you're converting an existing PowerPoint, it's best to avoid just copying the slide text. Instead, you should try to rewrite it as if you're explaining it to someone verbally. Your script should sound natural when read aloud.
If you don't feel like writing the script yourself, try our free AI script generator.
Start with a document
This can be PowerPoint slides, a PDF file, a Word document, or a text file.
If you're importing a PowerPoint, you can also try this free PowerPoint to video converter which will import your slides as editable scenes with your slide structure, text, and fonts preserved. Any speaker notes will be automatically converted to narration script.
Step 2: Sign up for a free Synthesia account
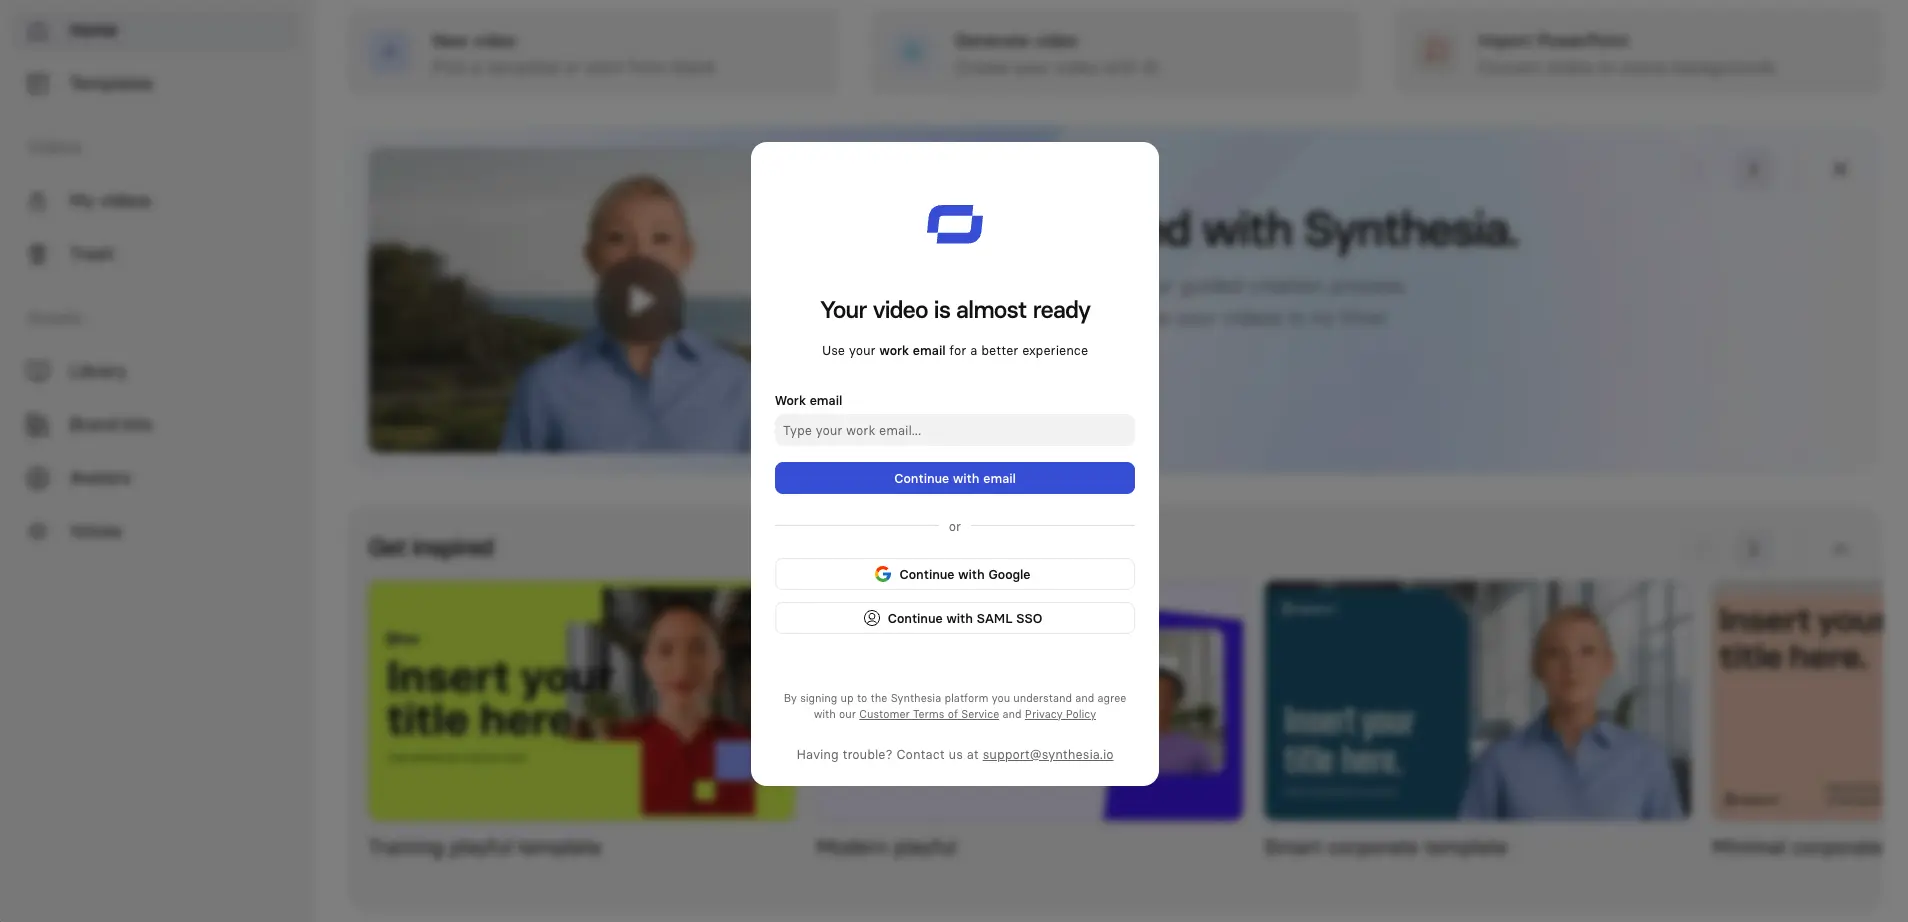
Sign up for a free Synthesia account.
Synthesia will now analyze your prompt, script, or document and create the scenes that will make up your video presentation.
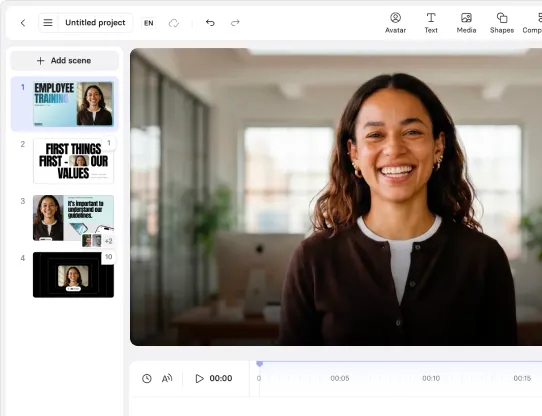
Step 3: Outline your video presentation
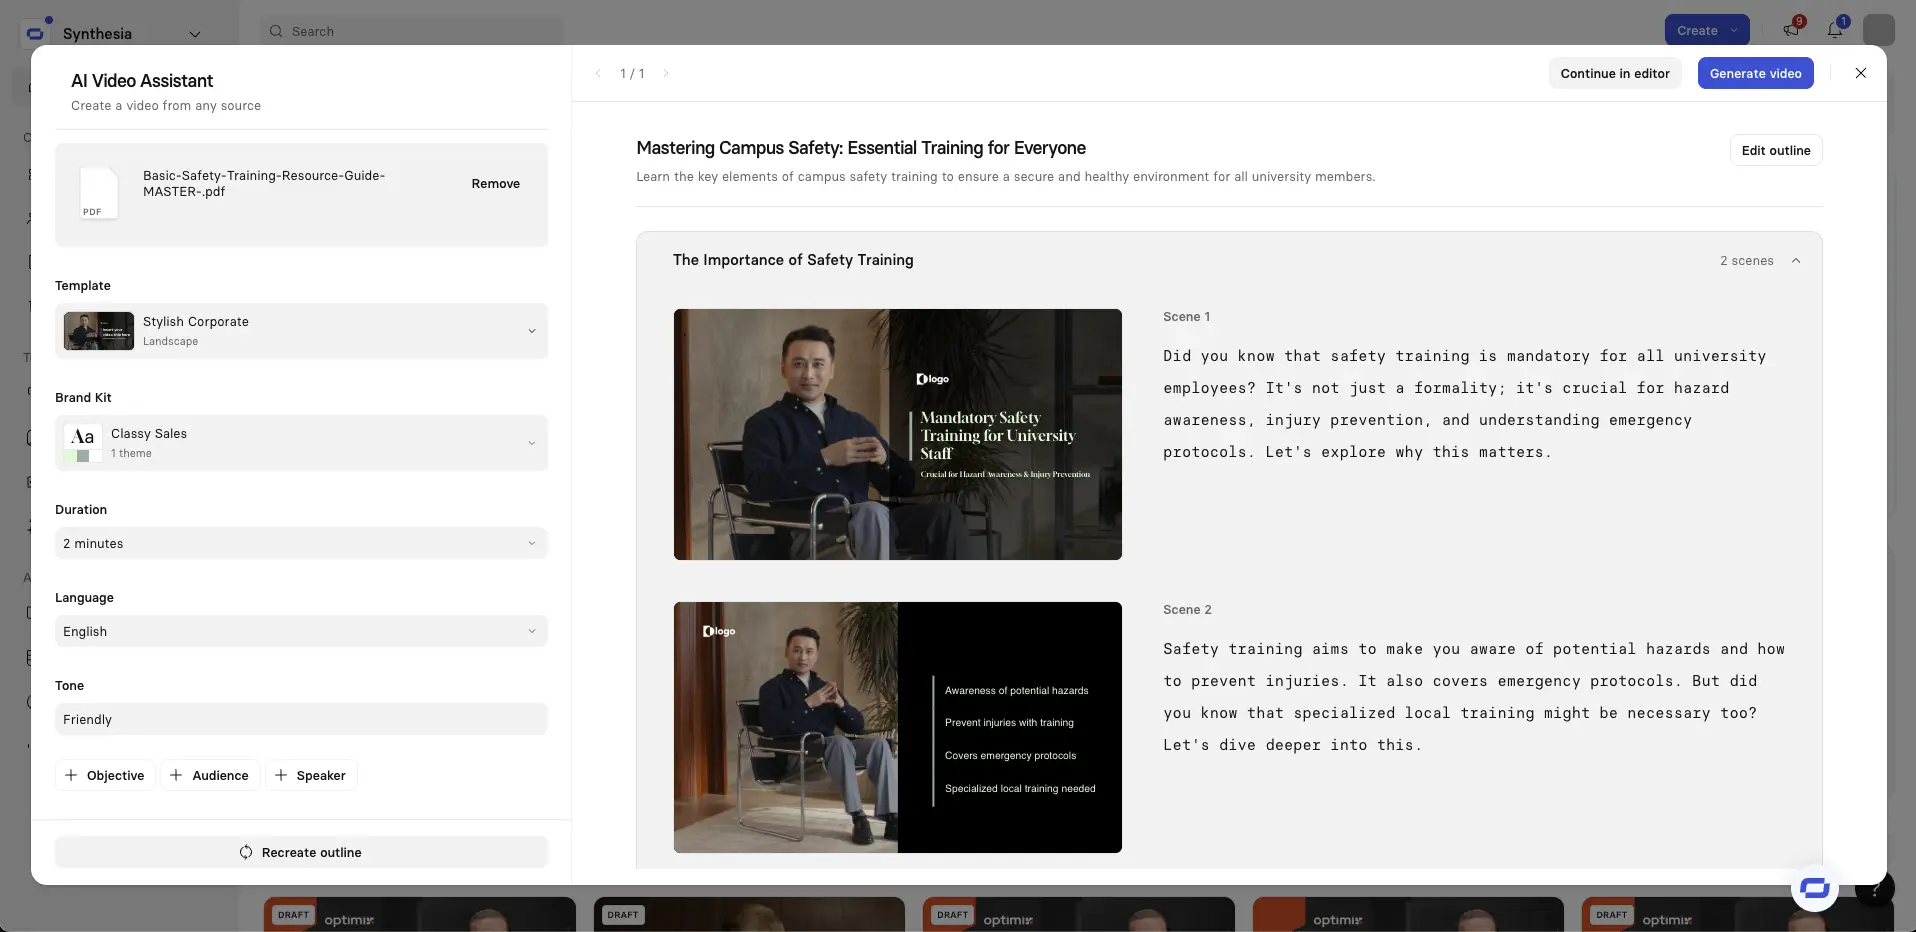
Next up is the outlining stage.
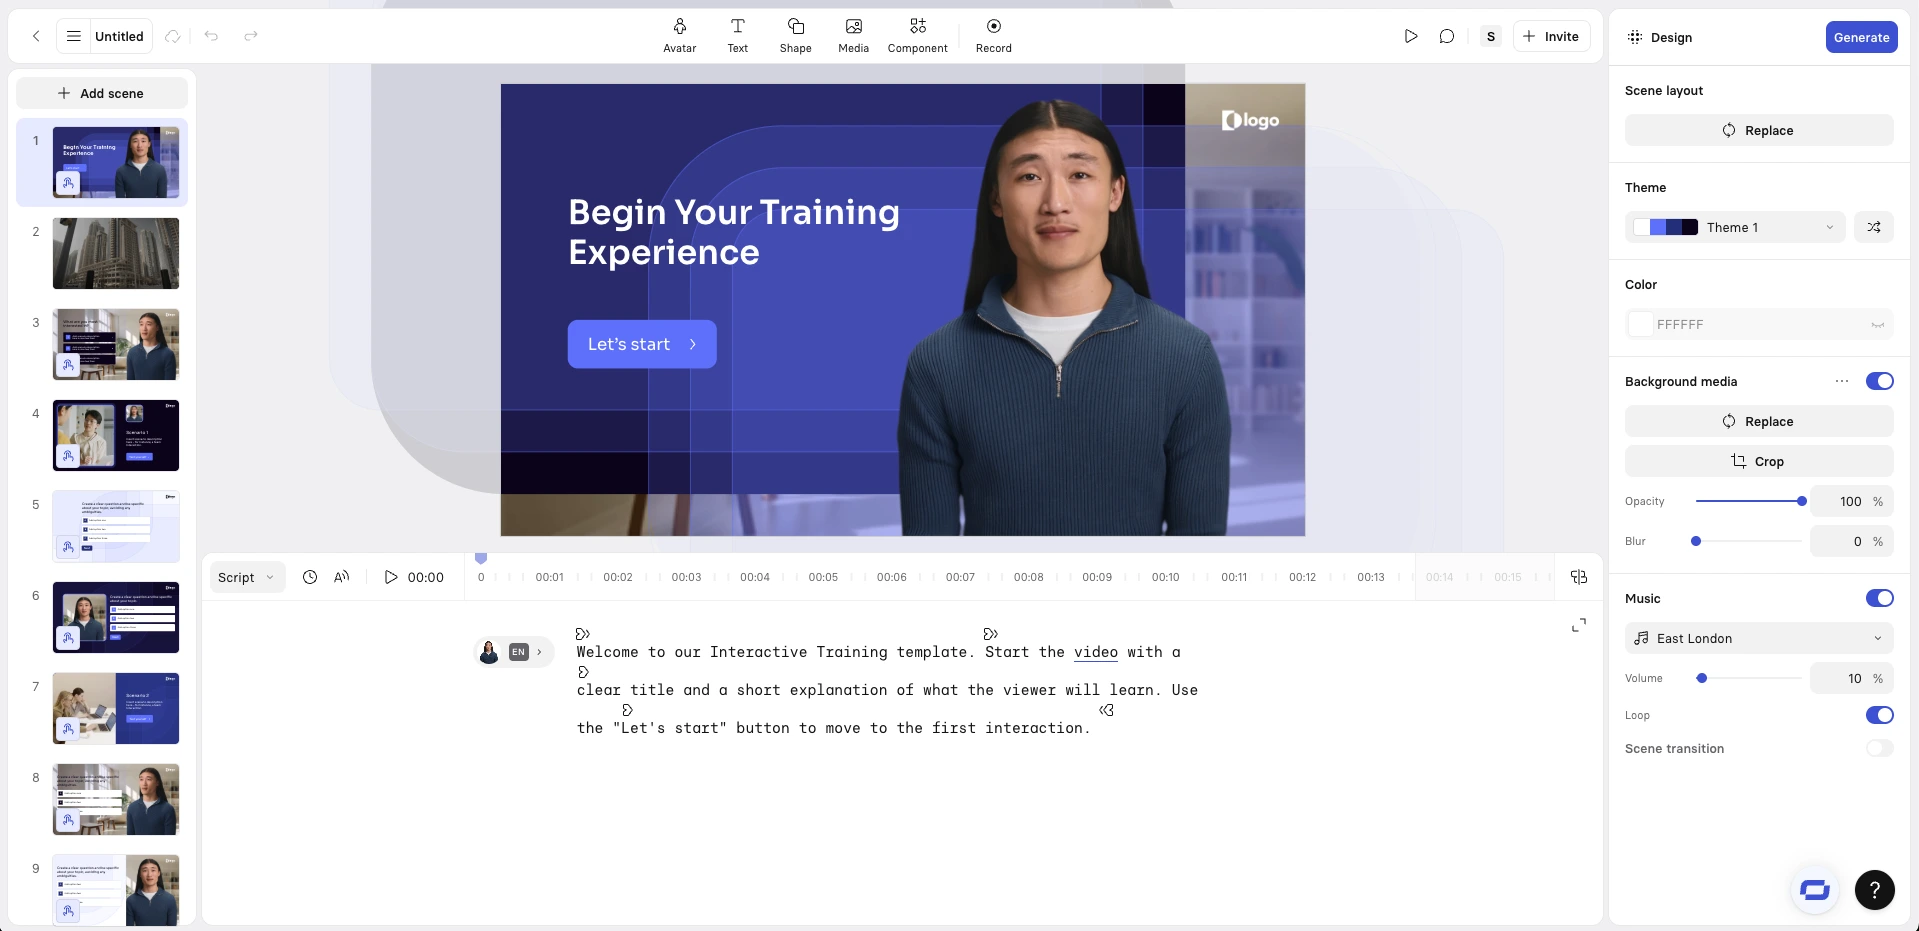
You'll now see an overview of all of your video presentation's scenes that you can review and adjust as you see fit. You can also edit the script of each scene.
In general, you should try to stick to one idea per scene, and I'll also typically merge any scenes that are too short (under 10 seconds) and split up any that are too long (over 30 seconds). I find that this results in better pacing.
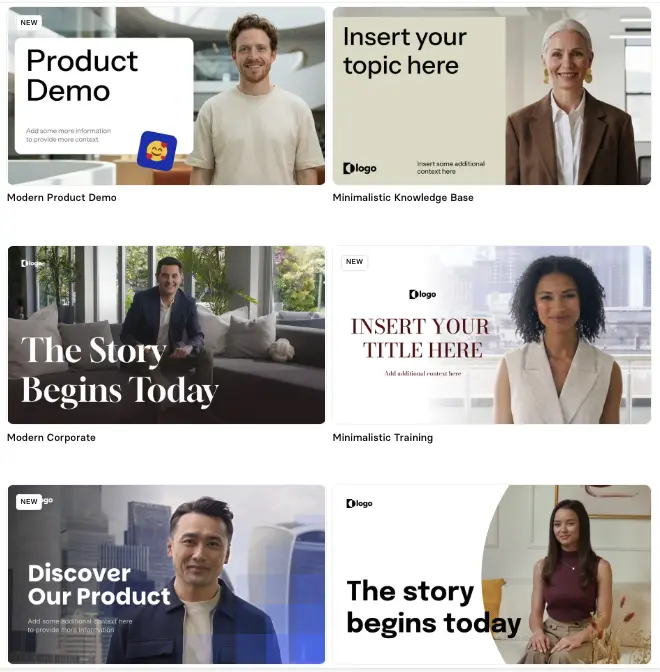
While in the outlining stage, you can change your video template. Each template comes with a variety of scenes.
At this stage you can also add, remove, or edit scenes, and adjust settings like video duration, objective, language, and tone.
When you’re ready, click Continue in editor.
Step 4: Edit your video presentation
Now it's time to edit your video presentation.
In Synthesia's editor you can review your scenes, refine each scene's script, and add avatars, B-roll, motion graphics, and screen recordings.
But before we get into how to do all of that, here are some quick tips when making your edits:
- Visual hierarchy constraints: You should limit on-screen text in your video to a headline and 1–3 bullets per scene. Any more than that, and you're probably overloading your viewers. Your script and narration should be carrying most of the detail.
- Dynamic captions: In almost all cases you should be enabling dynamic captions. A very large proportion of your viewers will watch your video presentation without the sound turned on.
- Media usage: When adding media like B-roll, motion graphics, and screen recordings, you should try to keep the visuals literal and close to what is being said in your narration.
- Use pauses: I often add short pauses between key points to make the narration sound a bit more natural and to give my viewers a bit more time to absorb the information I'm throwing at them.
- Focus each scene on one idea: This makes the information in each scene easier for your viewers to retain.
- Mix up your visuals: Try to use a mix of avatars, images, motion graphics, B-roll, and charts to keep viewers engaged.
- Design for mobile first: I try to keep any text in my video presentation short so it fits cleanly on small screens.
Aside from these tips, I've also developed a habit of previewing each scene after editing it, and I suggest you do the same. Doing this helps you to catch any awkward phrasing or pacing issues before you generate your final video, which will save you time and credits.
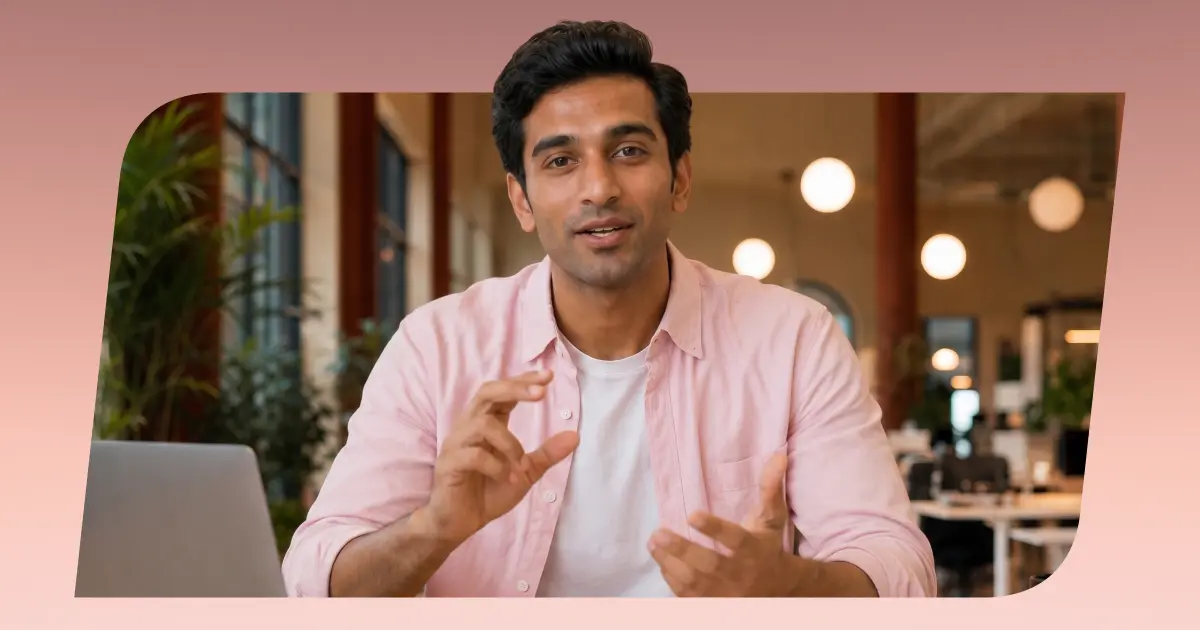
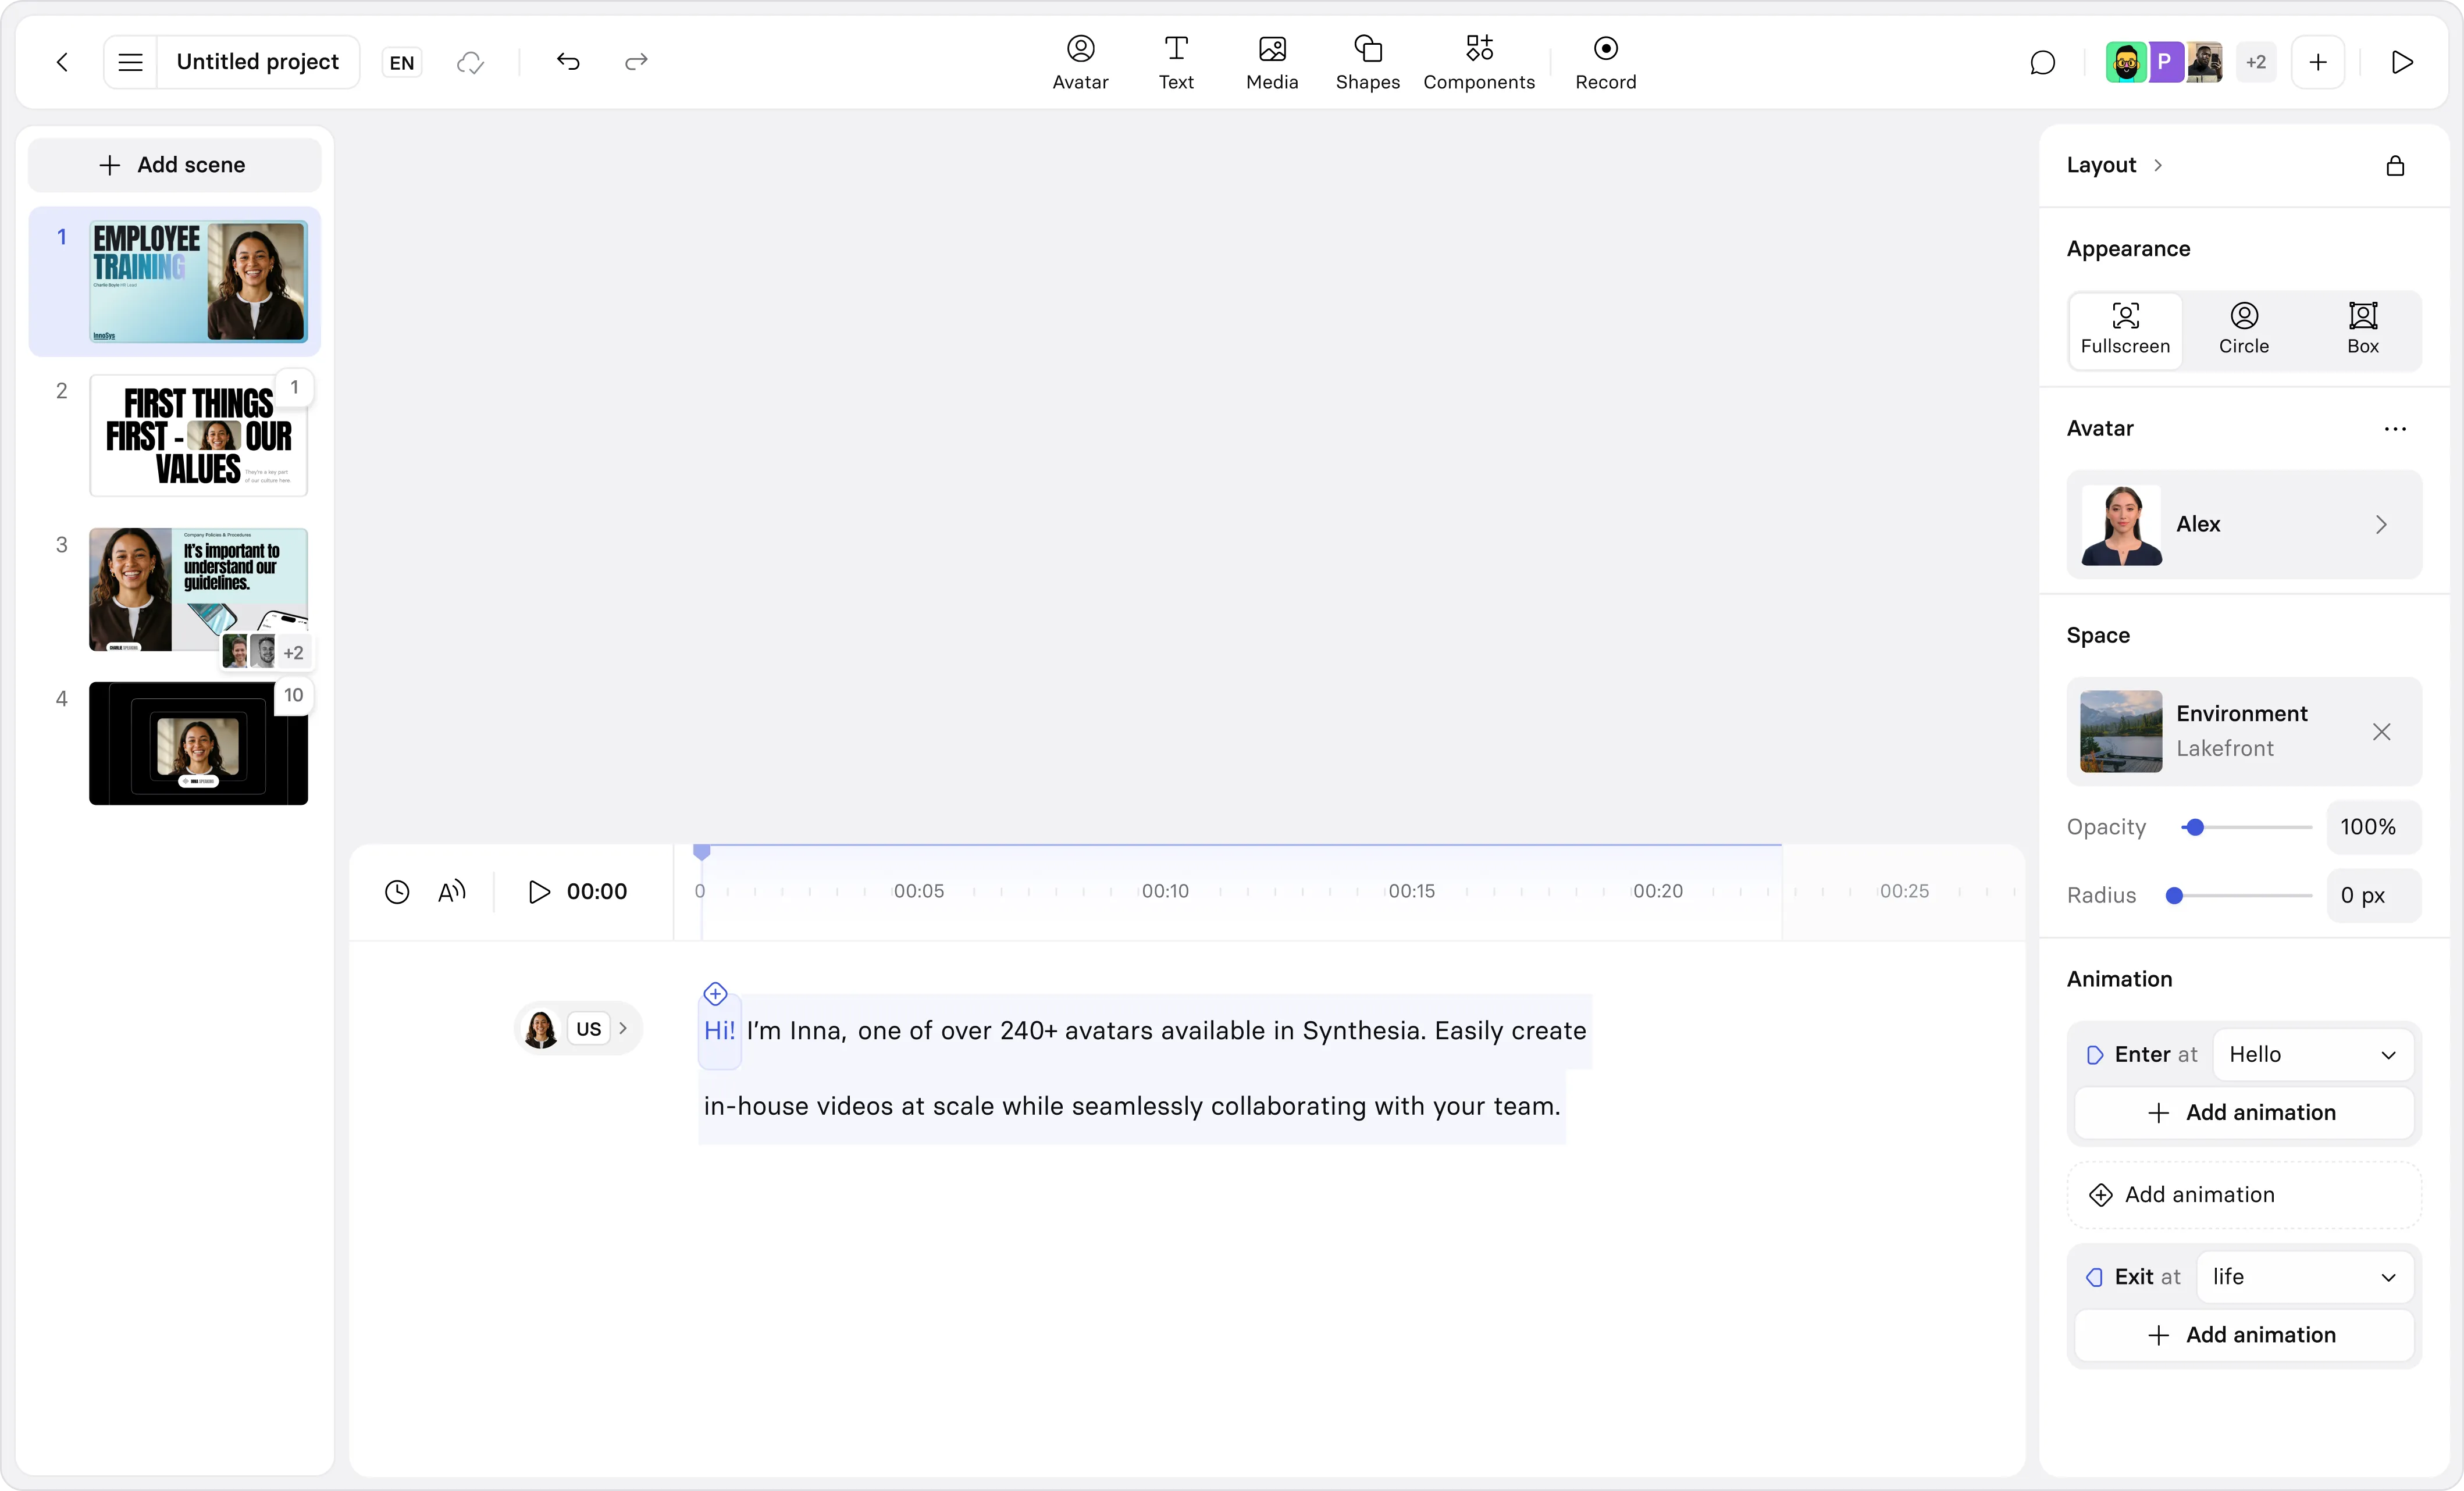
Choose an AI avatar and voice
Click Avatar at the top of the editor to add an AI presenter.
Synthesia offers a wide variety of stock avatars as well as the option to create a custom avatar from a prompt or an image.
I suggest choosing an avatar that fits the context of your video, and I try to vary my avatar's placement and size between each scene in order to reset viewer attention without adding any distracting motion.
It's also important to select the right AI voice to go with your avatar, as that's the voice that will be narrating your script. You should try to match the accent and tone to your primary target audience to increase engagement.
Add screen recordings
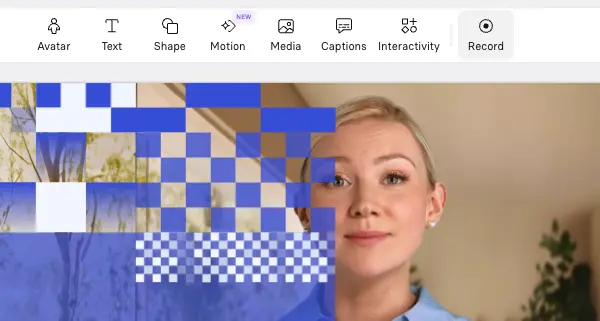
Click Record to use Synthesia's AI screen recorder.
I mostly use these for video presentations where I'm demonstrating a product or tool, and I'll typically pair my screen recording with an AI avatar.
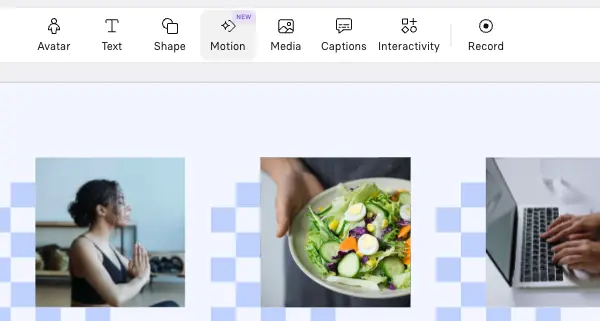
Add B-roll
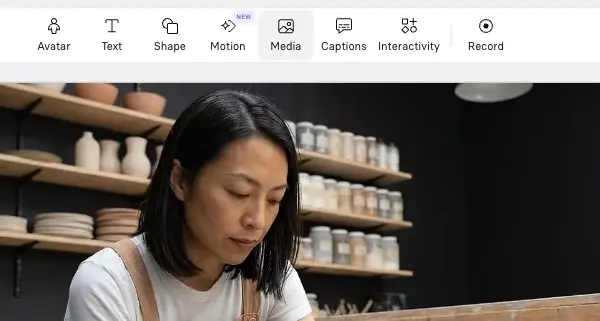
Click Media to add B-roll to your video presentation.
You can generate these video clips using an AI video model like Veo 3, upload your own videos, or use Synthesia's stock media library.
B-roll is great for breaking up long narrative-driven sections and helps to keep your video presentation visually engaging.
I'll usually use it to show real-world examples, people performing a task, or any other visual that supports the narration.
Add motion graphics
Click Motion at the top of your editor to start adding a motion graphic to your video presentation.
You can either use one of Synthesia's motion graphics templates or prompt one from scratch.
Add interactivity
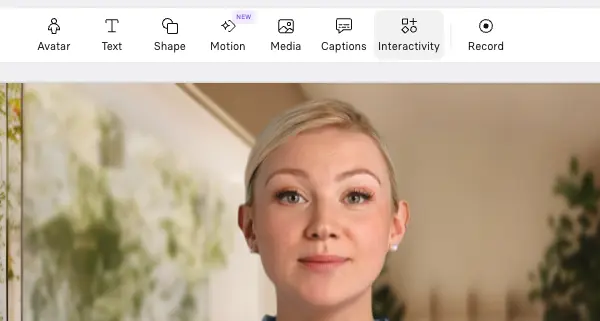
Synthesia allows you to add clickable buttons and hotspots, branching scenarios, and interactive quizzes to your video presentations.
Click Interactivity at the top of your screen to add these components.
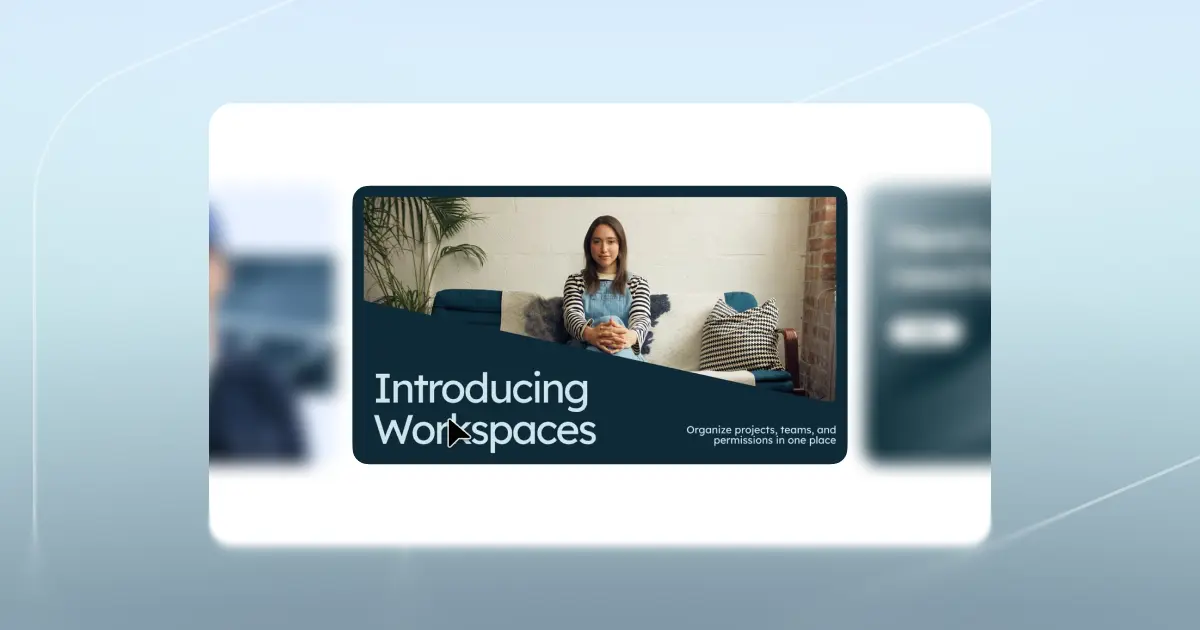
Step 5: Generate your video presentation
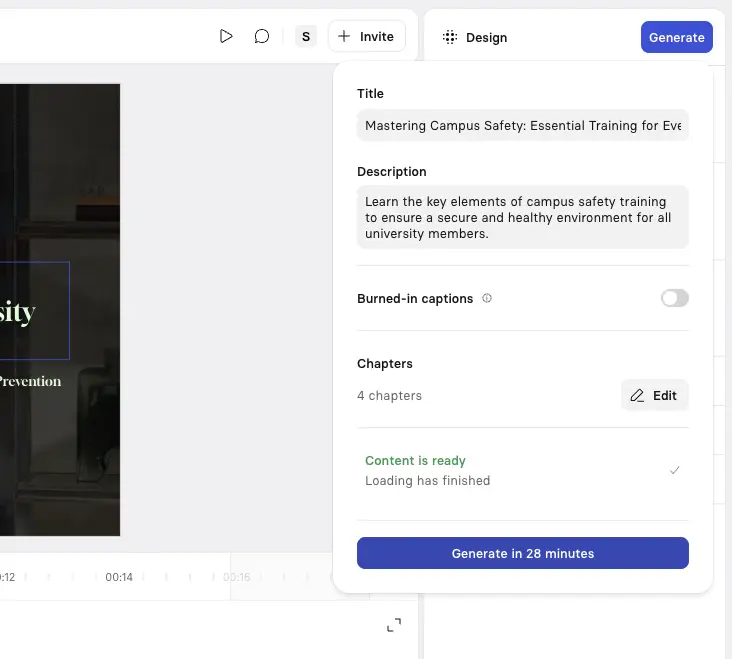
Click Generate in the top-right corner to create your video presentation.
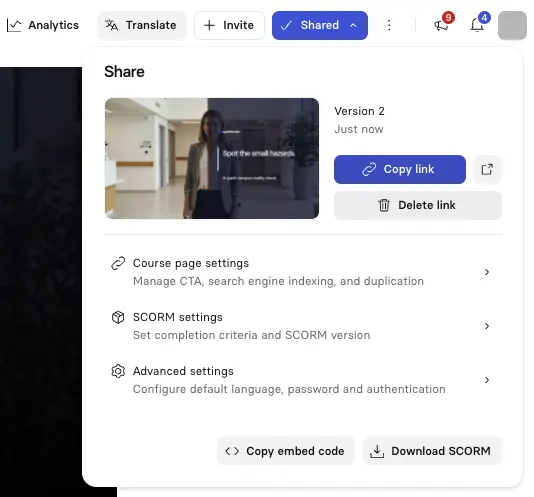
You can then download your video as an MP4, get a shareable link, get an embed code to embed your video on your webpage, or download a SCORM version of your video presentation and upload it to your LMS.
Step 6: Localize your video presentation
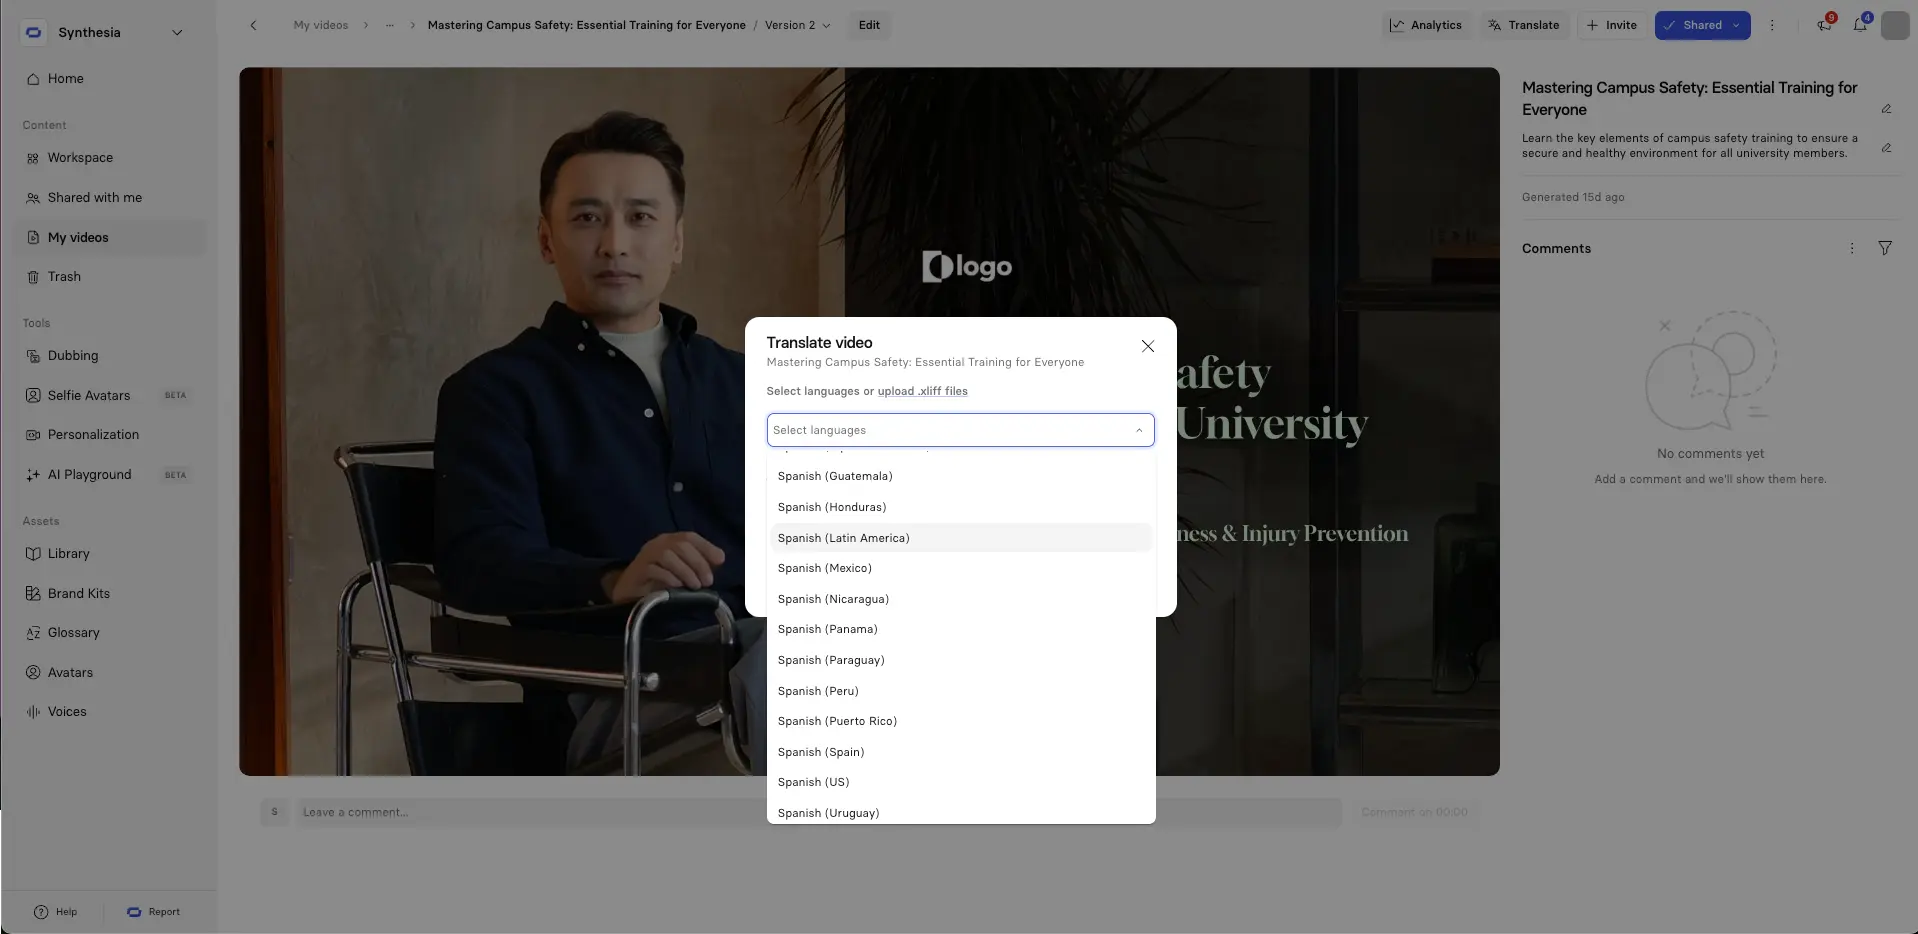
It's really easy to localize your video presentation into other languages. Once you've generated your video you can click Translate and select your desired languages.
Step 7: Publish and share your video presentation
The final step is to publish and share your video presentation.
Synthesia lets you export it as an MP4 file, or publish it within the platform, allowing you to embed your video presentation wherever it’s needed.
Common video presentation mistakes (and how to avoid them)
I've reviewed hundreds of video presentations, and there are a number of common mistakes that I keep seeing. Here are a few of them and how I think you can avoid them:
- Don't treat your video like a PowerPoint slide deck: With video presentations you need a script that is written for spoken delivery, not for reading.
- Don't make your video presentation too long: If you have a lot to say, it's probably best to break content into multiple short, focused videos.
- Don't overwhelm your viewers: I've found it's best to limit each scene in your video presentation to one clear point.
- Don't ignore accessibility: You should always add captions to your video presentation for accessibility and silent viewing.
- Don't skip the review process: Get a colleague and/or a subject matter expert to review your video presentation to catch errors early and save time.
Your next steps: From PowerPoint to video presentations
If you're currently using PowerPoint or Google Slides for presentations, here's how I recommend making the transition:
- Start with one high-impact use case: I think it's a good idea to focus on training or sales content first, if you have it.
- Audit your existing content: Identify slide decks that would benefit most from narration and visuals, and start with those.
- Set up templates and standards: Set up a brand kit in Synthesia to ensure brand and design consistency when creating your video presentations.
- Measure what matters: After publishing, you should be tracking completion rates, engagement, and time-to-update.
Kyle Odefey is a London-based filmmaker and Video Producer at Synthesia. His content has reached millions across TikTok, LinkedIn, and YouTube, even inspiring an SNL sketch, and has been featured by CNBC, BBC, Forbes, and MIT Technology Review.
Frequently asked questions
Can I create a video presentation for free?
Yes! Synthesia has a free plan that lets you create up to 10 minutes of video presentation per month.
What languages can I translate my video presentation into?
Synthesia supports more than 160 languages, so we'll probably be able to translate your video presentation into whatever target language you want.
Can I create a custom AI presenter/avatar that looks like me?
Yes! You can create a custom avatar for your video presentation that looks like you or someone you know (with their consent) simply by uploading a photo.
You can also generate custom avatars from a prompt.